先学一下unity,mmo服务器框架到时候在学习一下,暂时服务器简单做一下
unity中生命周期
如代码所示,简单了解一下。
using System.Collections;
using System.Collections.Generic;
using UnityEngine;

public class test : MonoBehaviour
{


    void Awake()
    {


        Debug.Log("awake hello world!");
    }
    // 当脚本可用时,也就是打勾的时候可以使用
    void OnEnable()
    {


        Debug.Log(" OnEnable");
    }
    // Start is called before the first frame update
    // 这个也是只会初始化一次
    void Start()
    {


        Debug.Log("start");
    }

    // Update is called once per frame,下面两个函数都和帧相关,一先一后的调用关系
    void Update()
    {


        Debug.Log("update");
    }
    private void LateUpdate()
    {


        Debug.Log("LateUpdate");
    }

    // 这个是定时进行刷新
    private void FixedUpdate()
    {


        Debug.Log("FixedUpdate");
    }

    private void OnDisable()
    {


    }

    // 销毁,移除脚本就认为是销毁了组件,或者启动关闭了
    private void OnDestroy()
    {


        Debug.Log("OnDestroy");
    }
}
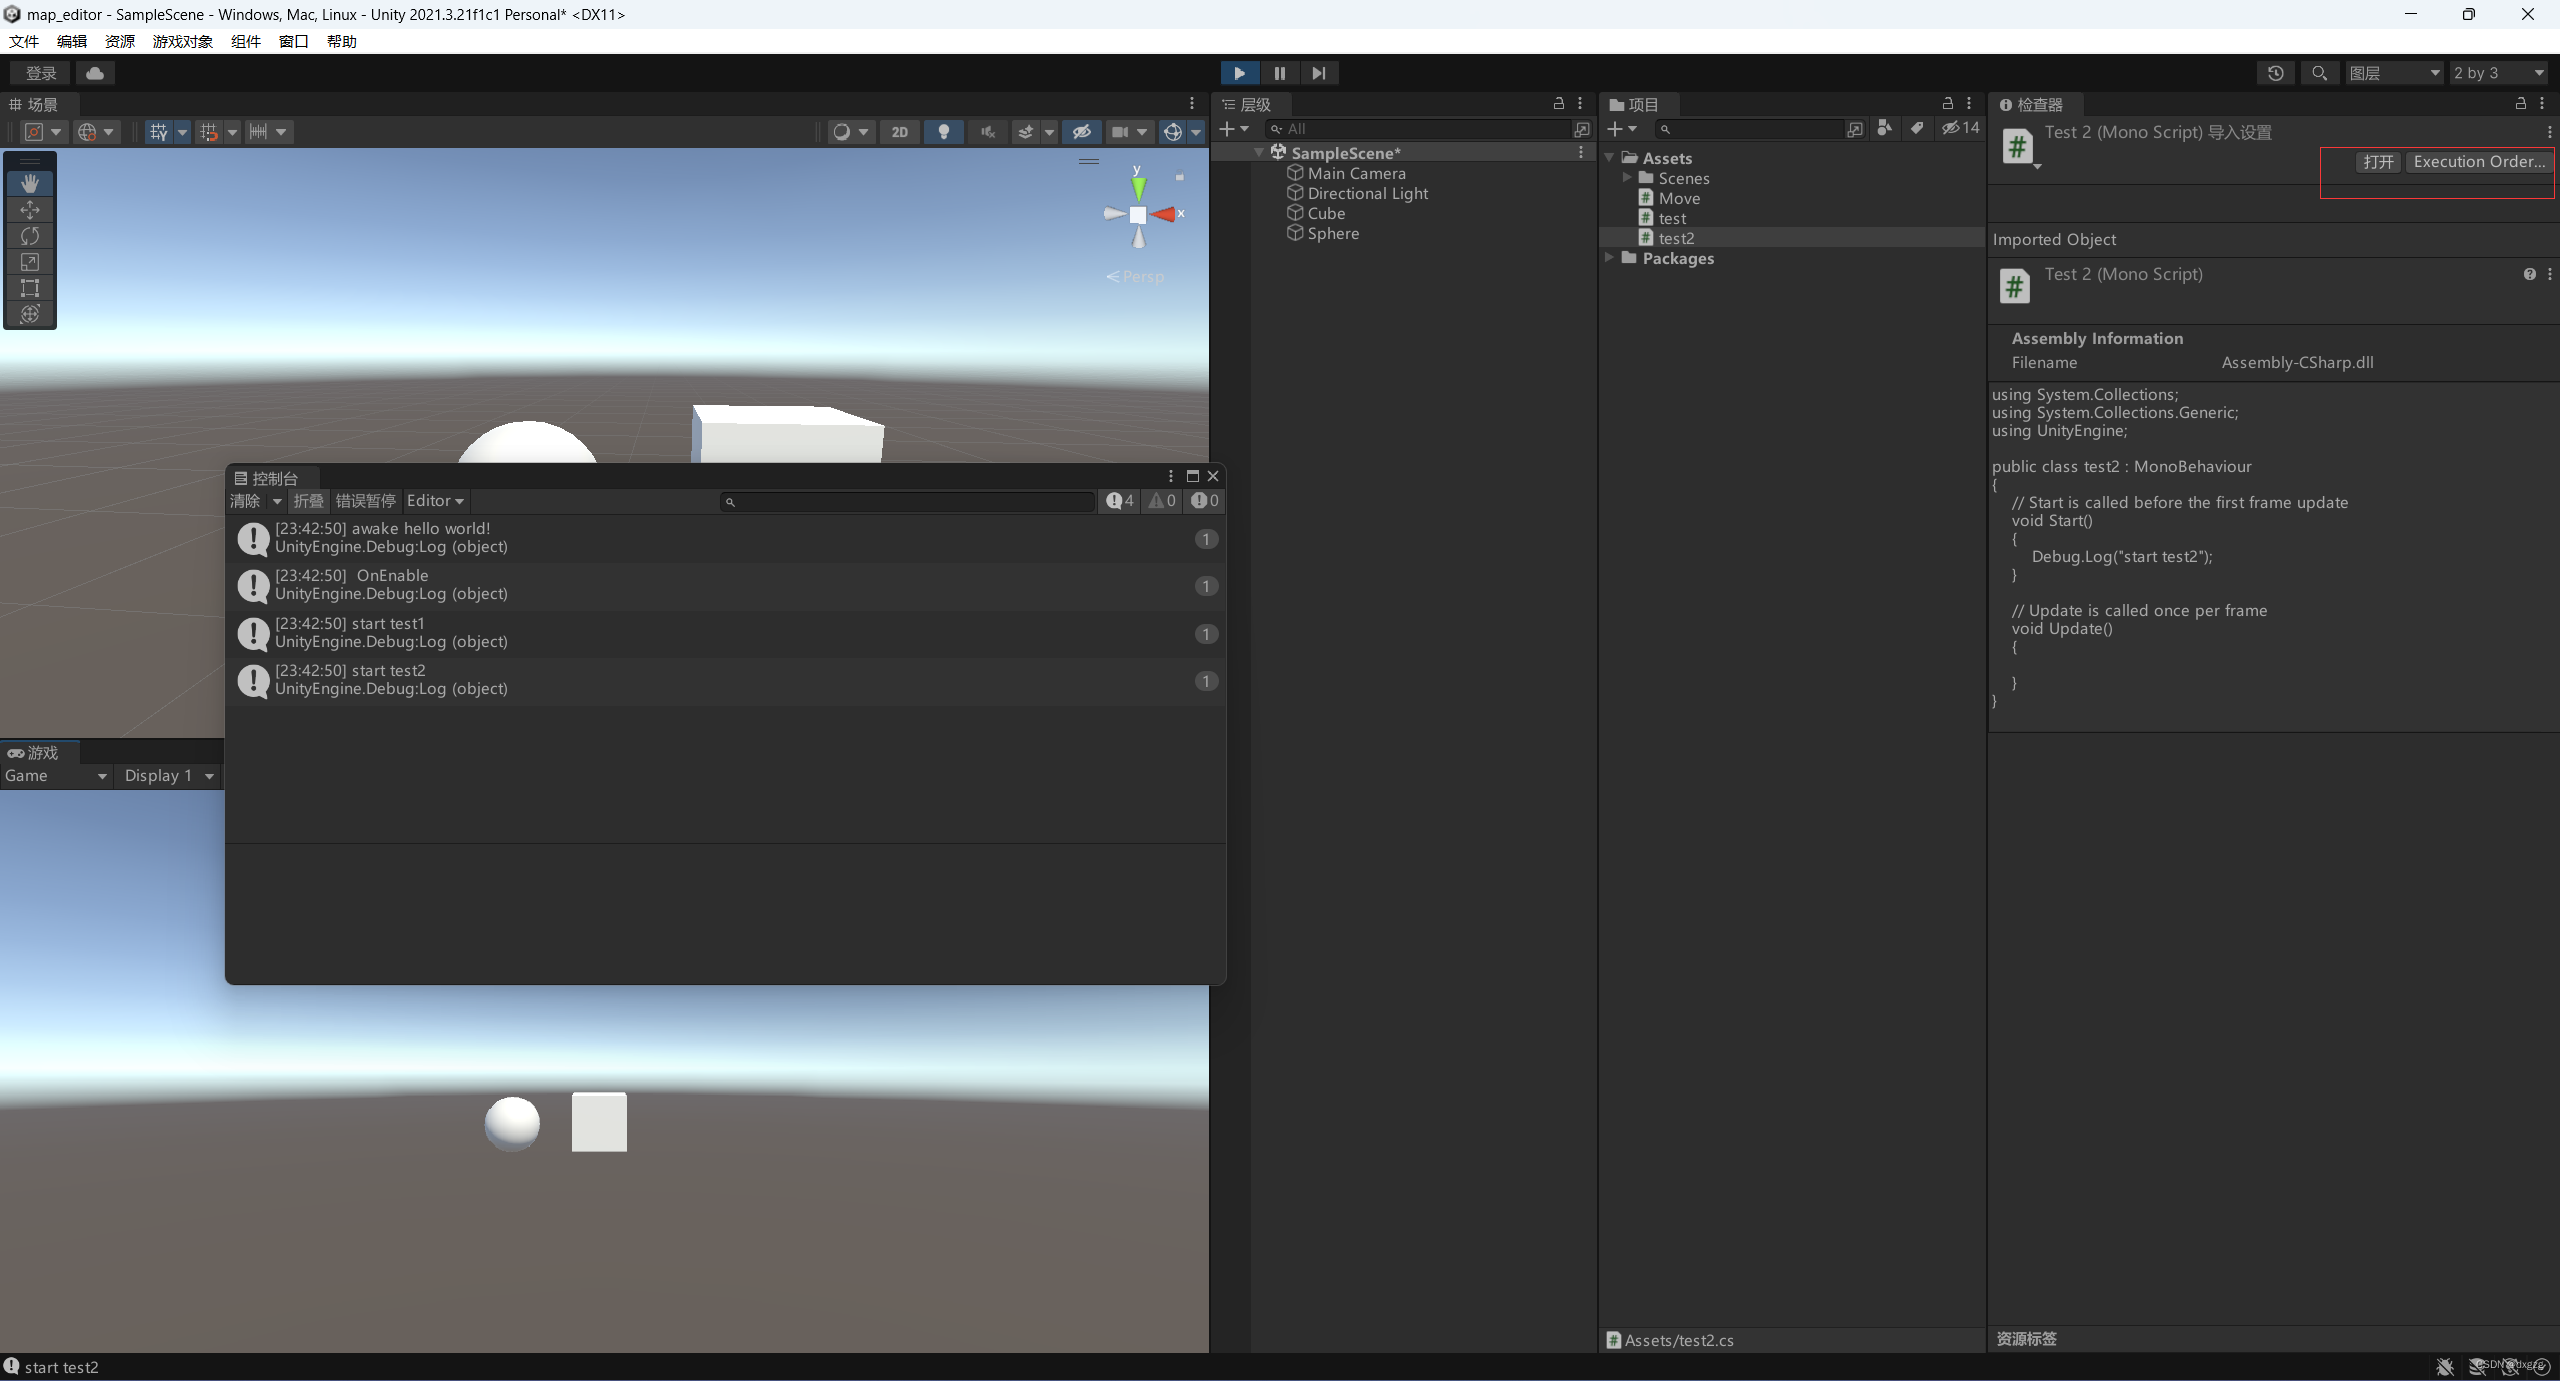
编辑脚本的执行顺序
我个人感觉不要一个放在Awake函数中,一个放在Start中。因为这只适合两个脚本使用,如果多个脚本还是没有办法解决脚本执行的顺序。在这里设置脚本的执行顺序,添加进去的值越小在队列中越靠前越先执行
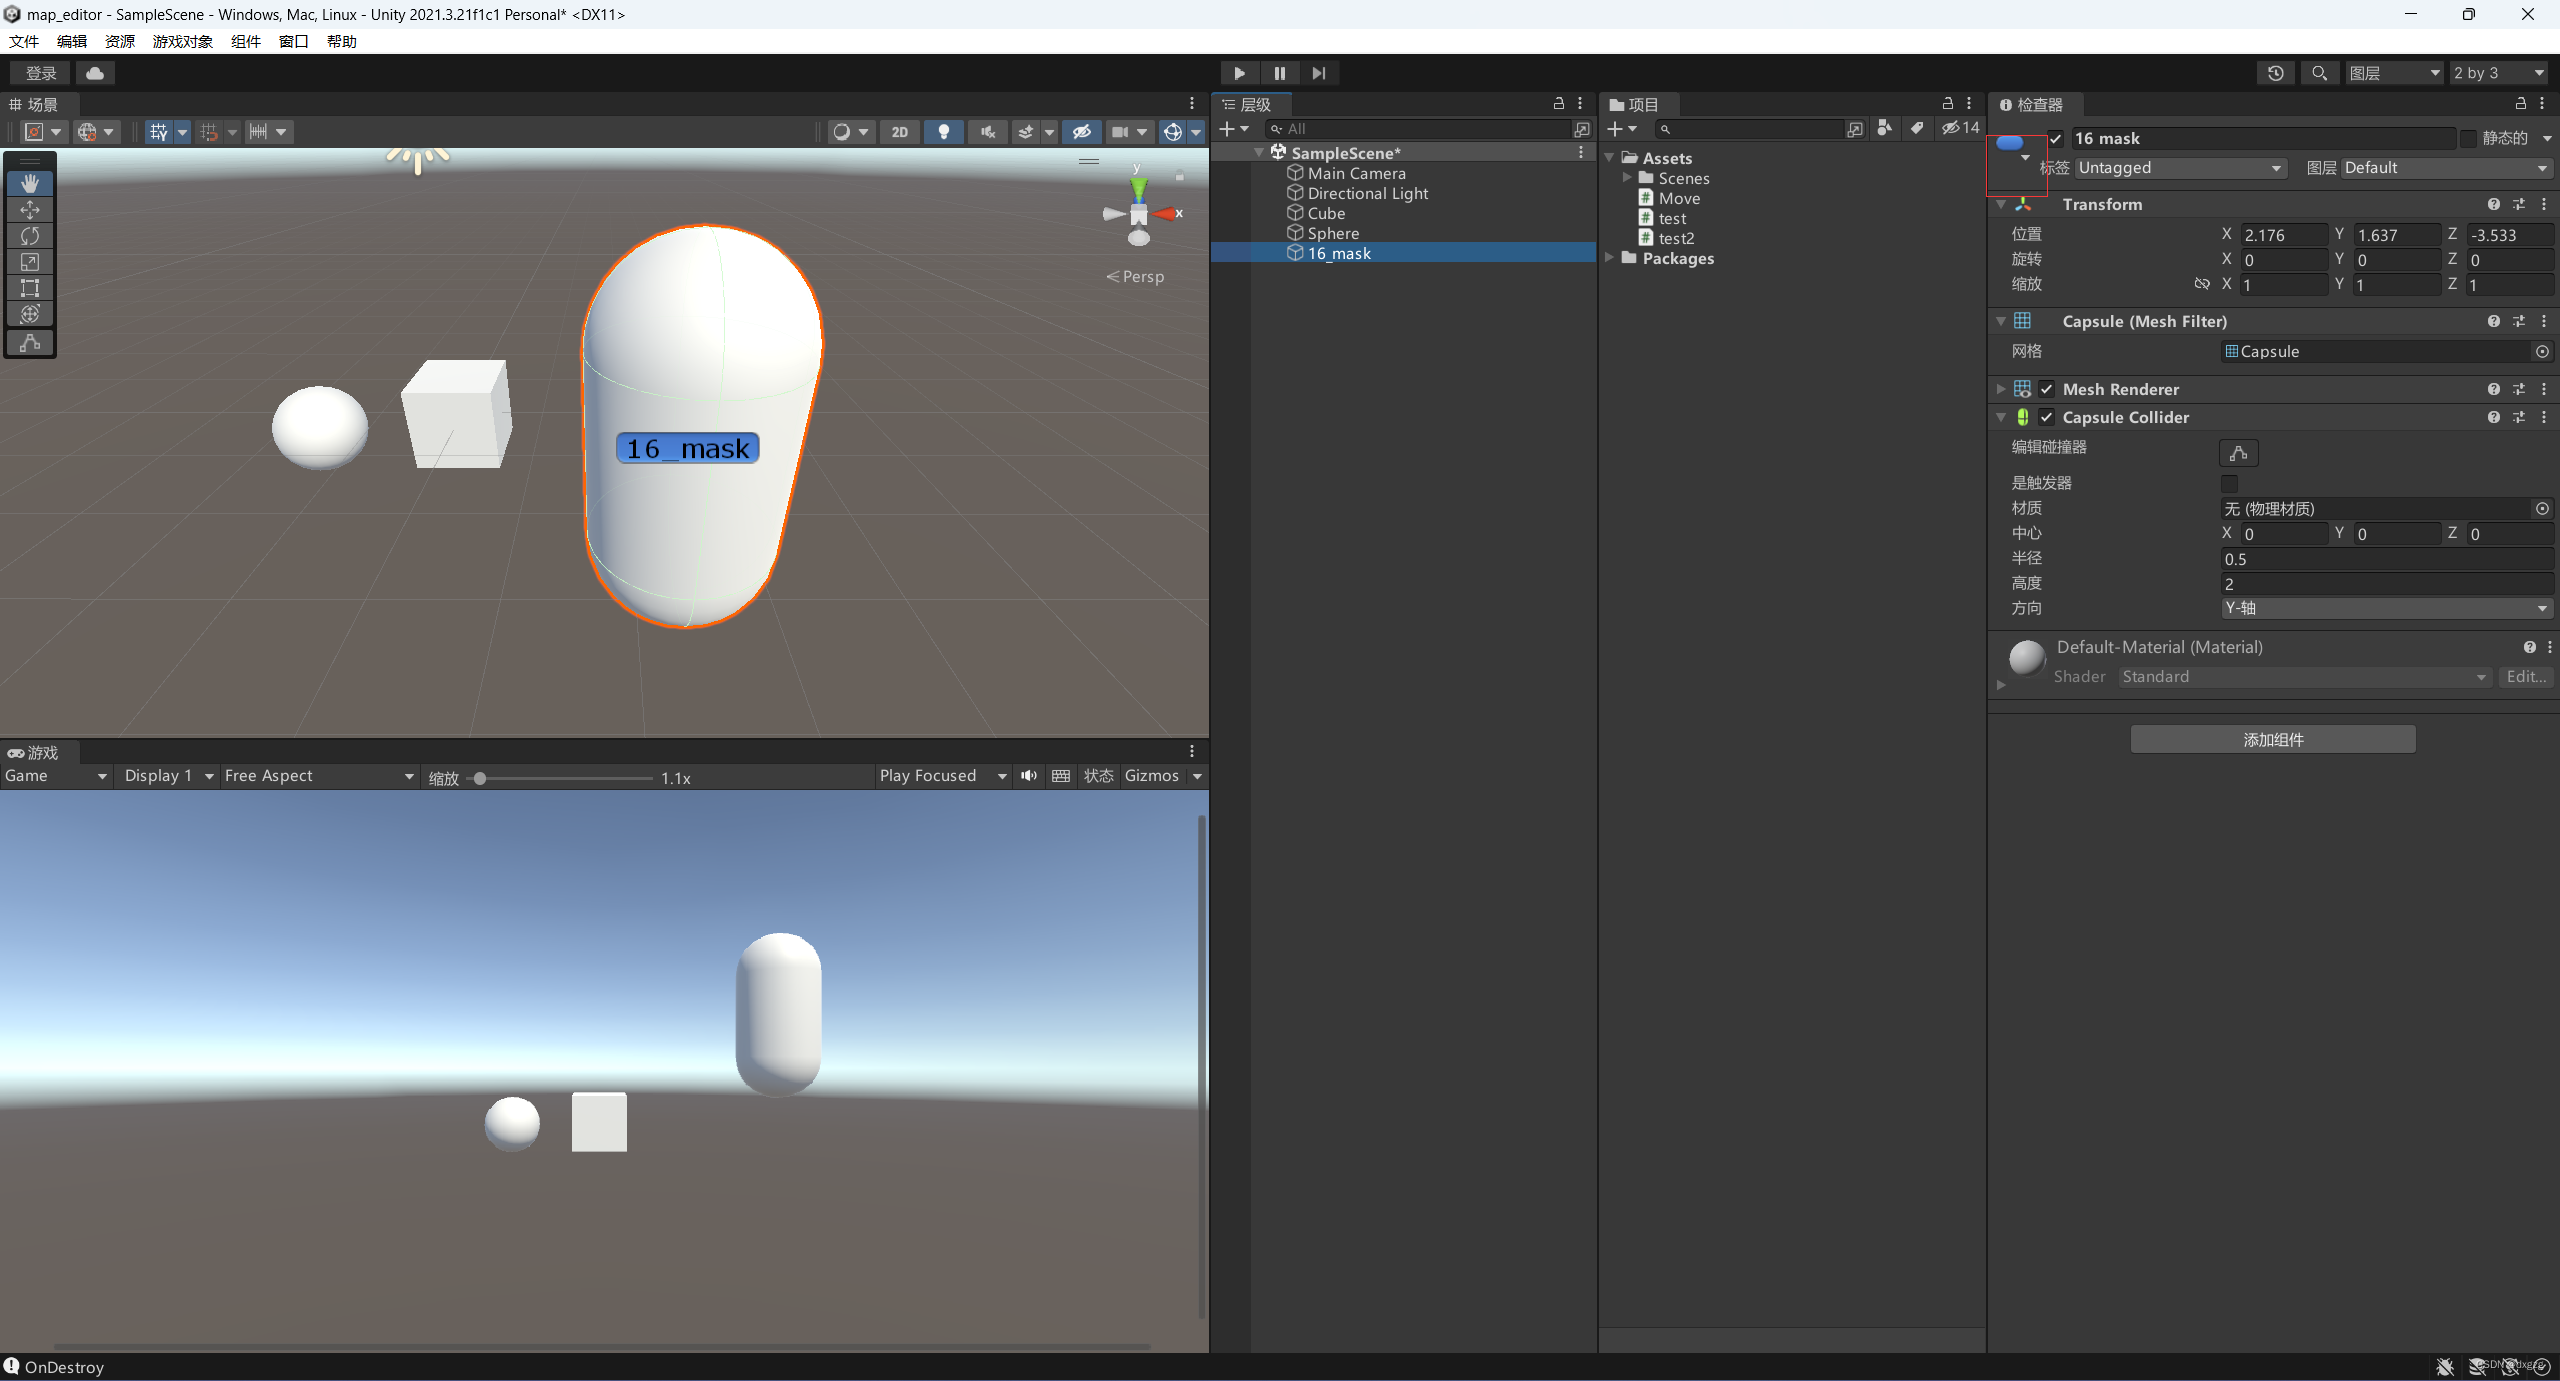
物体标记
给标签换个颜色就能看见文本了。
图层
可以根据不同图层来做碰撞检测,目前还没有做,简单的了解一下
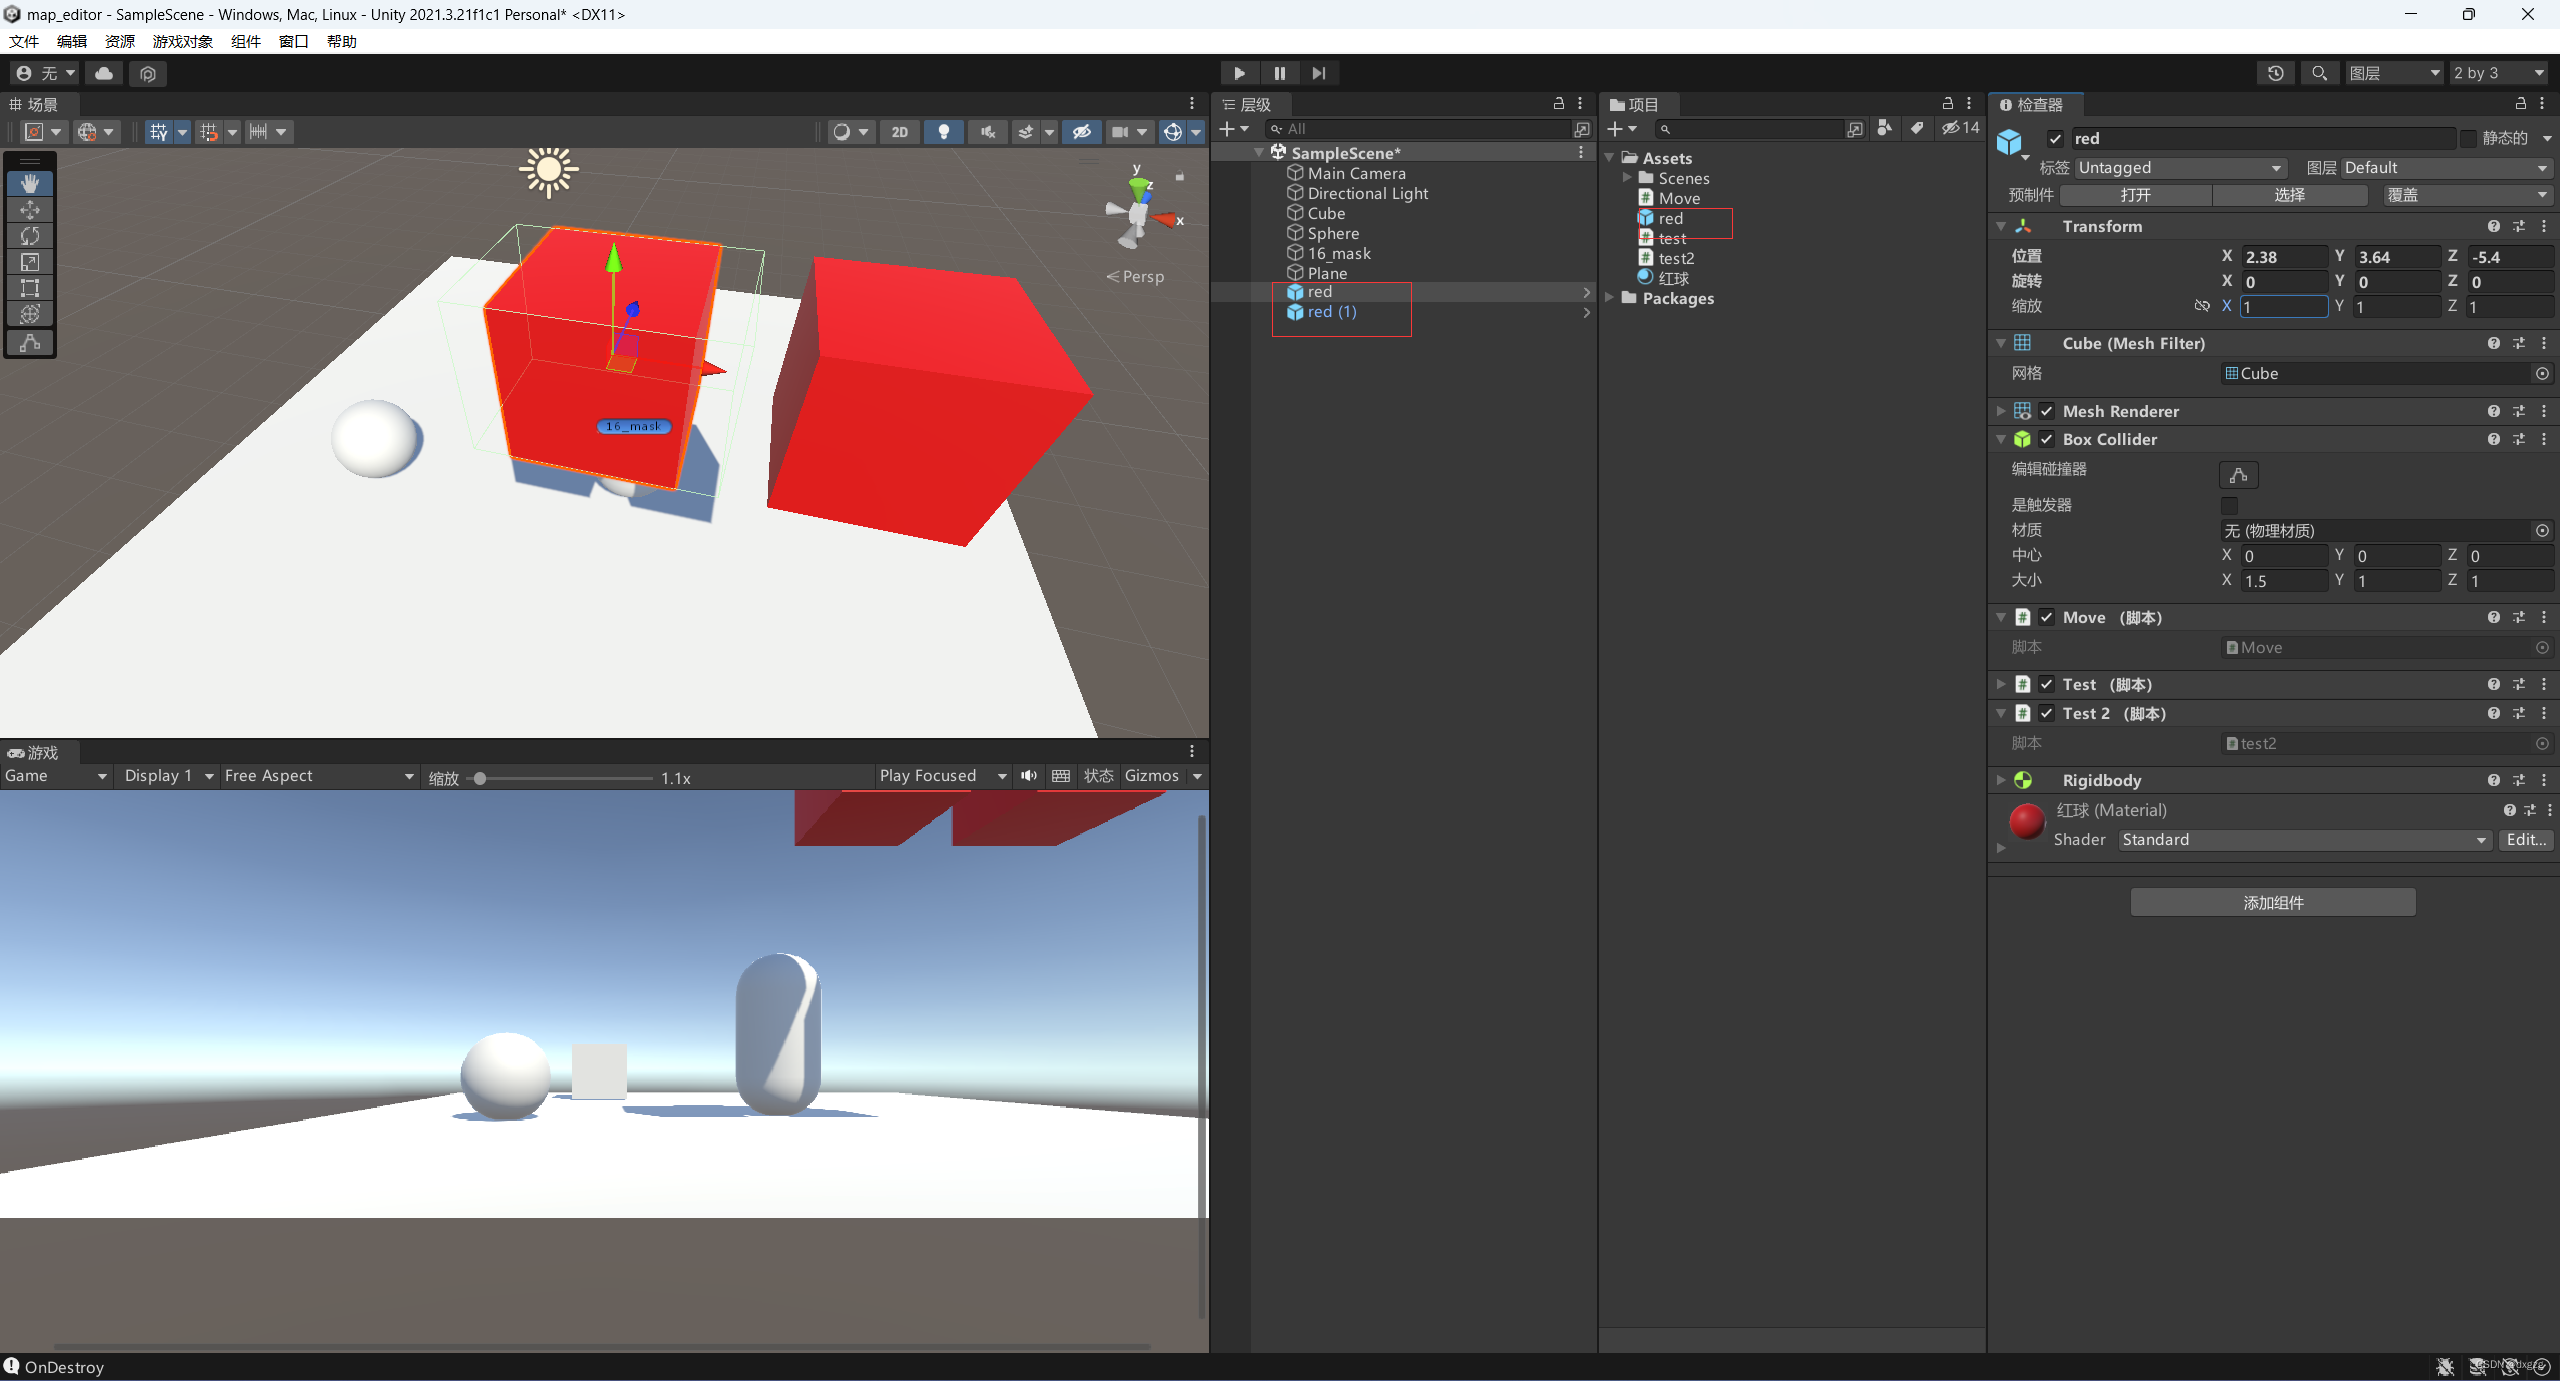
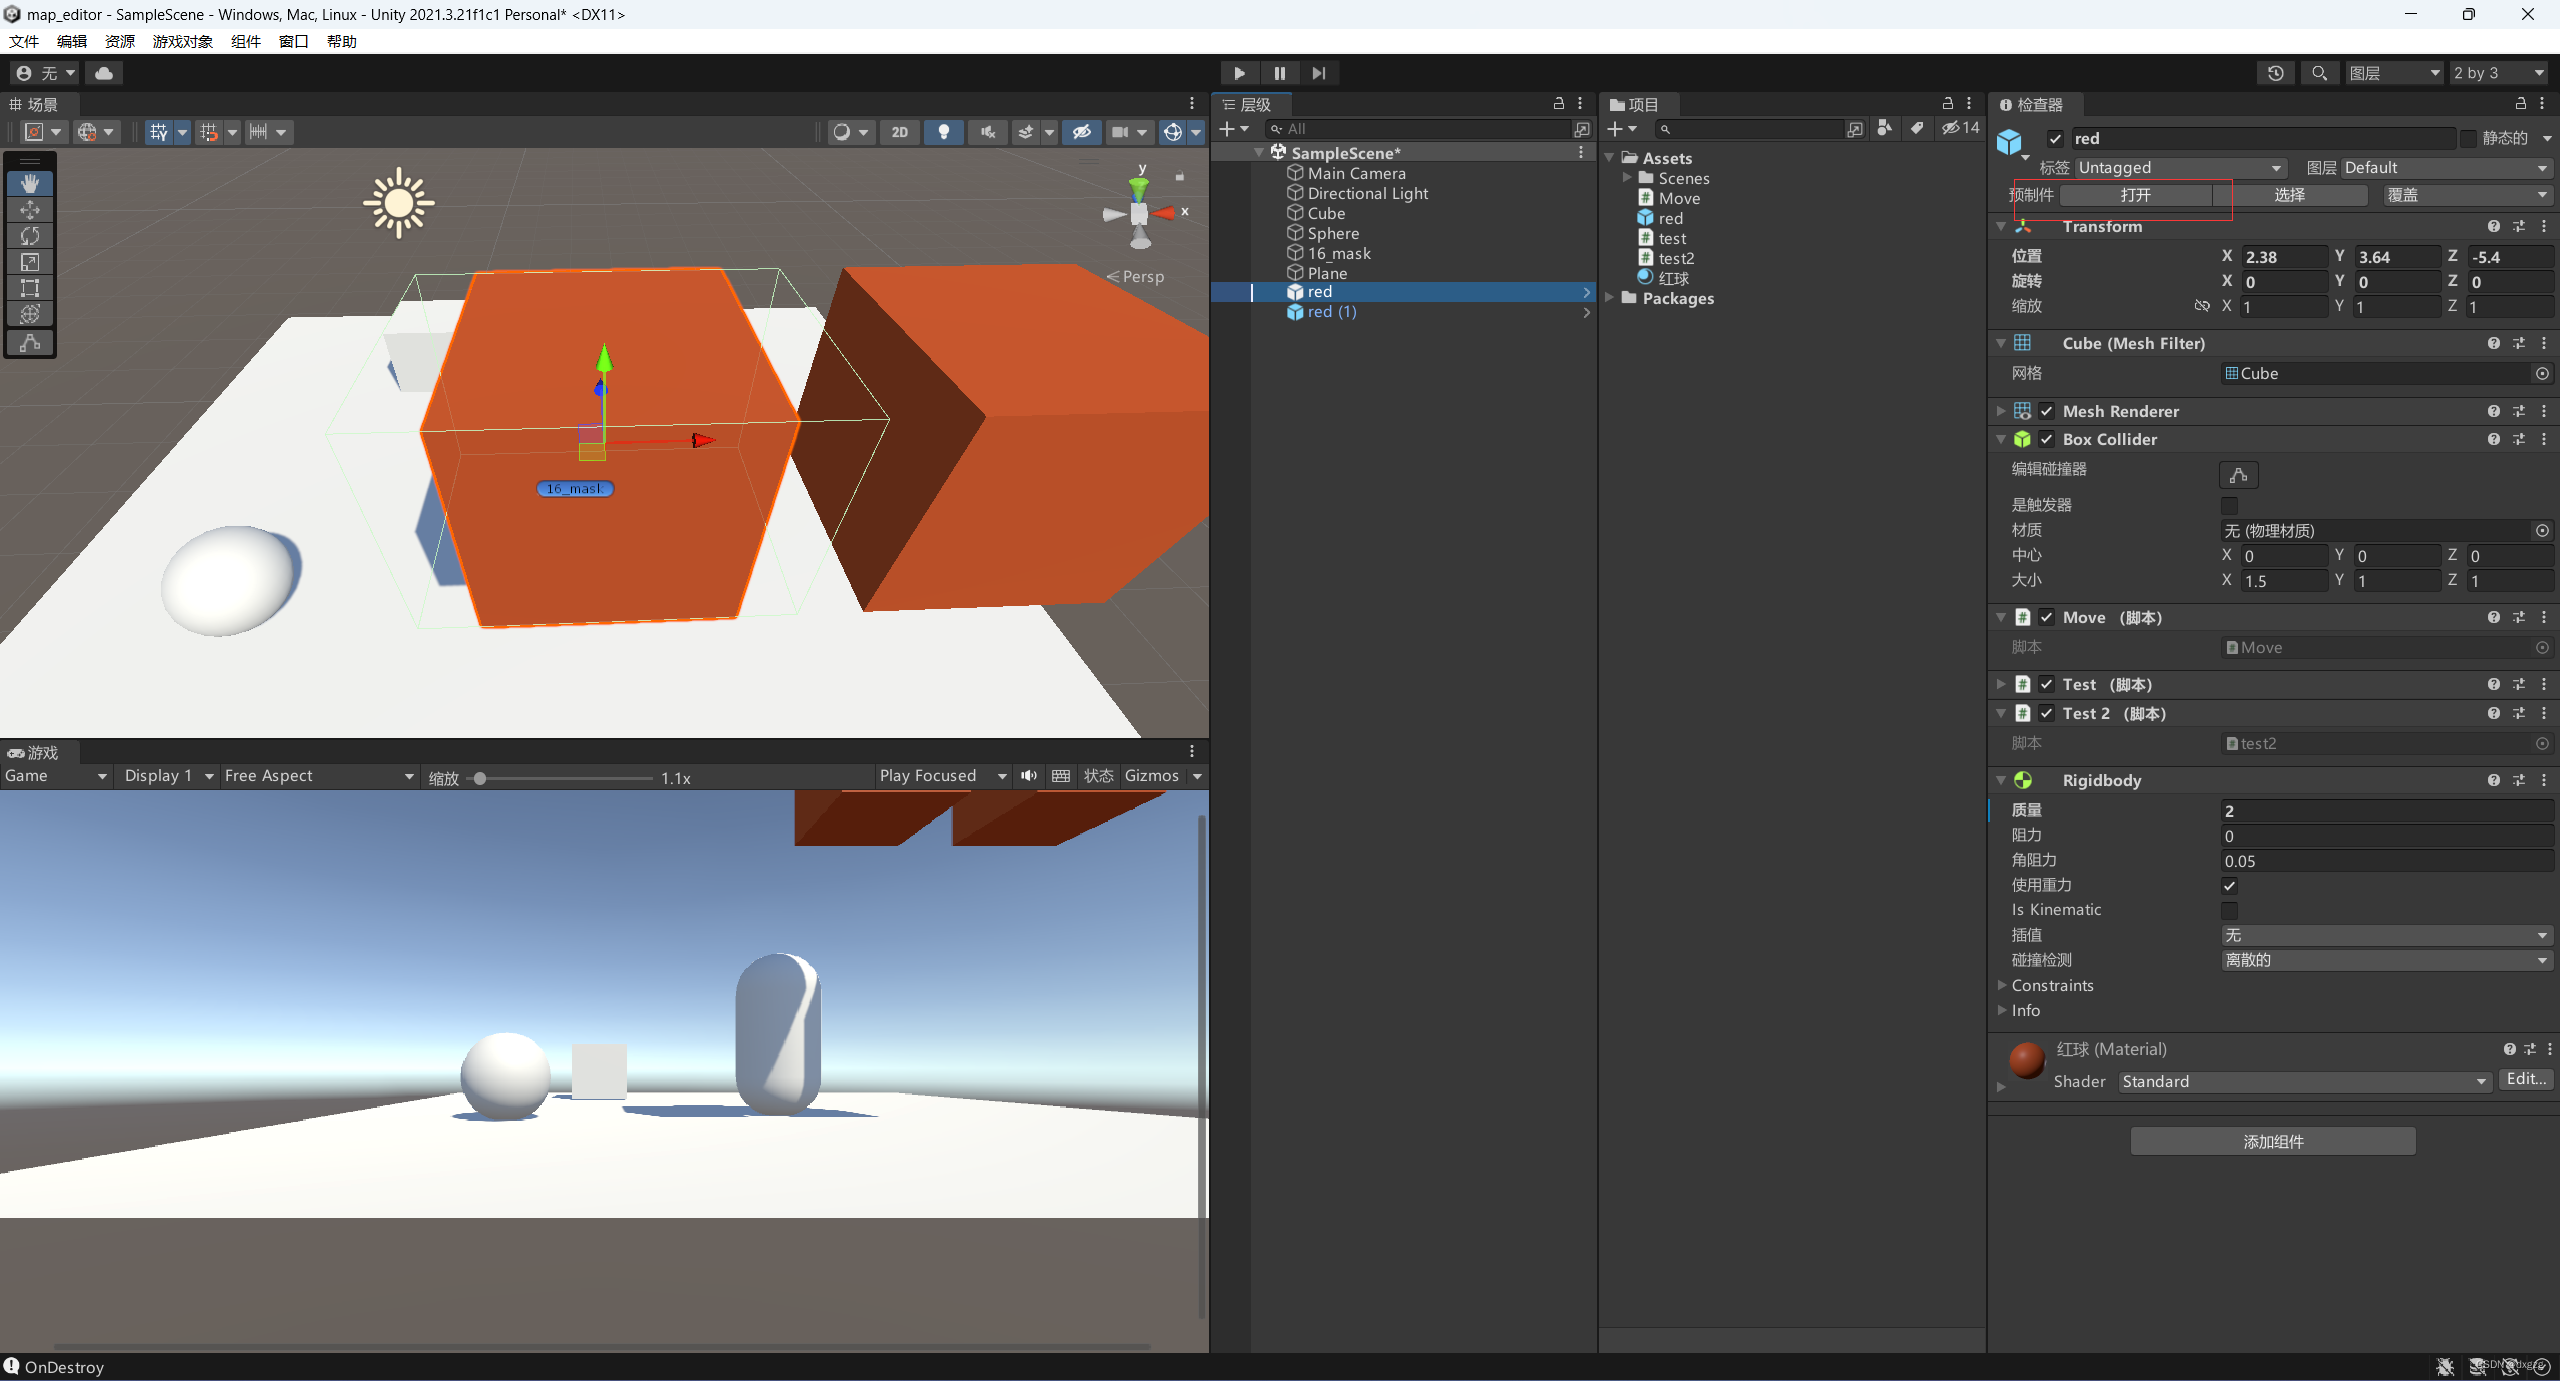
预设体
修改预设体的值,大家都变了,这样省的一个变了,其他的还要手调,但如果只需要这某一个物体变了,就不要改变预设体的值,而是单独操作这个对象。要改变预设体就直接改右边,如果改单独的一个对象,就改左边的值。试了下材质是一改都要改的,只动一个是不可以的。
预设体生成
就是把左侧的组件收拾一下直接拖到右边即可
找不到预设体怎么办?
找不到对应的预设体就点一下这个选择

修改一个预设体物体不操作预设体本体怎么做
点一下打开,这样操作就会直接影响预设体的本体从而影响所有采用预设体的物体了。
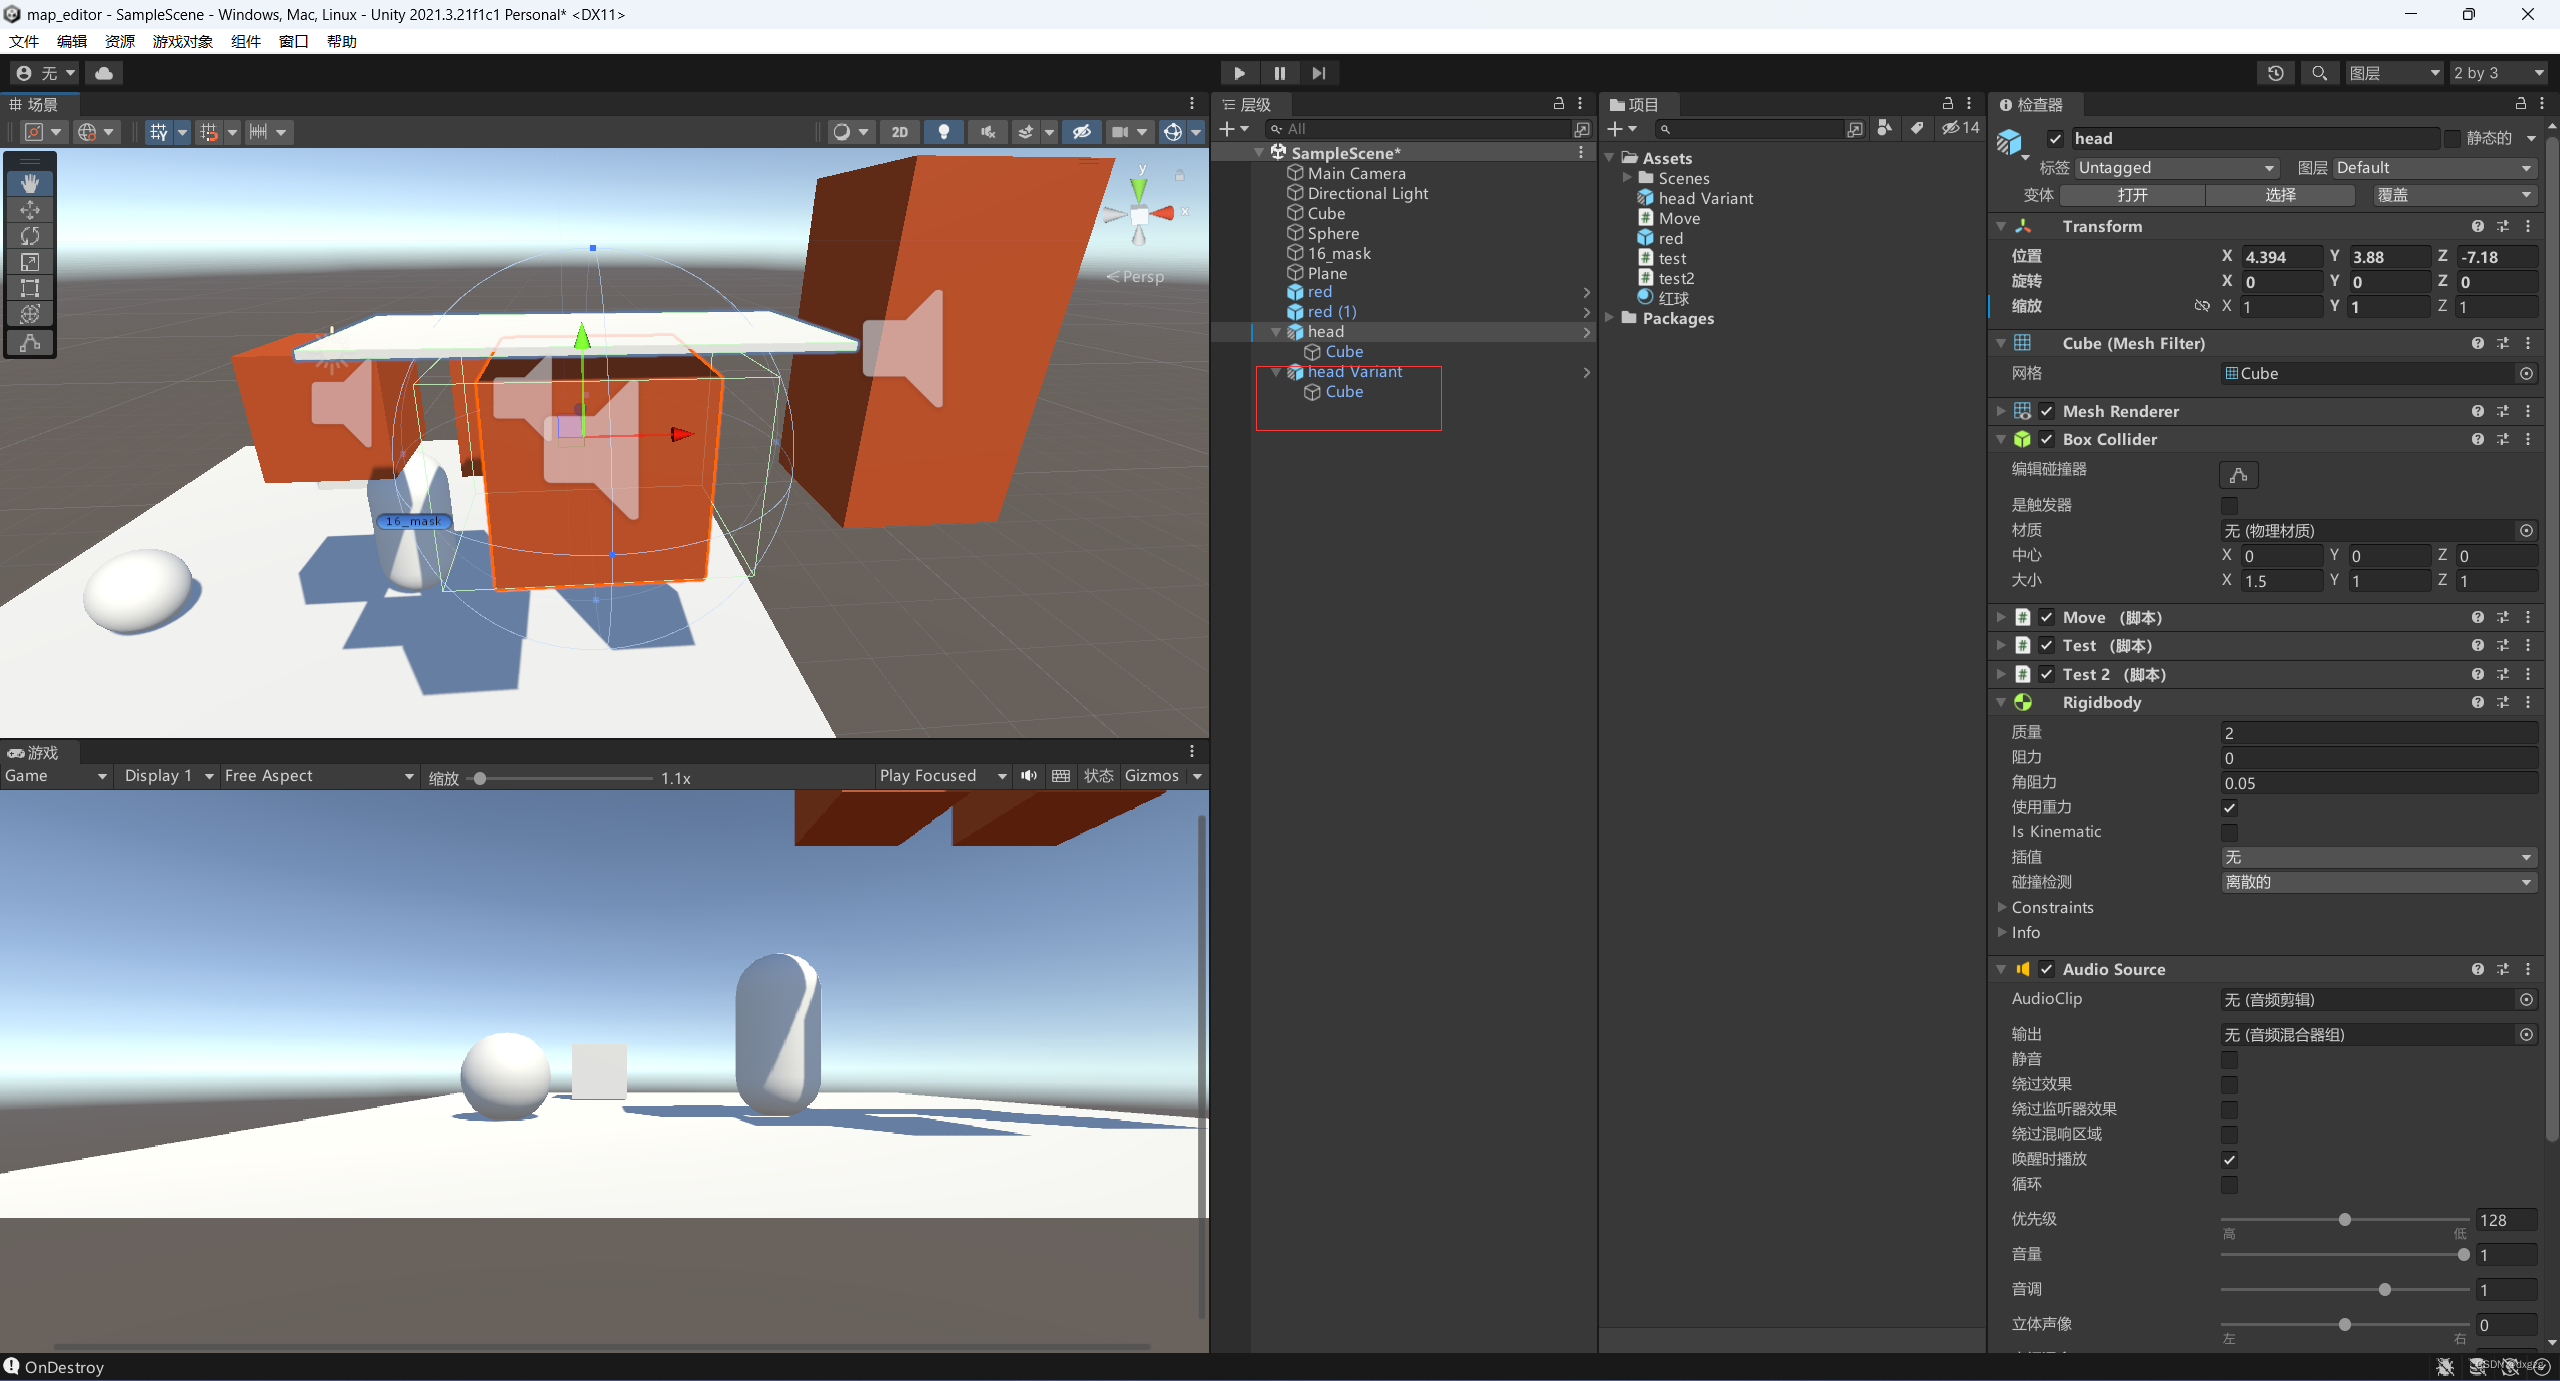
预设体变体
相当于多个基类的感觉,图标变的有点灰色。怎么创建的?就是先有了预设体,在改变了一部分东西在拖拽一下发现有变化会自动提示是否需要预设体变体的
欧拉与四元数转换
using System.Collections;
using System.Collections.Generic;
using UnityEngine;

public class RotateTest : MonoBehaviour
{


    // Start is called before the first frame update
    void Start()
    {


        // 欧拉角,四元数
        // unity 用的是四元数
        Vector3 v = new Vector3(0, 30, 0);
        Quaternion q = Quaternion.identity; // 四元数

        // 通过欧拉角创建四元数
        q = Quaternion.Euler(v);

        // 看向一个物体,我猜打怪的时候,玩家视野自动移入
        q = Quaternion.LookRotation(v);

        // 四元数转为欧拉
        var v2 = q.eulerAngles;
    }

    // Update is called once per frame
    void Update()
    {


    }
}
调试
我以为是代码进行debug,不是的,是画线来进行调试,我猜这样方便后面好学习视野的范围
using System.Collections;
using System.Collections.Generic;
using UnityEngine;

public class DebugTest_22 : MonoBehaviour
{


    // Start is called before the first frame update
    void Start()
    {


    }

    // Update is called once per frame
    void Update()
    {


        // 绘制一条线
        Debug.DrawLine(Vector3.zero, Vector3.one,Color.blue);

        // 绘制一条射线
        Debug.DrawRay(Vector3.zero, Vector3.up, Color.red);
    }
}
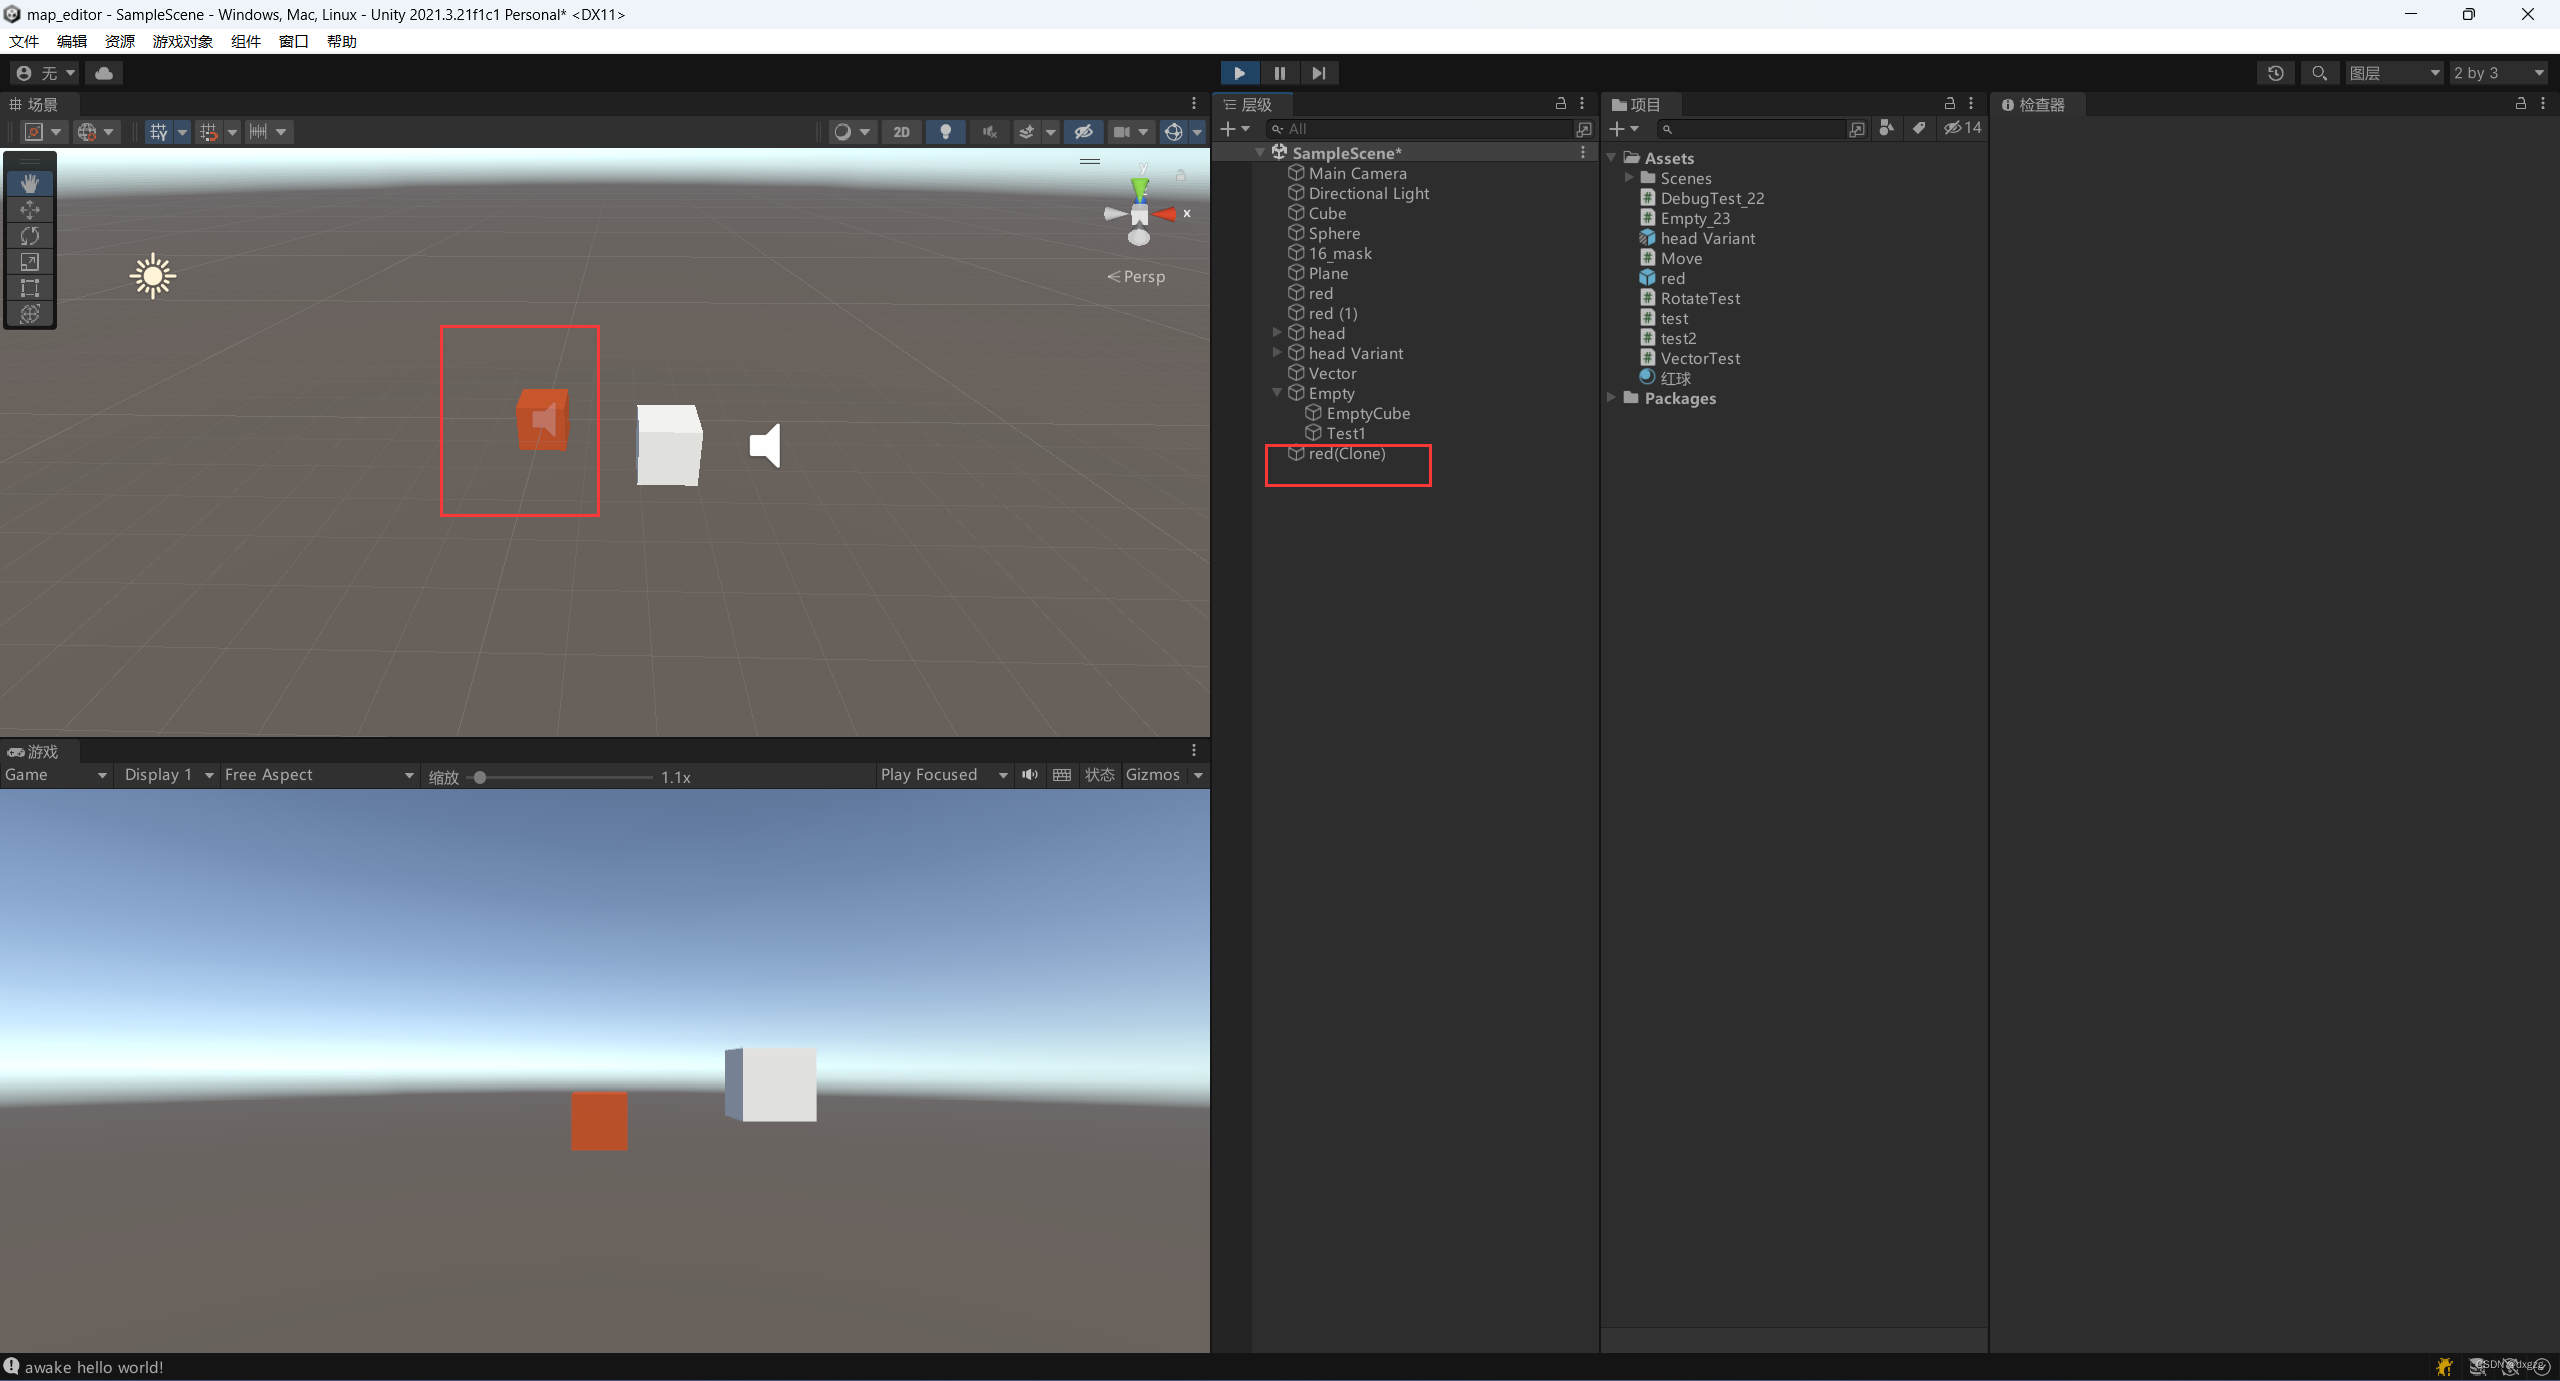
获取对象实例
可以简写gameObject获取属性,C#有点厉害,类里可以不用写this指针直接调用类对象。
using System.Collections;
using System.Collections.Generic;
using UnityEngine;

public class Empty_23 : MonoBehaviour
{


    // Start is called before the first frame update
    void Start()
    {


        // 获取对象的这个实例
        GameObject go = this.gameObject;
        Debug.Log(go.name);

        // 简便写法
        Debug.Log(gameObject.name);

        // tag标签
        Debug.Log(gameObject.tag);
        // 图层
        Debug.Log(gameObject.layer);
    }

    // Update is called once per frame
    void Update()
    {


    }
}
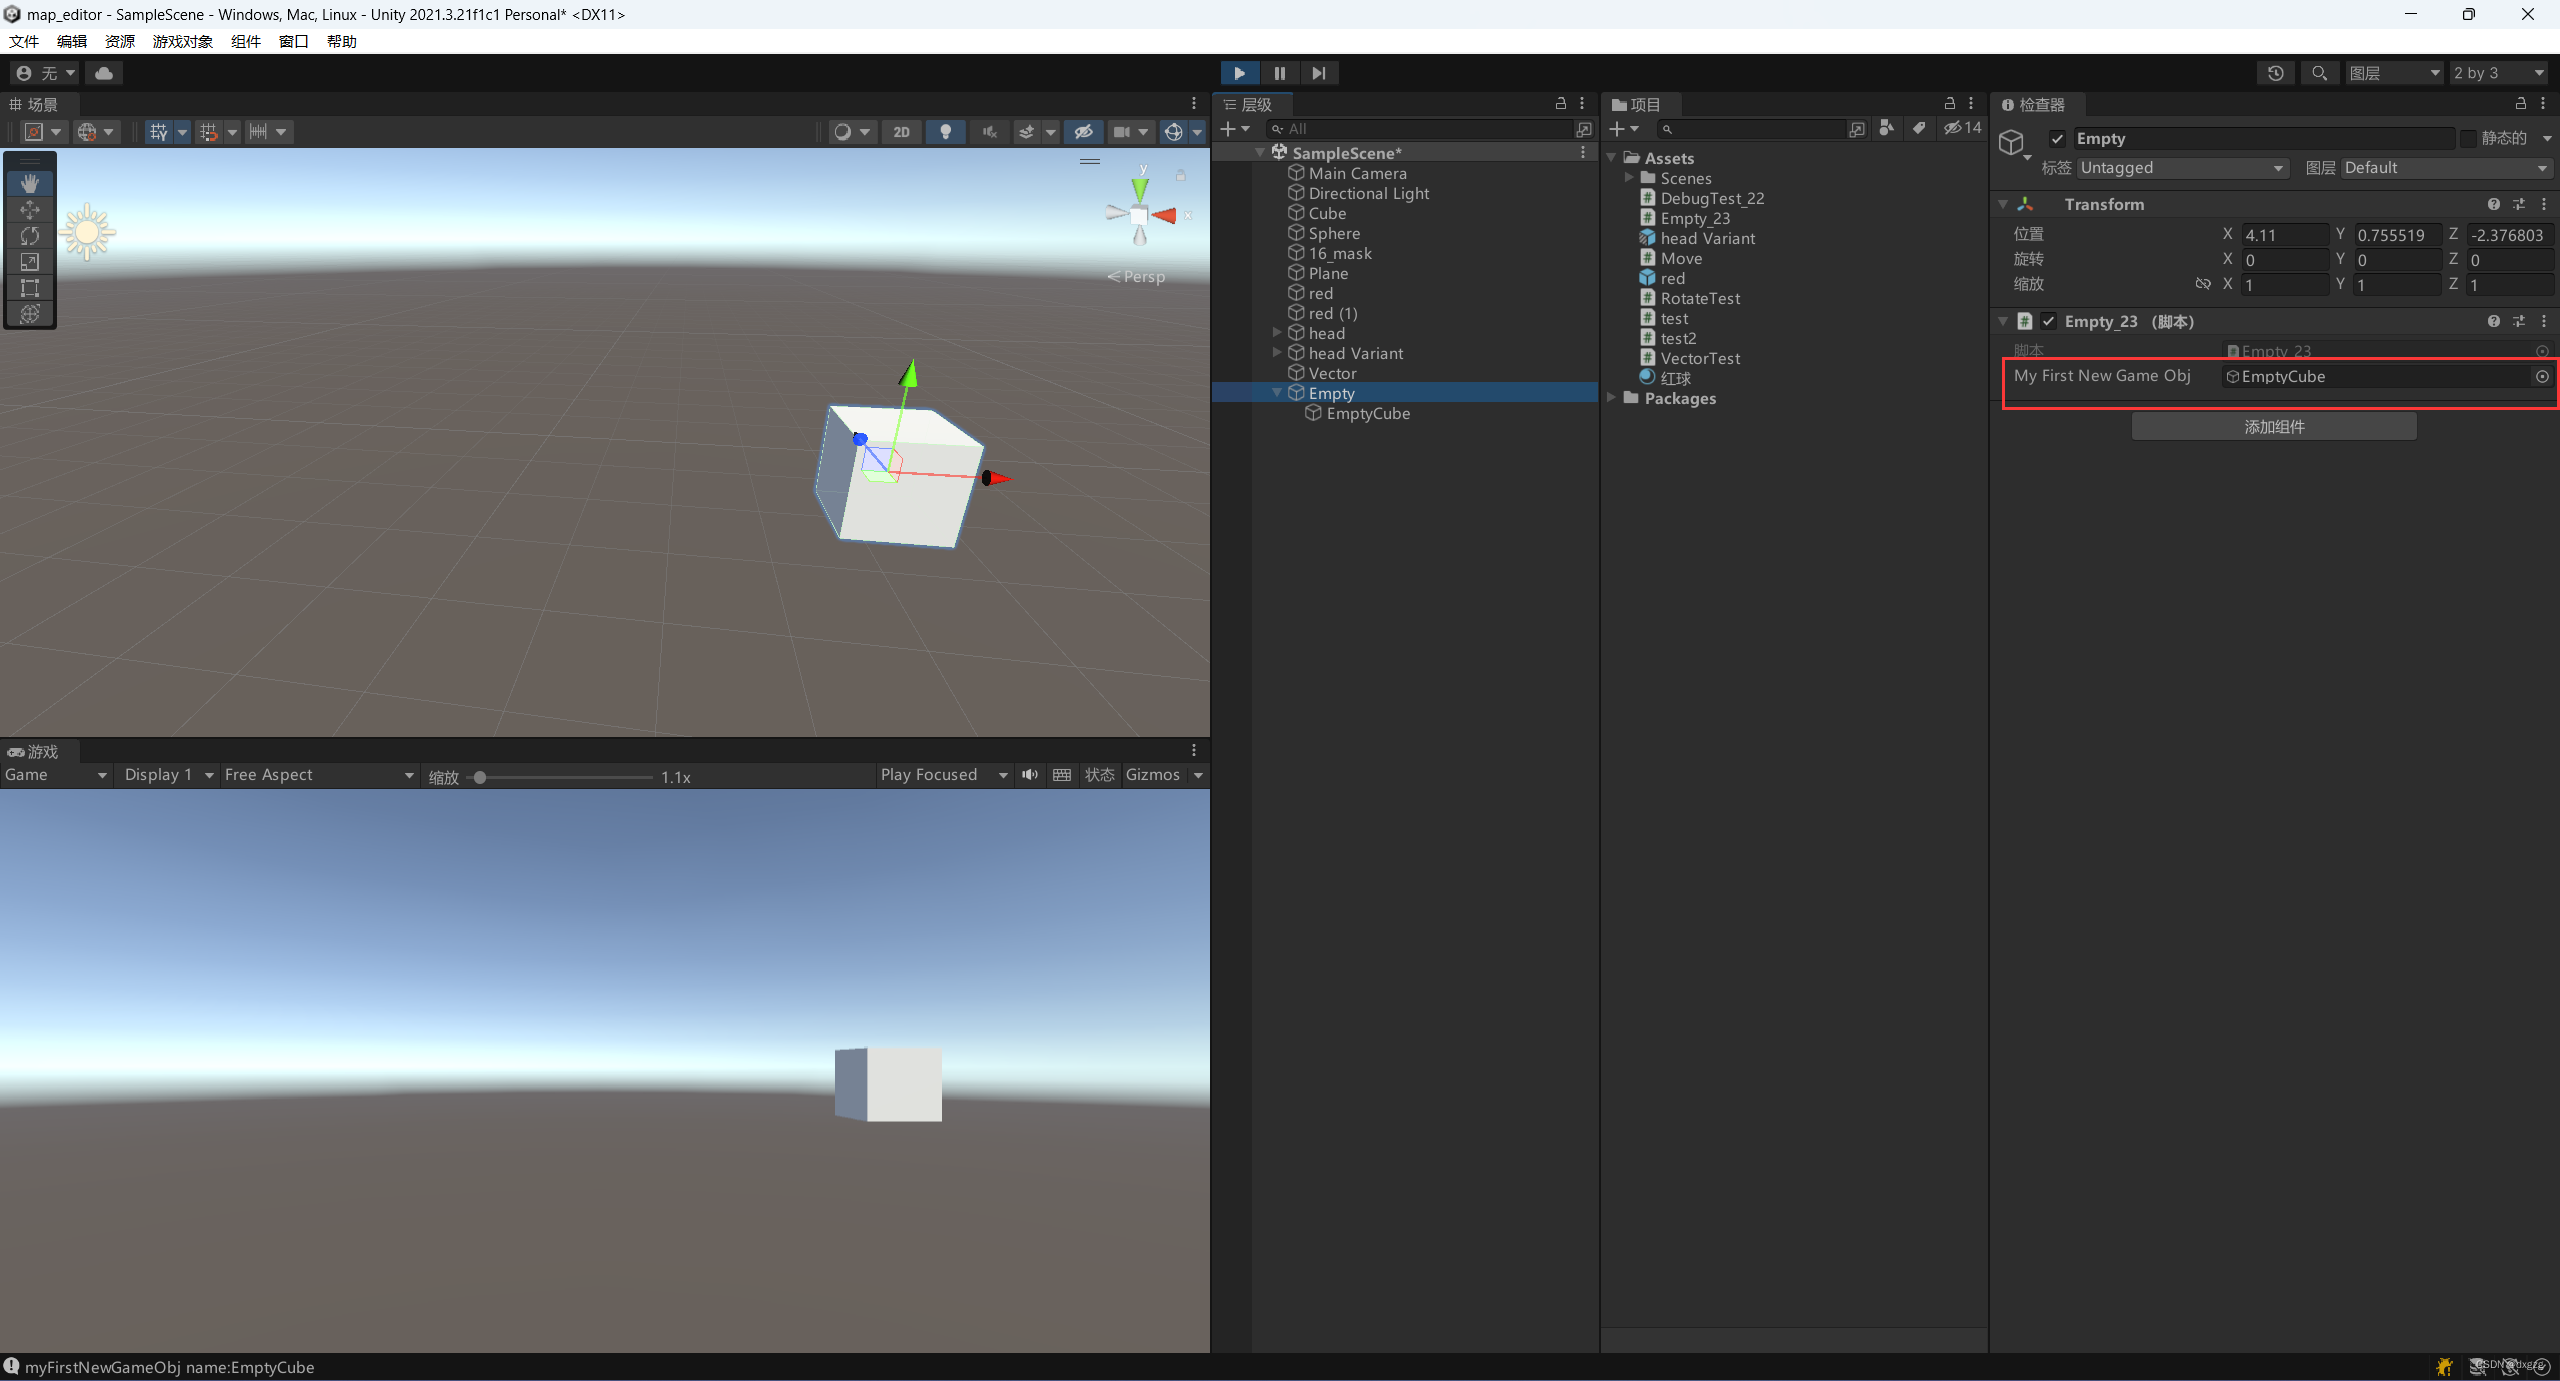
生成gameObject对象,可以在A物体操作B物体
声音一个对象即可,然后在unity编辑器上给他附一个新值
using System;
using System.Collections;
using System.Collections.Generic;
using UnityEngine;

public class Empty_23 : MonoBehaviour
{


    public GameObject myFirstNewGameObj;
    // Start is called before the first frame update
    void Start()
    {


        Debug.Log(String.Format("myFirstNewGameObj name:{0}",myFirstNewGameObj.name));
    }

    // Update is called once per frame
    void Update()
    {


    }
}
在unity编辑器这里设置上一个对象就可以正常使用了
对象是对象,组件是组件
我以为可以gameObject走天下,没想到大意了,并不能一个gameObject走天下,只有transform这个组件封了个对象,因为这是必需的,其他组件如果利用模板函数来生成一个对应的组件对象。隐式的用this指针进行了代替,获得这个对象的组件,否则使用其他gameObject调用就是其他的组件啦
		// 获取transform组件
        Debug.Log(transform.position);
        // 获取其他的组件,用模板的方式来获得对象
        BoxCollider bc = GetComponent<BoxCollider>();
添加组件
注意这个只有编辑器运行时候才可以创建出来这个组件,如果是这样创建的话,我认为必需要在代码里做好相应的初始化,毕竟脚本也是运行时产生的结果
	// 添加一个组件
	gameObject.AddComponent<AudioSource>();
获取组件
通过名字,名字是全匹配,或者按照标签来找到这个对象。
	GameObject test = GameObject.Find("Test");
    GameObject test2 = GameObject.FindWithTag("Test");
生成预设体
我当时就在想,如果需要多个预设体总不能一直让我拖来拖去吧,不累死我,按照vue框架也是一个v-for循环进行渲染。跟生成gameObject一个套路,先定义一个对象,然后把预设体的组件拖过来,然后进行绑定,最后调用Instantiate这个函数生成一个预设体实体
 	// 生成一个预设体实体
    Instantiate(myPrefab);
空空如也
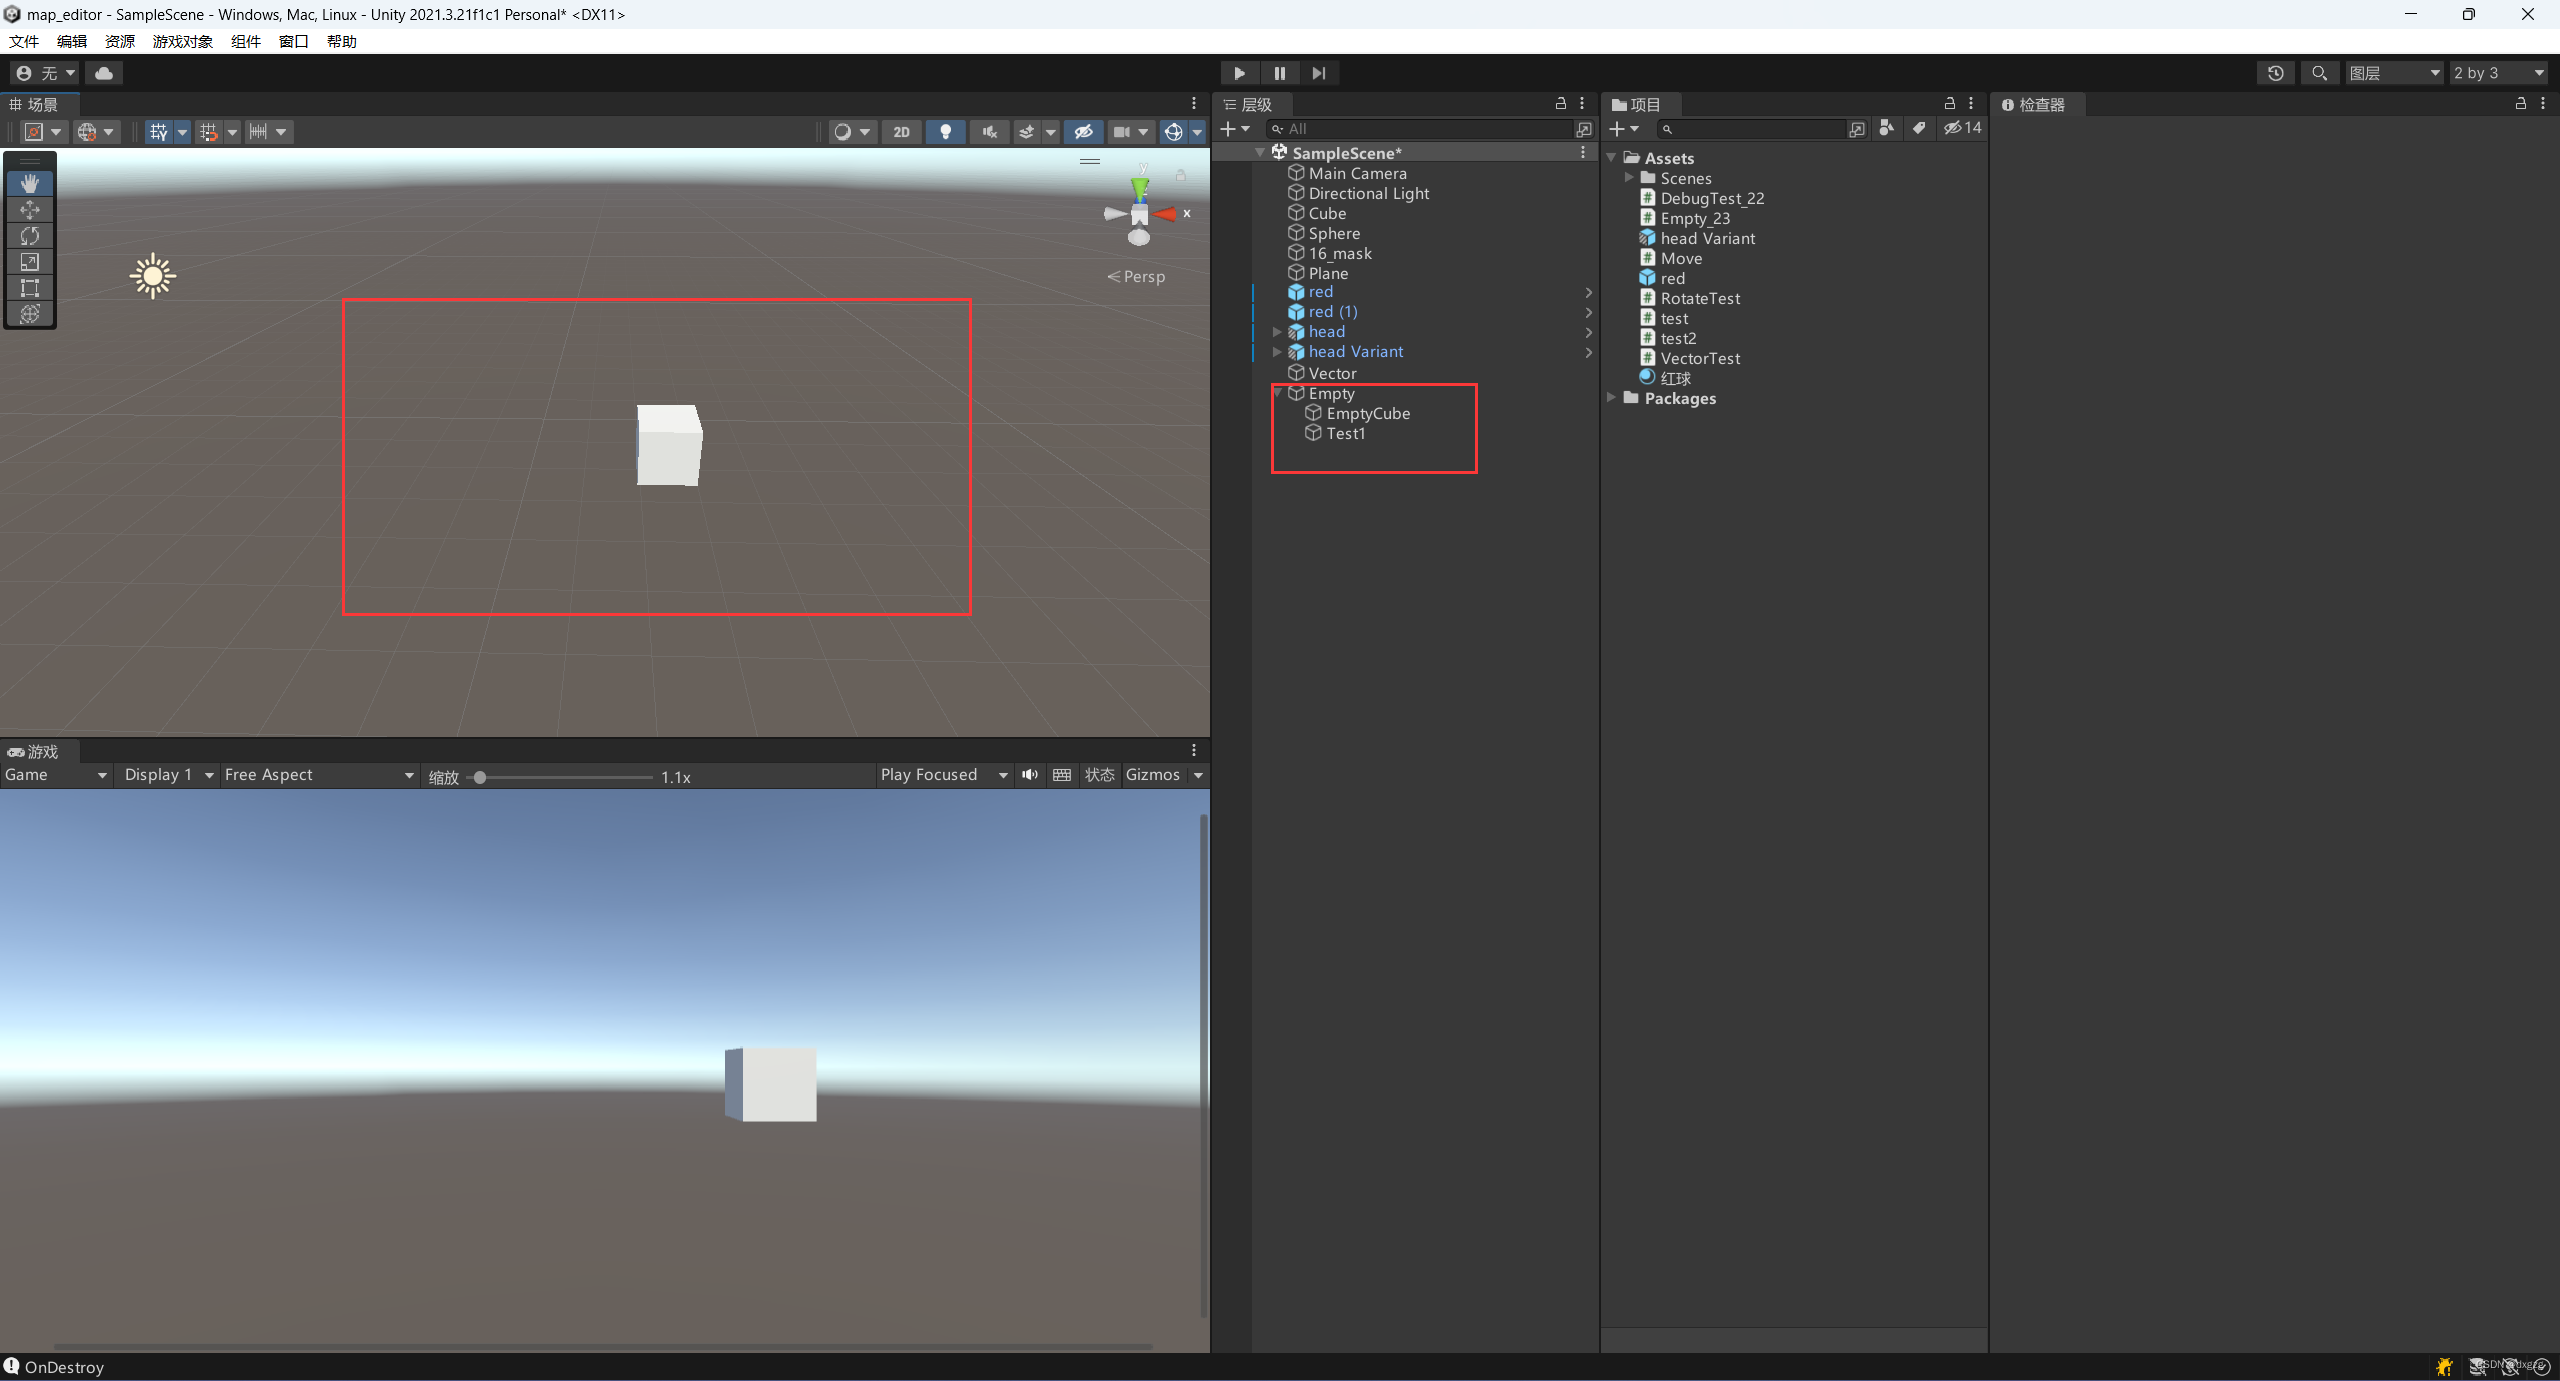
运行时就可以出现啦,我们使用代码创造的预设体实体
上一帧到这一帧的时间
这个API接口调用即可
Debug.Log(Time.deltaTime);
Application 类
Application 类有些文件的操作,这些操作感觉我想做的游戏用不到这个,简单了解一下。毕竟不是单机不可能把东西存到客户端这一侧的。
设置后台运行
这个参数还是蛮有用的,游戏小窗后是否可以运行
Application.runInBackground
打开url
没想到这个类还可以运行url,牛逼!
Application.OpenUrl
还可以设置退出游戏
执行这个函数直接退出游戏
Application.Quit()
场景,这个感觉很重要
场景管理类
SceneManager
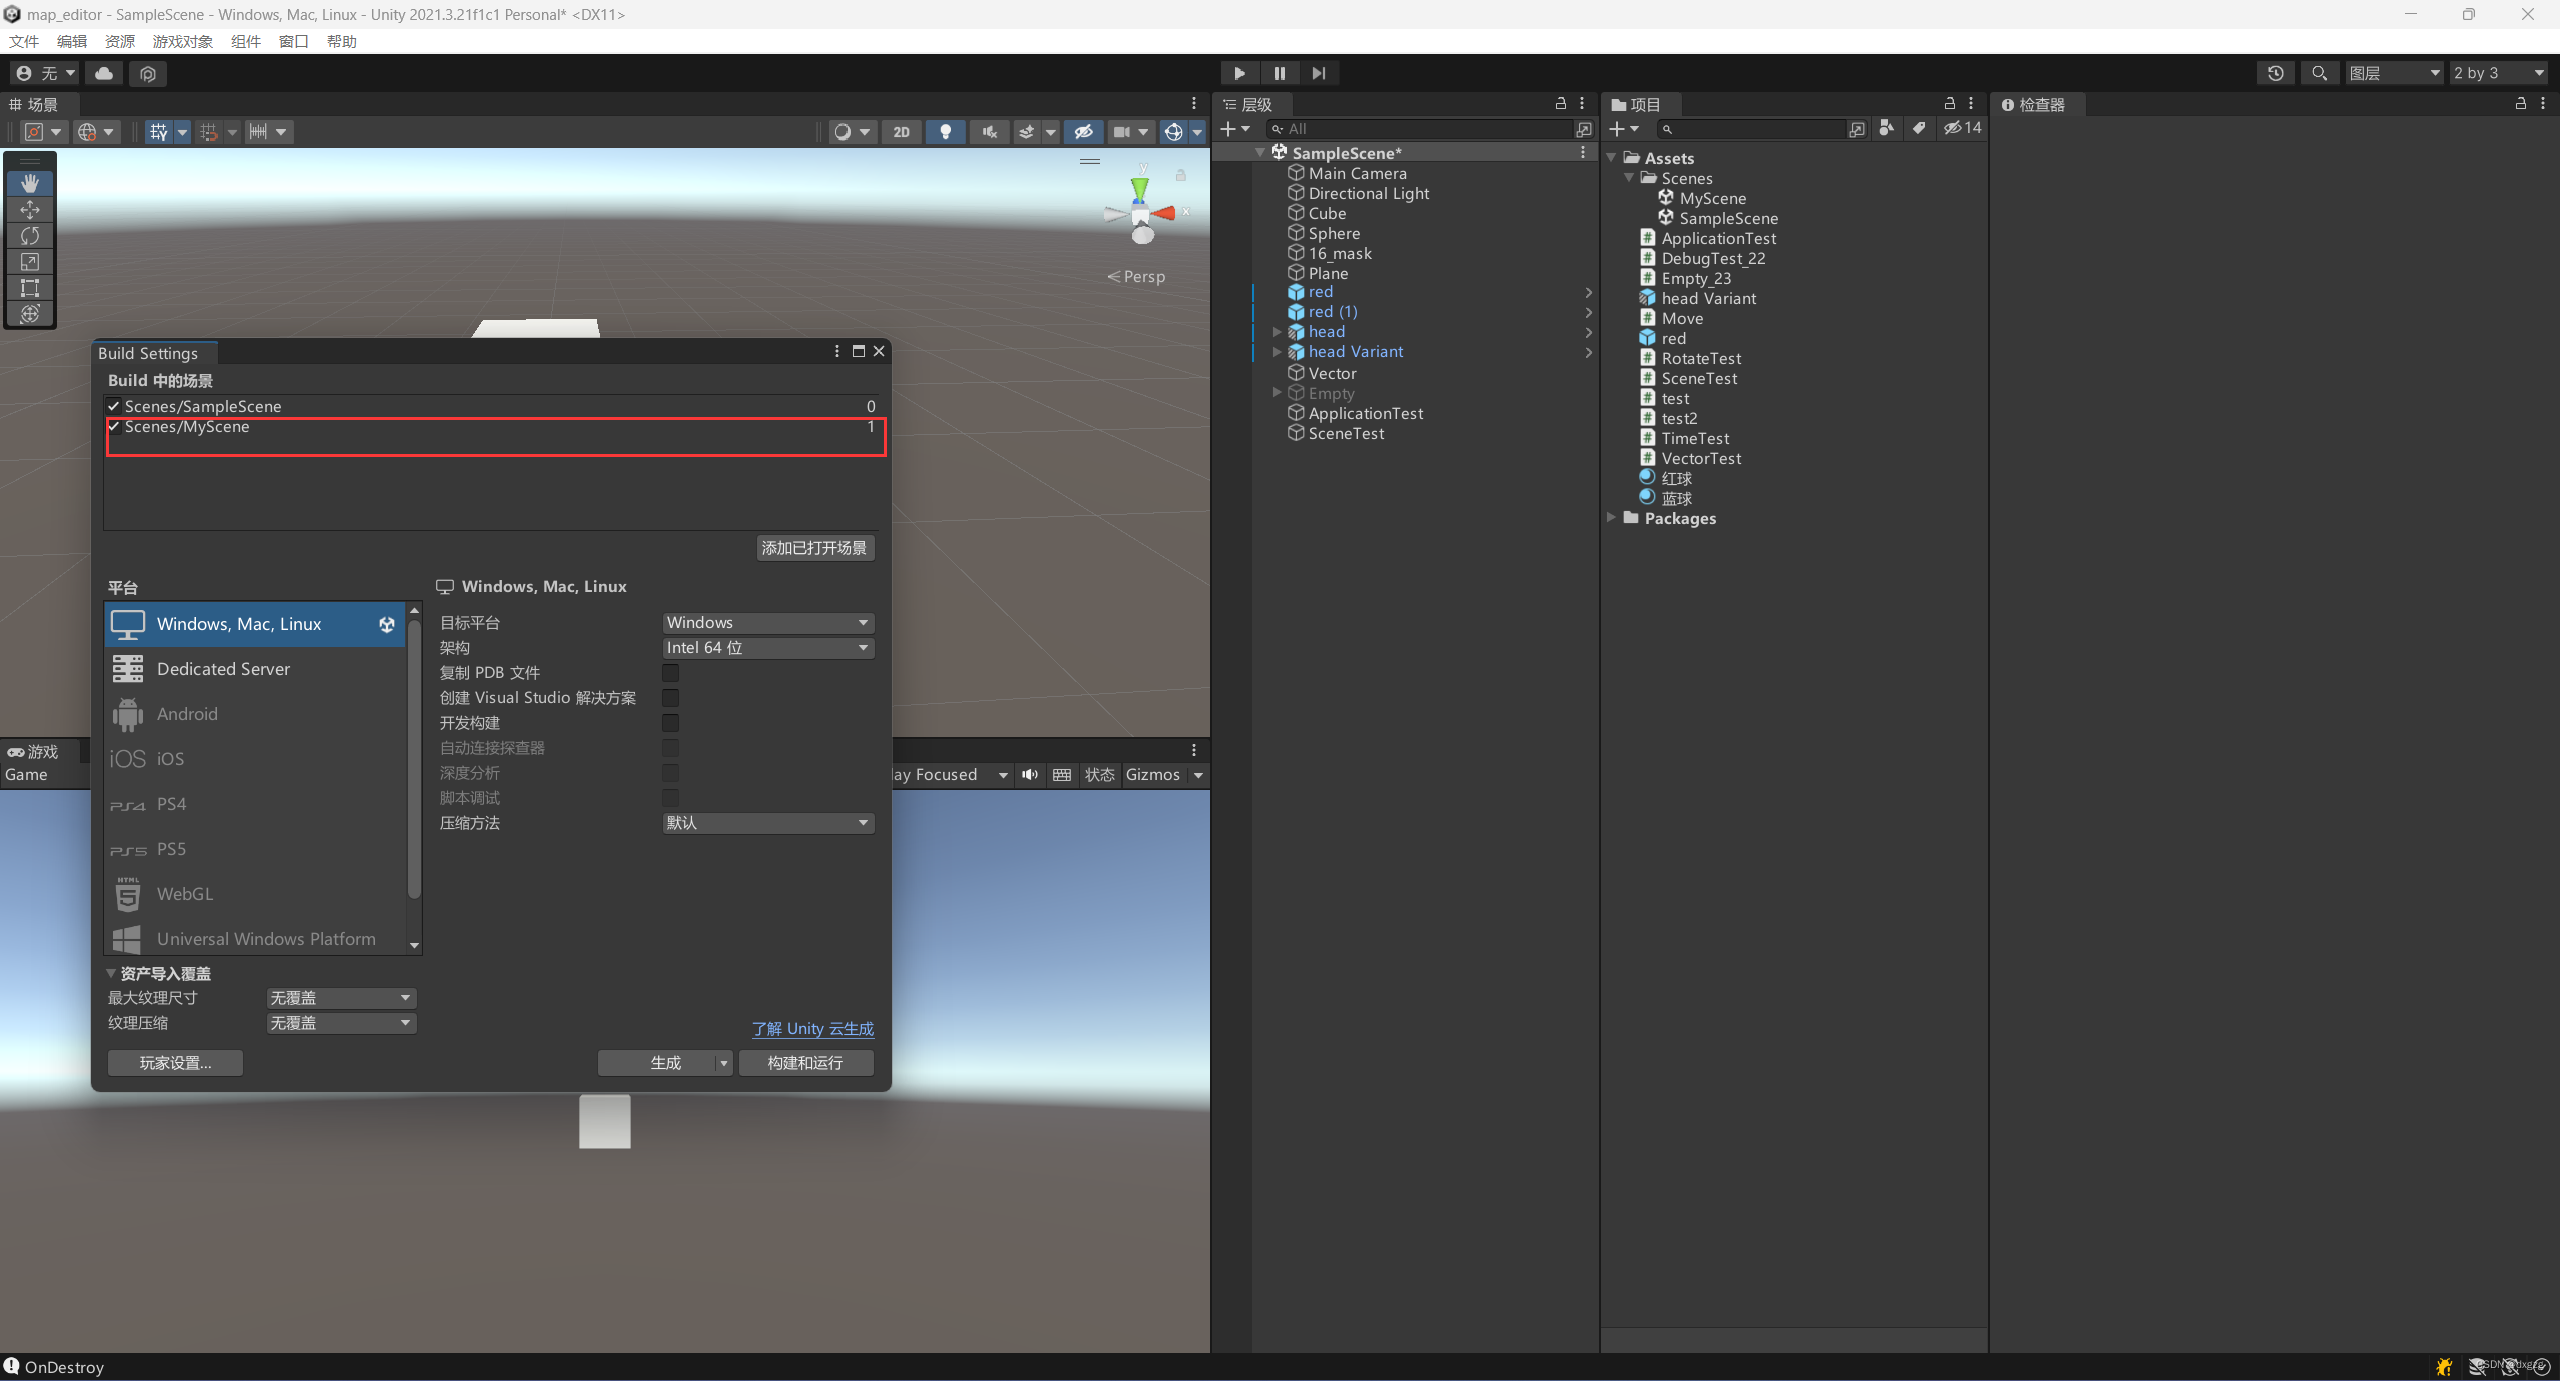
场景跳转/场景加载
演示的代码是把这个物体上,想了想也很合理,相当于有一个类似传送门的东西,当走到传送门,调用这个函数然后进行场景的跳转。
SceneManager.LoadScene("MyScene");
打开文件->生成设置,填场景名字和跳转的这个索引ID都可以,但我认为名字一般不会轻易的变动,但这个出场的顺序很容易变动,容易改错了,所以我觉得应该使用场景名字比较好
保留原来的场景
 // 加载的时候加参数就好了
 SceneManager.LoadScene("MyScene",LoadSceneMode.Additive);
场景信息获取
		// 获取当前场景
        Scene sc =  SceneManager.GetActiveScene();
        Debug.Log(sc.name);

        // 场景是否被加载了
        Debug.Log(sc.isLoaded);
        // 场景路径
        Debug.Log(sc.path);
        // 场景索引
        Debug.Log(sc.buildIndex);
场景创建
SceneManager.CreateScene("codeCreatScene");
当前加载场景的数量
Debug.Log(SceneManager.sceneCount);
异步加载
StartCoroutine 相当于开了个协程,也不是封装好的,还是需要手动调用
	AsyncOperation op;
    // Start is called before the first frame update
    void Start()
    {


        // 这就算开启了另一个协程
        StartCoroutine(loadScene());
    }

    // 协程方法
    IEnumerator loadScene()
    {


        op = SceneManager.LoadSceneAsync(1);
        yield return op;
    }
场景加载条
就是简单使用AsyncOperation 这个类
Debug.Log(op.progress);
transform 组件
前方是z轴,右方是x轴,上方是y轴
获取常用信息
 		// 获取世界位置
        Debug.Log(transform.position);
        // 获得在父物体中的位置
        Debug.Log(transform.localPosition);

        // 获取旋转
        Debug.Log(transform.rotation);
        Debug.Log(transform.localRotation);
        // 旋转的角度
        Debug.Log(transform.localEulerAngles);

        // 获取缩放
        Debug.Log(transform.localScale);

        // 向量位置获取

        // 前方
        Debug.Log(string.Format("forward:{0}",transform.forward));
        // 方便检测鼠标点击的是敌人还是地板还是什么。
        //transform.tag
一些api
一定要清楚一点unity的坐标系
		// 正前方,也就是x轴看向的点
         transform.LookAt(Vector3.zero);

        // 绕着某一点和一个轴进行旋转
        transform.RotateAround(Vector3.zero, Vector3.up, 0.5f);

        // 移动
        transform.Translate(Vector3.forward * 0.01f);
查找父子关系
就是要transform类来找到父元素的gameObject的
transform.parent.gameObject;
// 判断是否是子元素
bool res = transform.IsChildOf(fa.transform);
小结一下,gameObject和transform这两个类很重要,一个可以找到游戏的物体,一个可以找到对应的父子关系
如标题所示
键鼠事件
0,1,2三种变量要清除是什么,其次要知道按下和持续按下的区别
		// 鼠标的点击一下
        // 0是左键,1右键,2滚轮
		if (Input.GetMouseButtonDown(0)){


            Debug.Log("按了左键");
        }
        // 持续按下鼠标
        if (Input.GetMouseButton(0))
        {


            Debug.Log("持续按下鼠标左键");
        }

        if (Input.GetKeyDown(KeyCode.W))
        {


            Debug.Log("按下了W");
        }
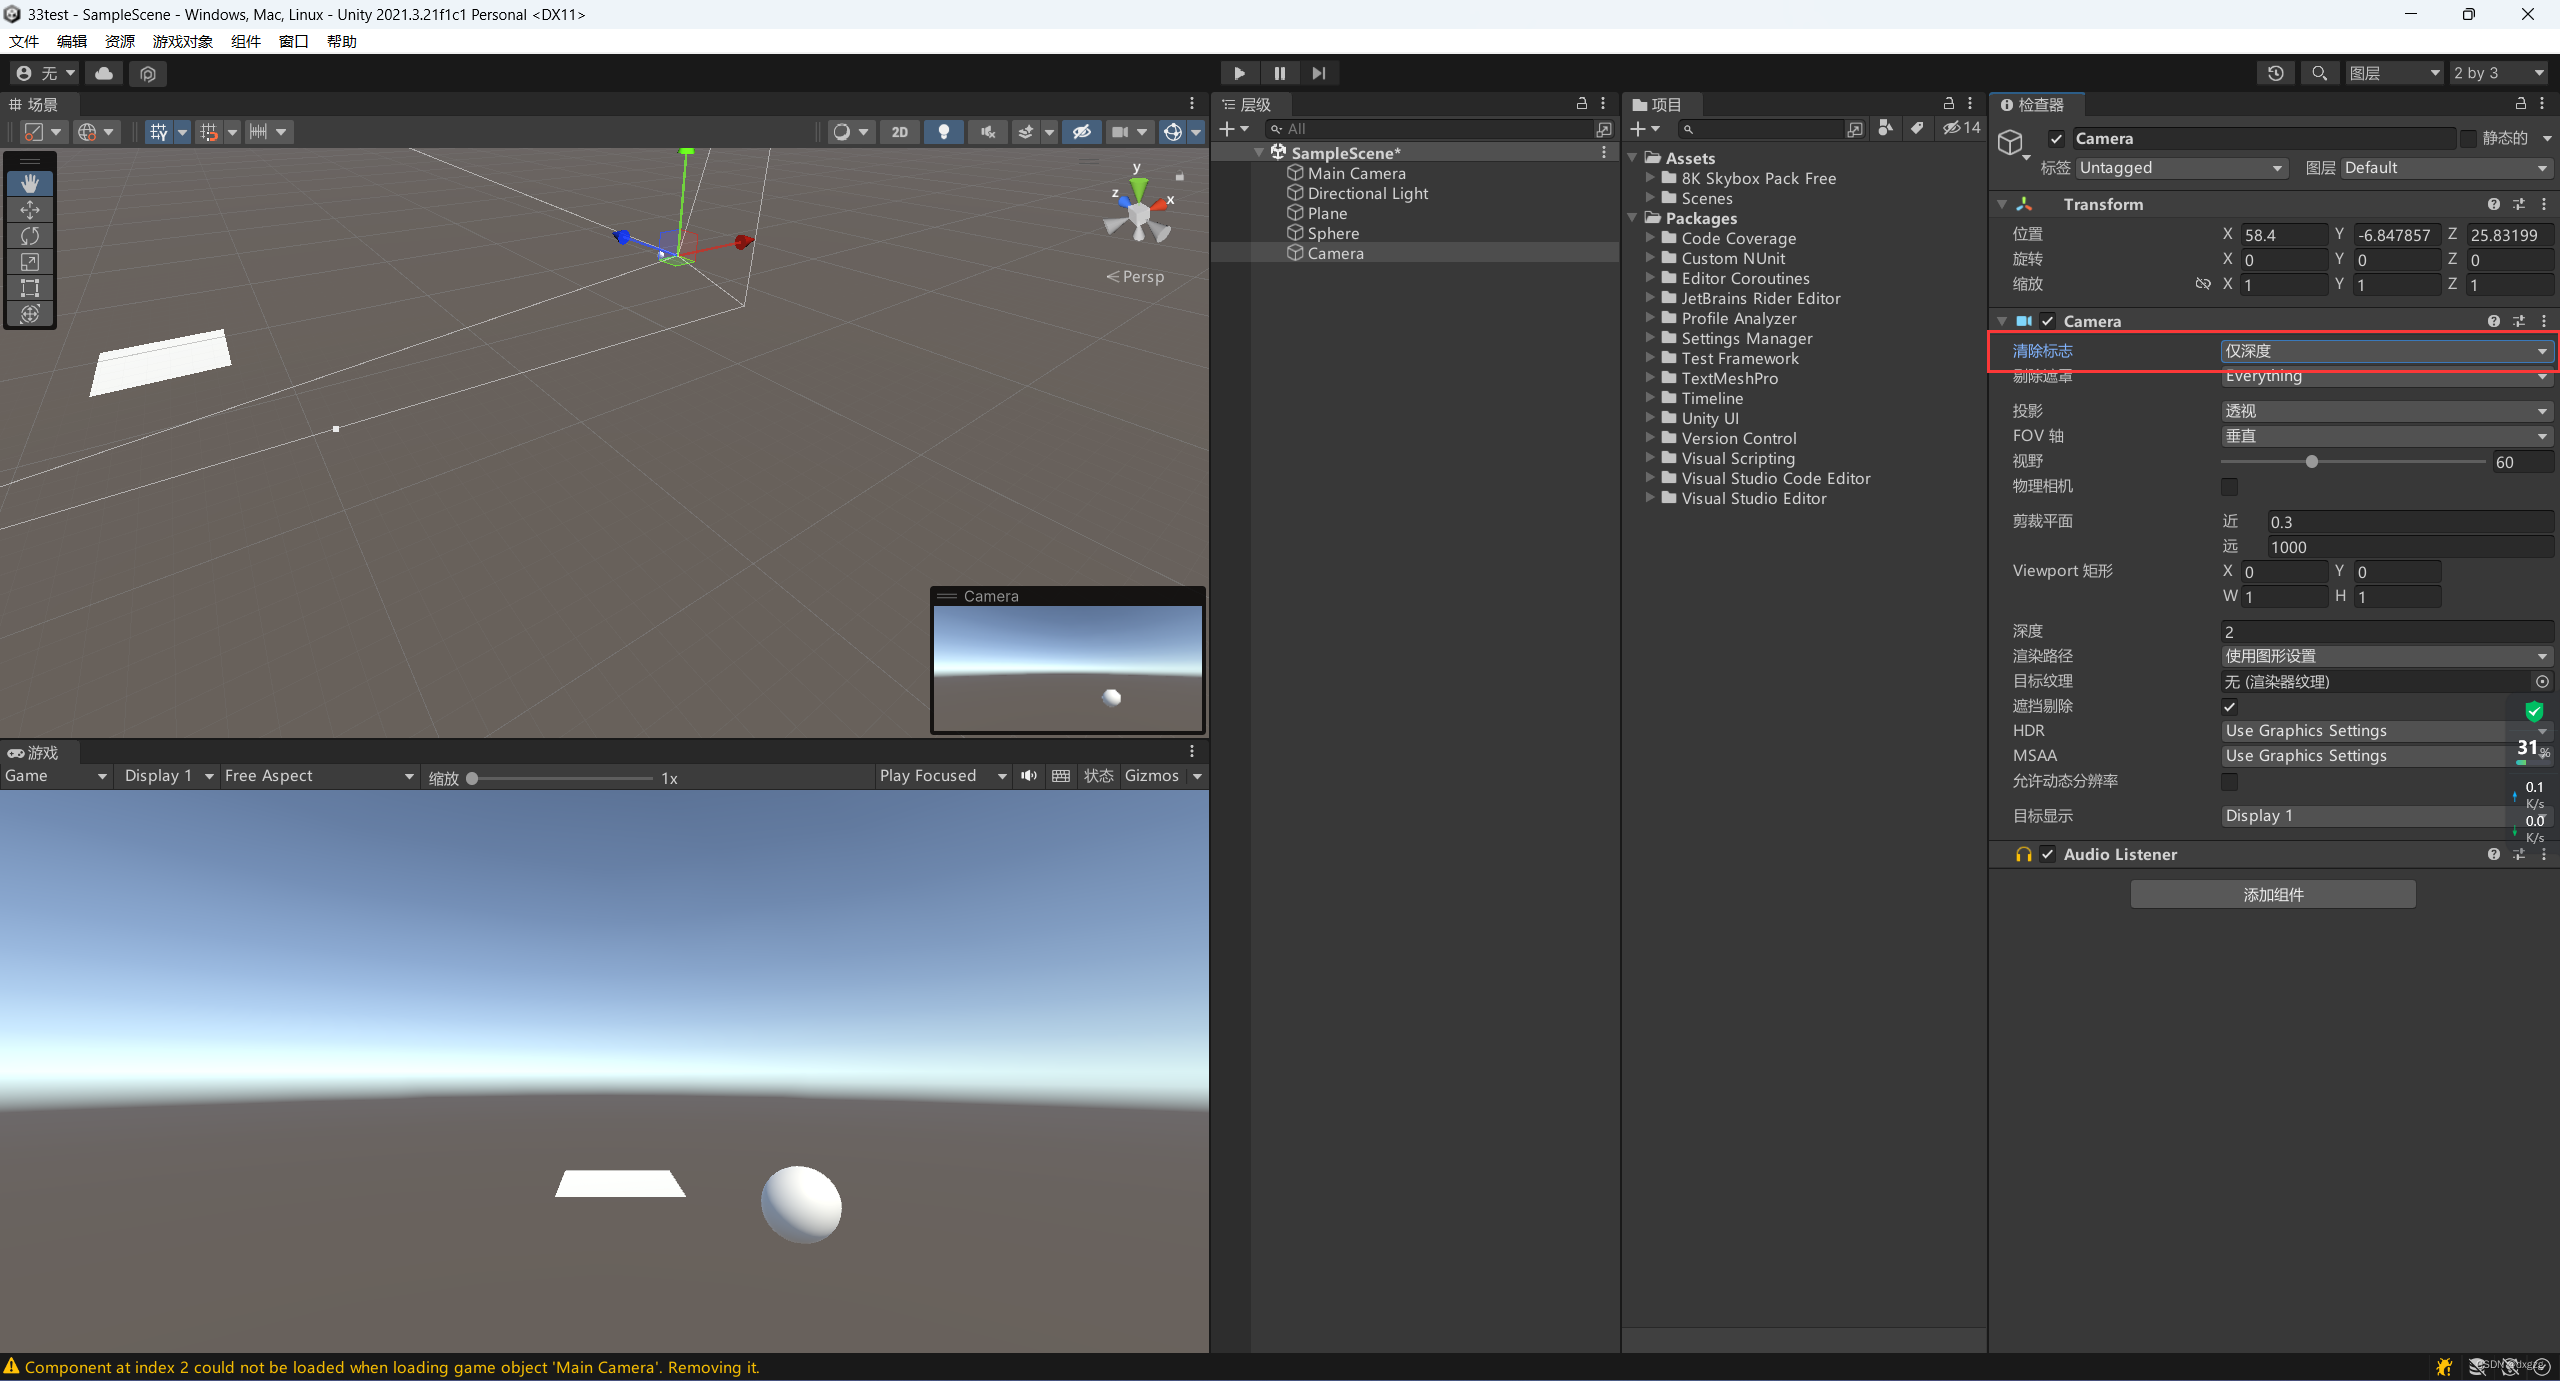
摄像机
透视:近大远小
正交:一样大小
深度
两个摄像机,优先选择深入值大的点。有点像css中的z-index
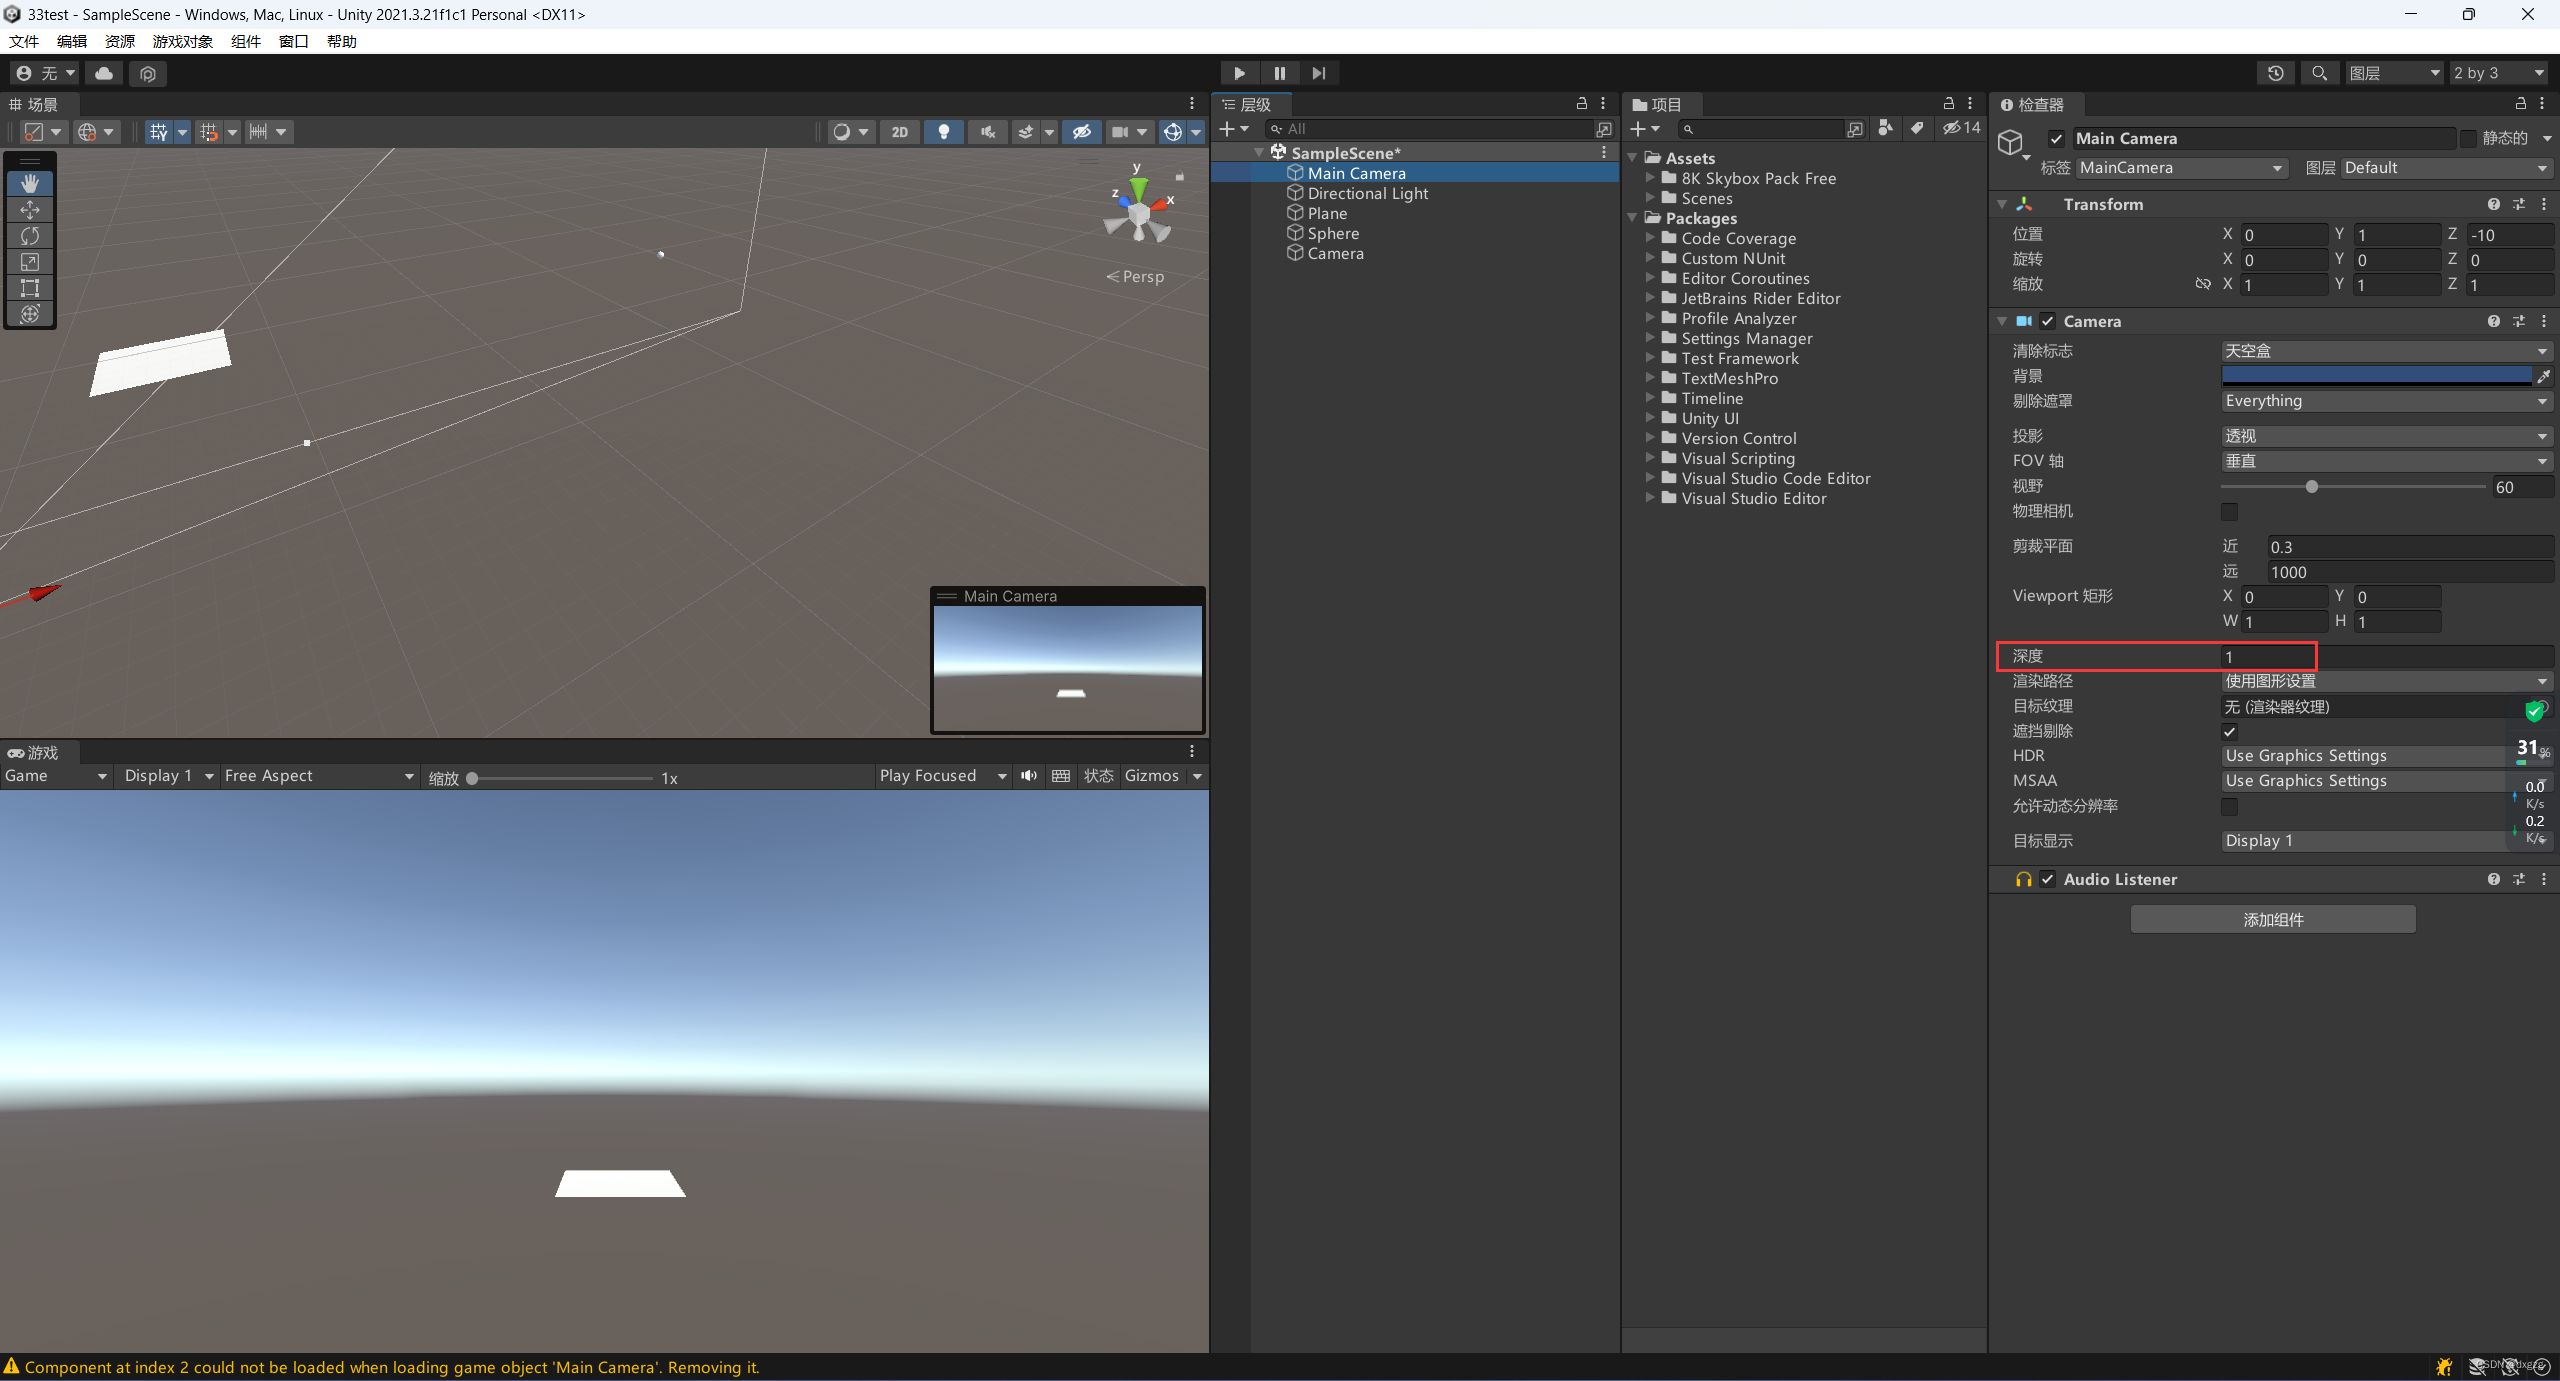
清除标志
仅深度
就是A摄像机拍不到的物体找下一个摄像机然后进行渲染。
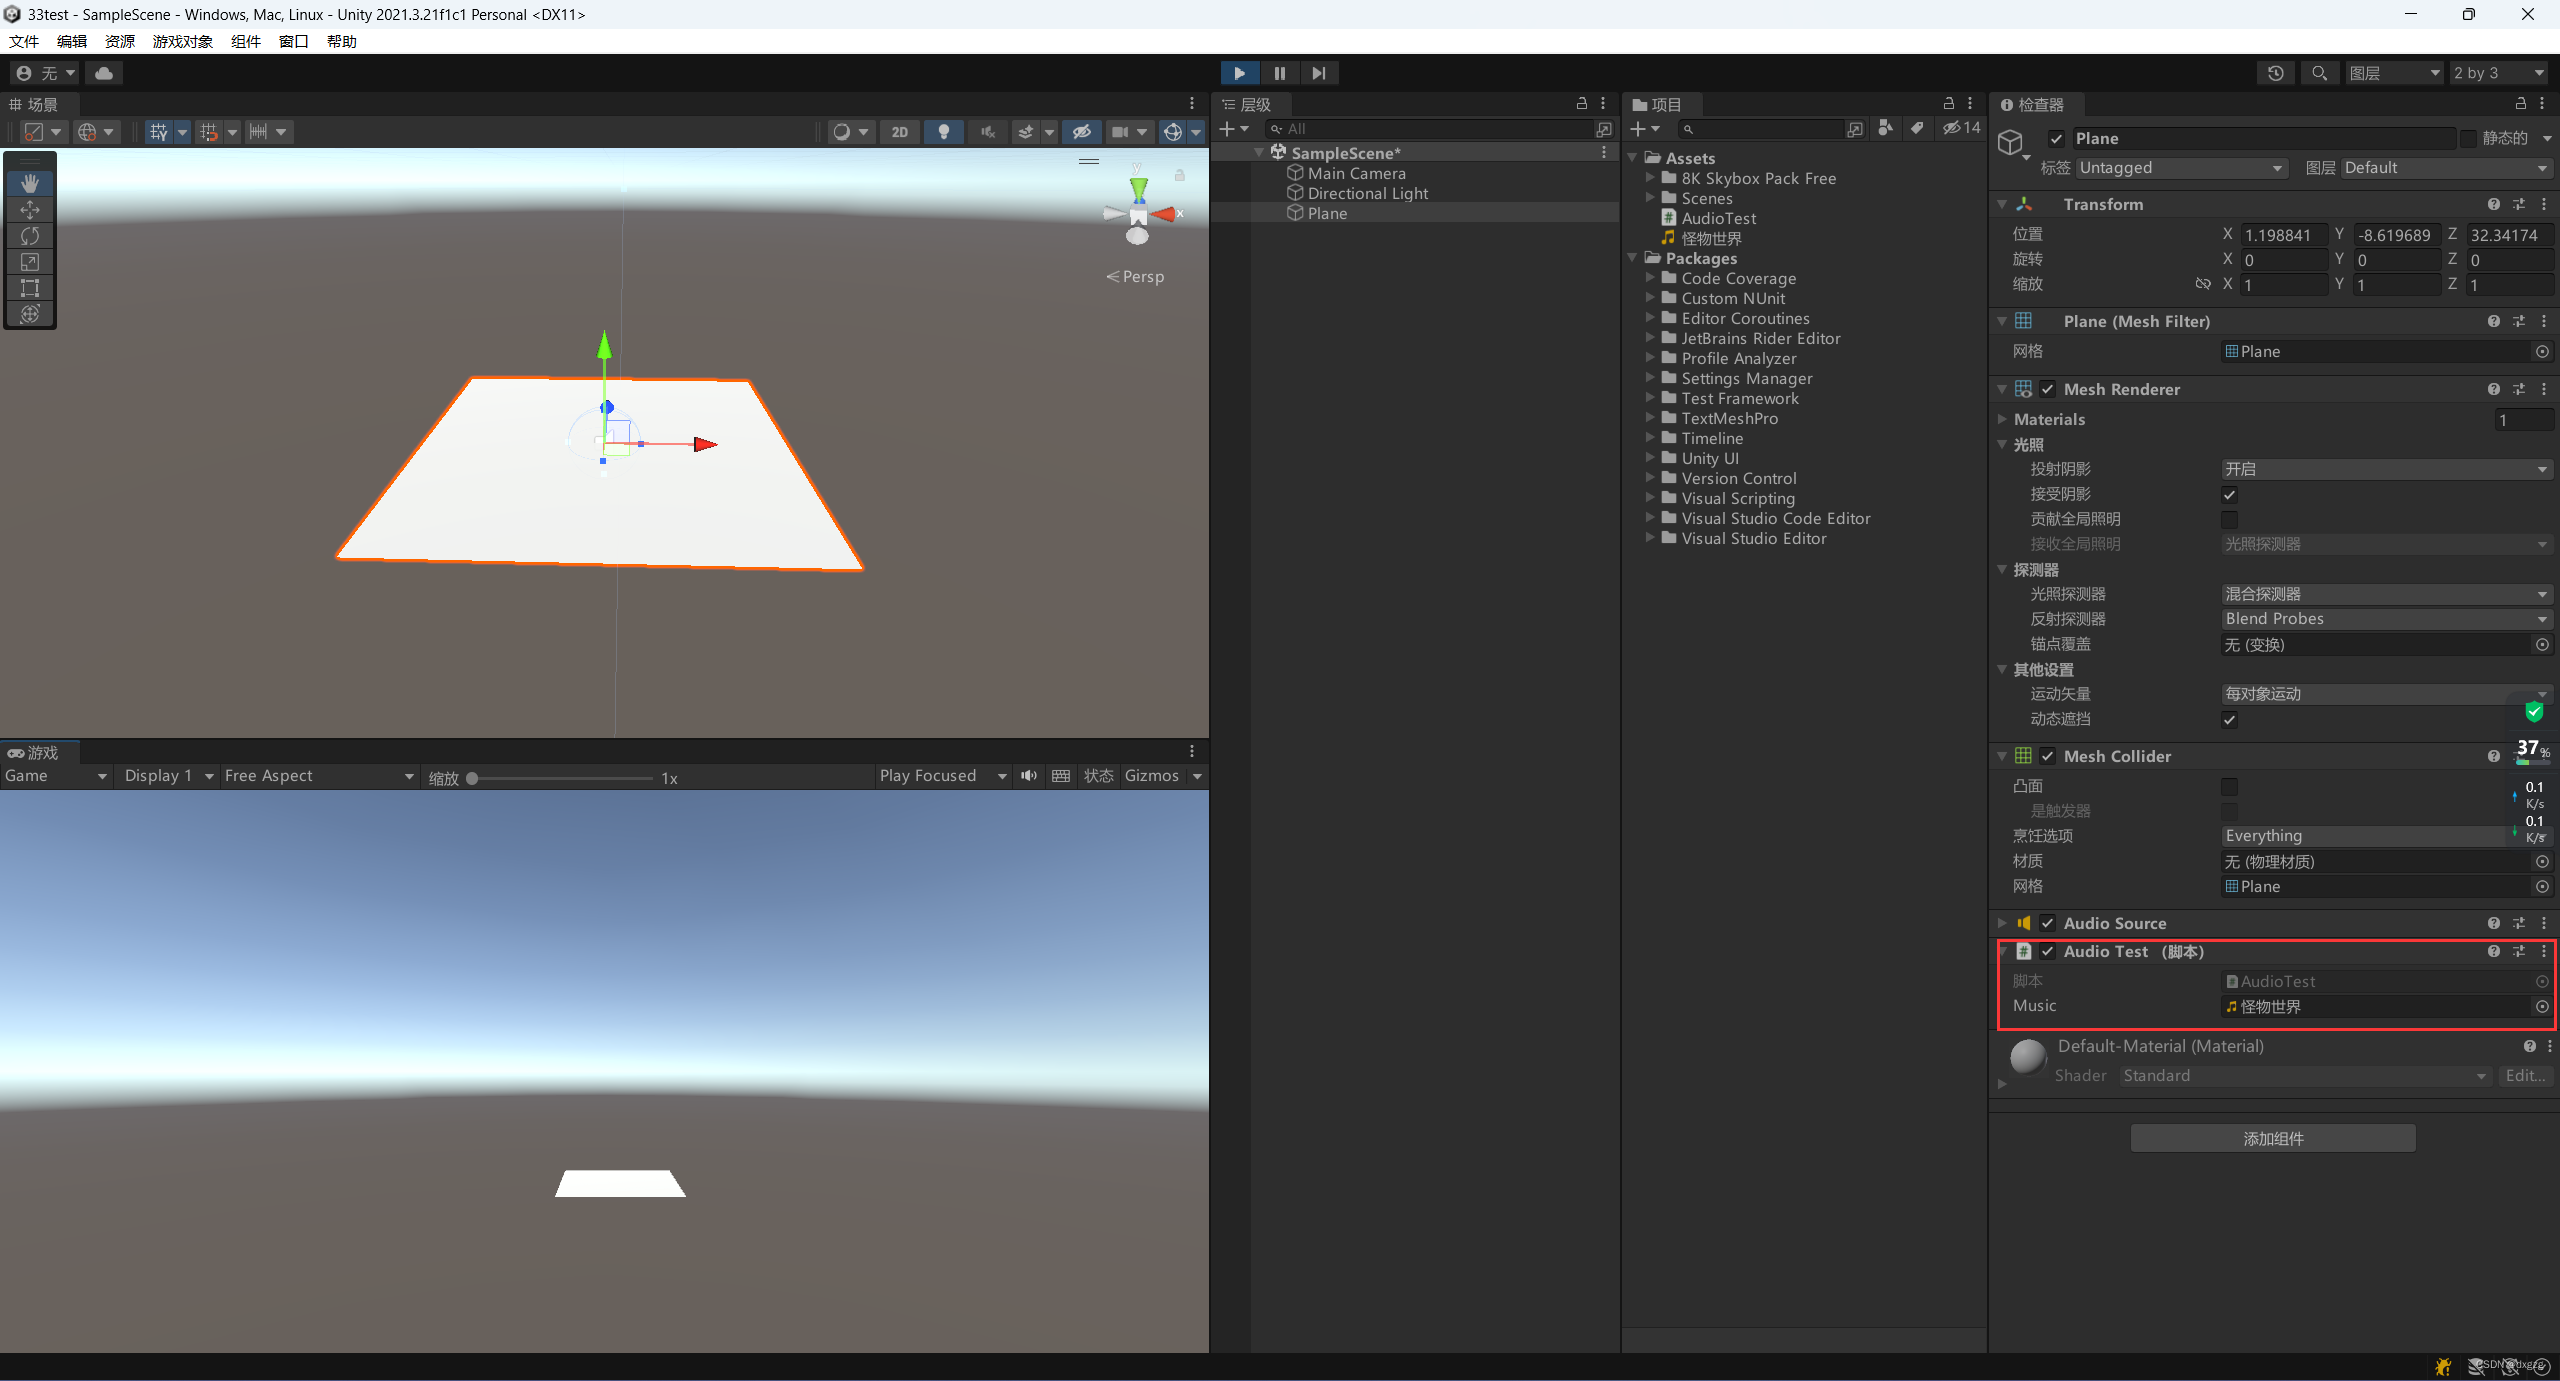
声音
在unity编辑器中不再组件放音乐,放在脚本组件中,这样更方便代码进行控制。开启和结束是play/stop,我觉得起这个名字真随意,一点都不对应。暂停就是pause,结束暂停是unpause。AudioClip 对应的音乐对象,AudioSource 对应的播放组件
 	public AudioClip music;
    AudioSource player;
    // Start is called before the first frame update
    void Start()
    {


        player = GetComponent<AudioSource>();
        player.clip = music;
        player.loop = true;
        player.Play();
        //player.Stop();
    }

    // Update is called once per frame
    void Update()
    {


        if (Input.GetKeyDown(KeyCode.Space))
        {


            if(!player.isPlaying) {


                player.UnPause();
            }
            else
            {


                player.Pause();
            }
        }
    }
移动CharacterController
根据这个CharacterController来进行移动的,还是要记住 GetComponent();如何快速获得组件对象,这个函数很重要!!!

小节一下 GetComponent(); 这个函数太重要了,获取相应的组件对象
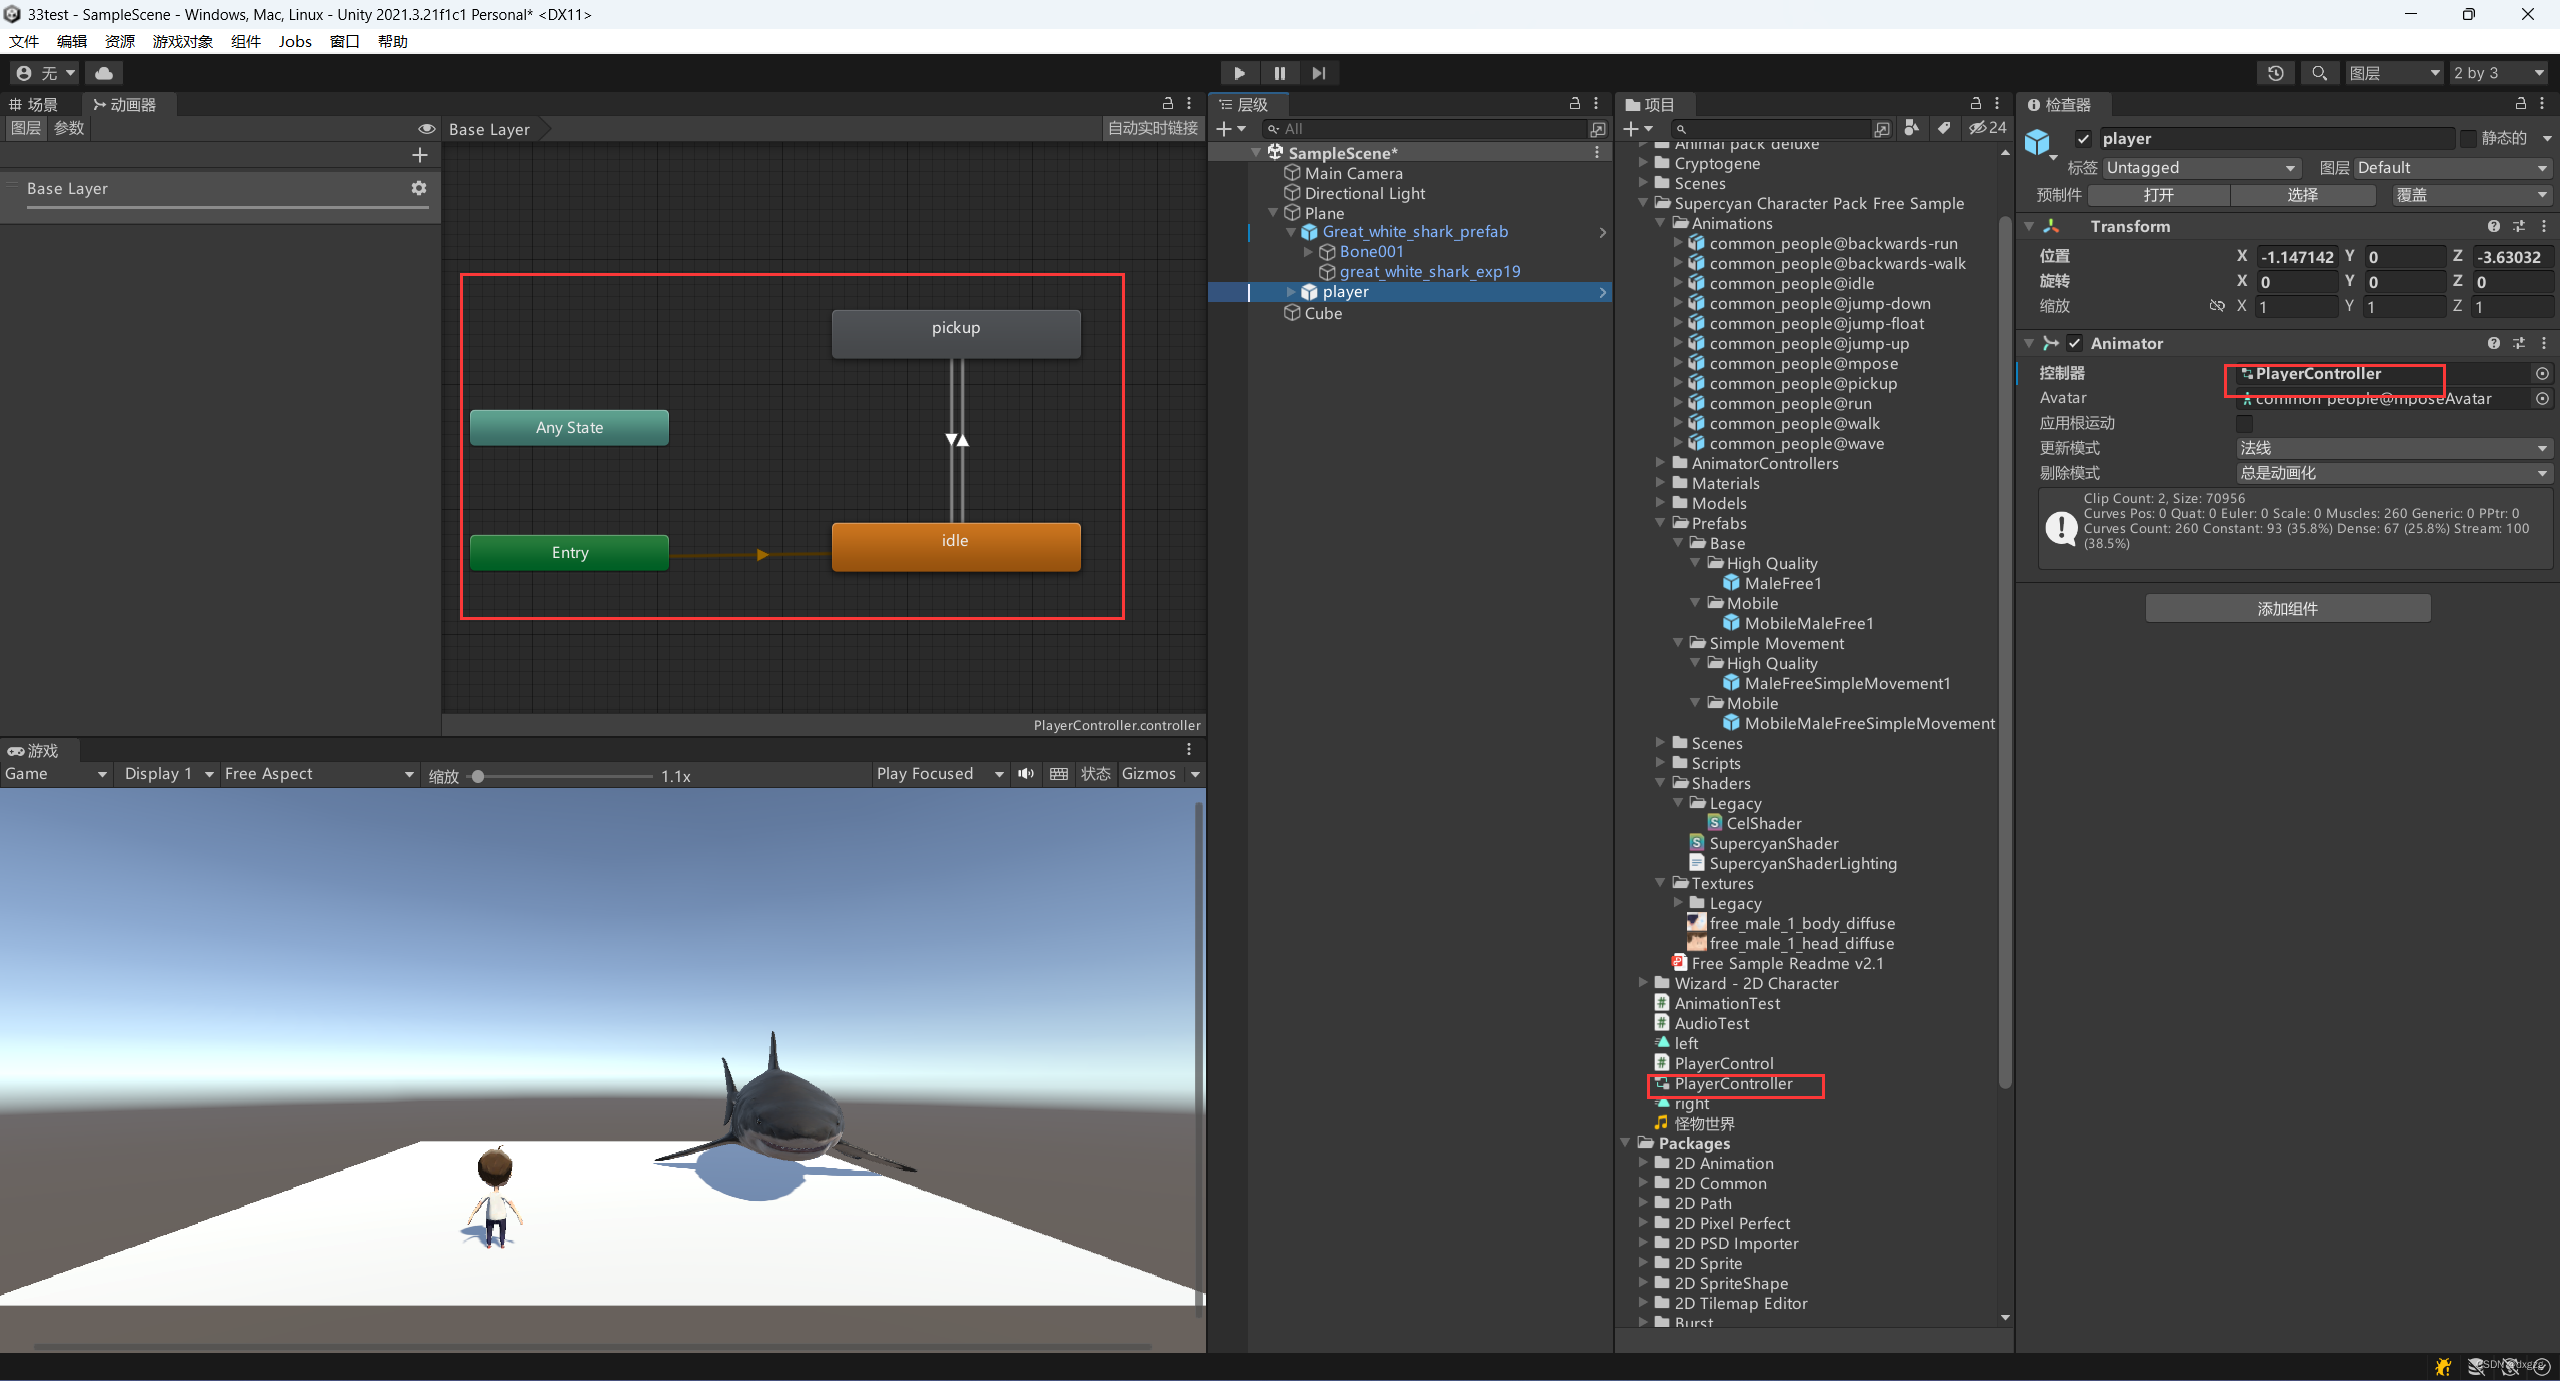
动画学习
在这里打开动画面板。
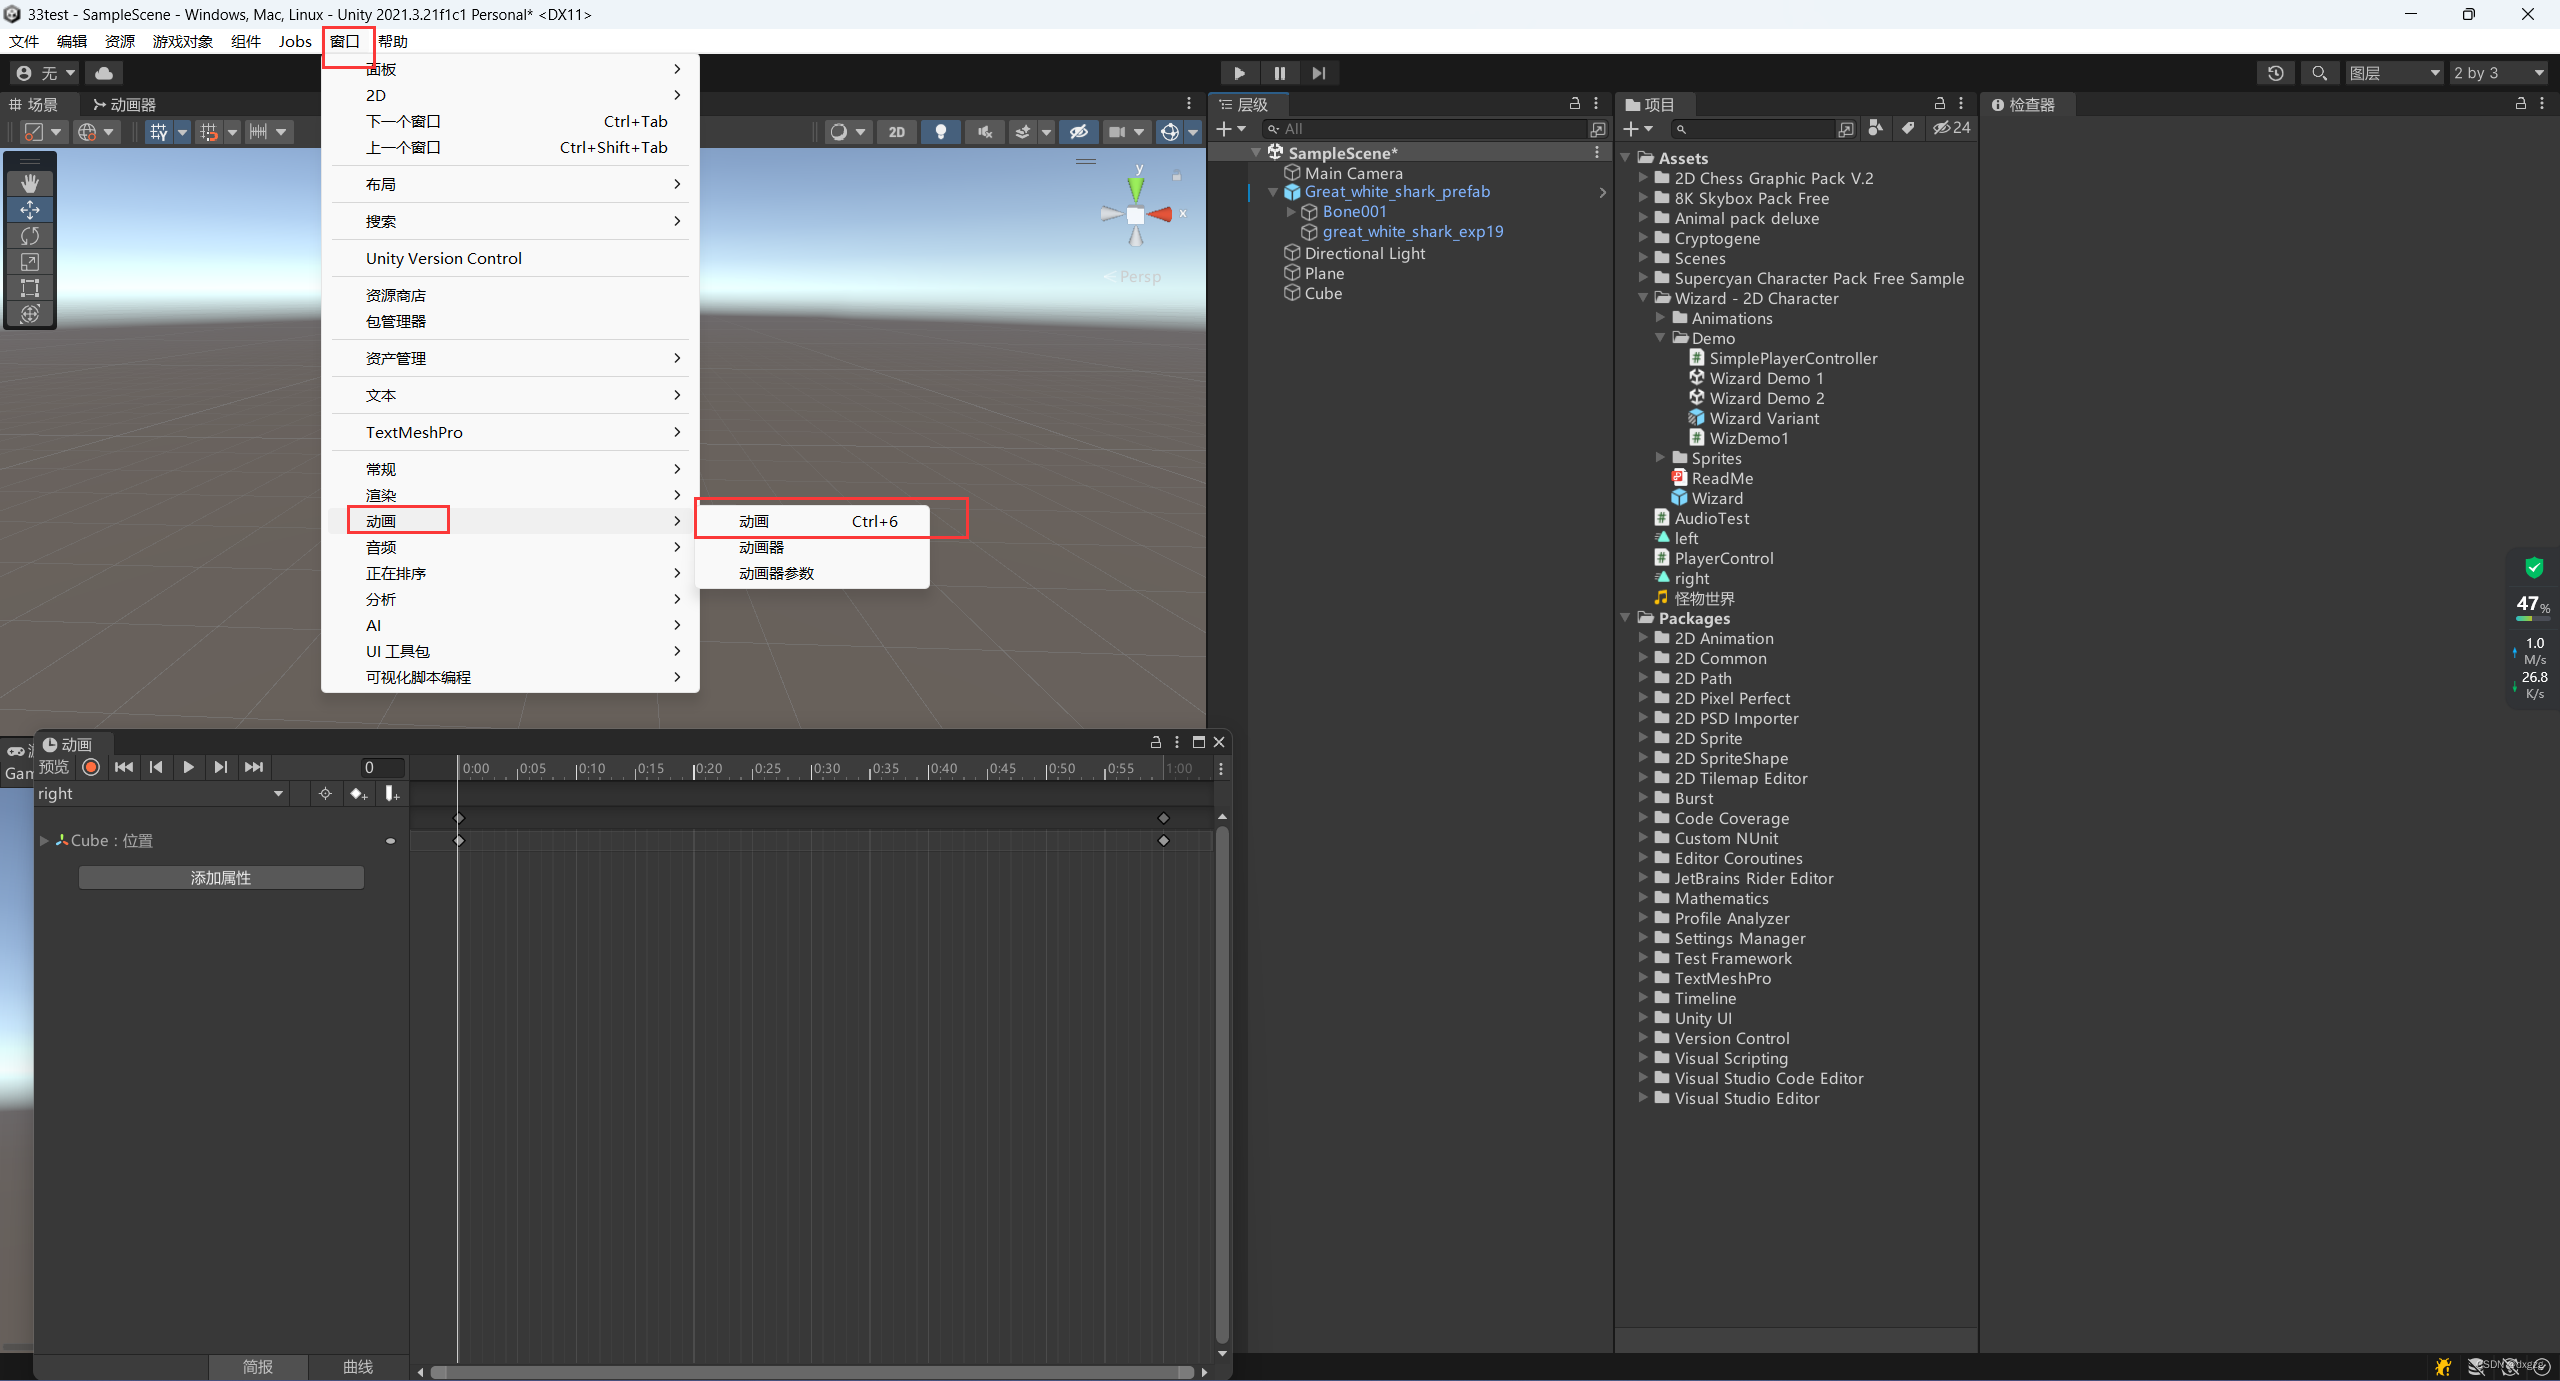
选中对象才可以录制动画啊
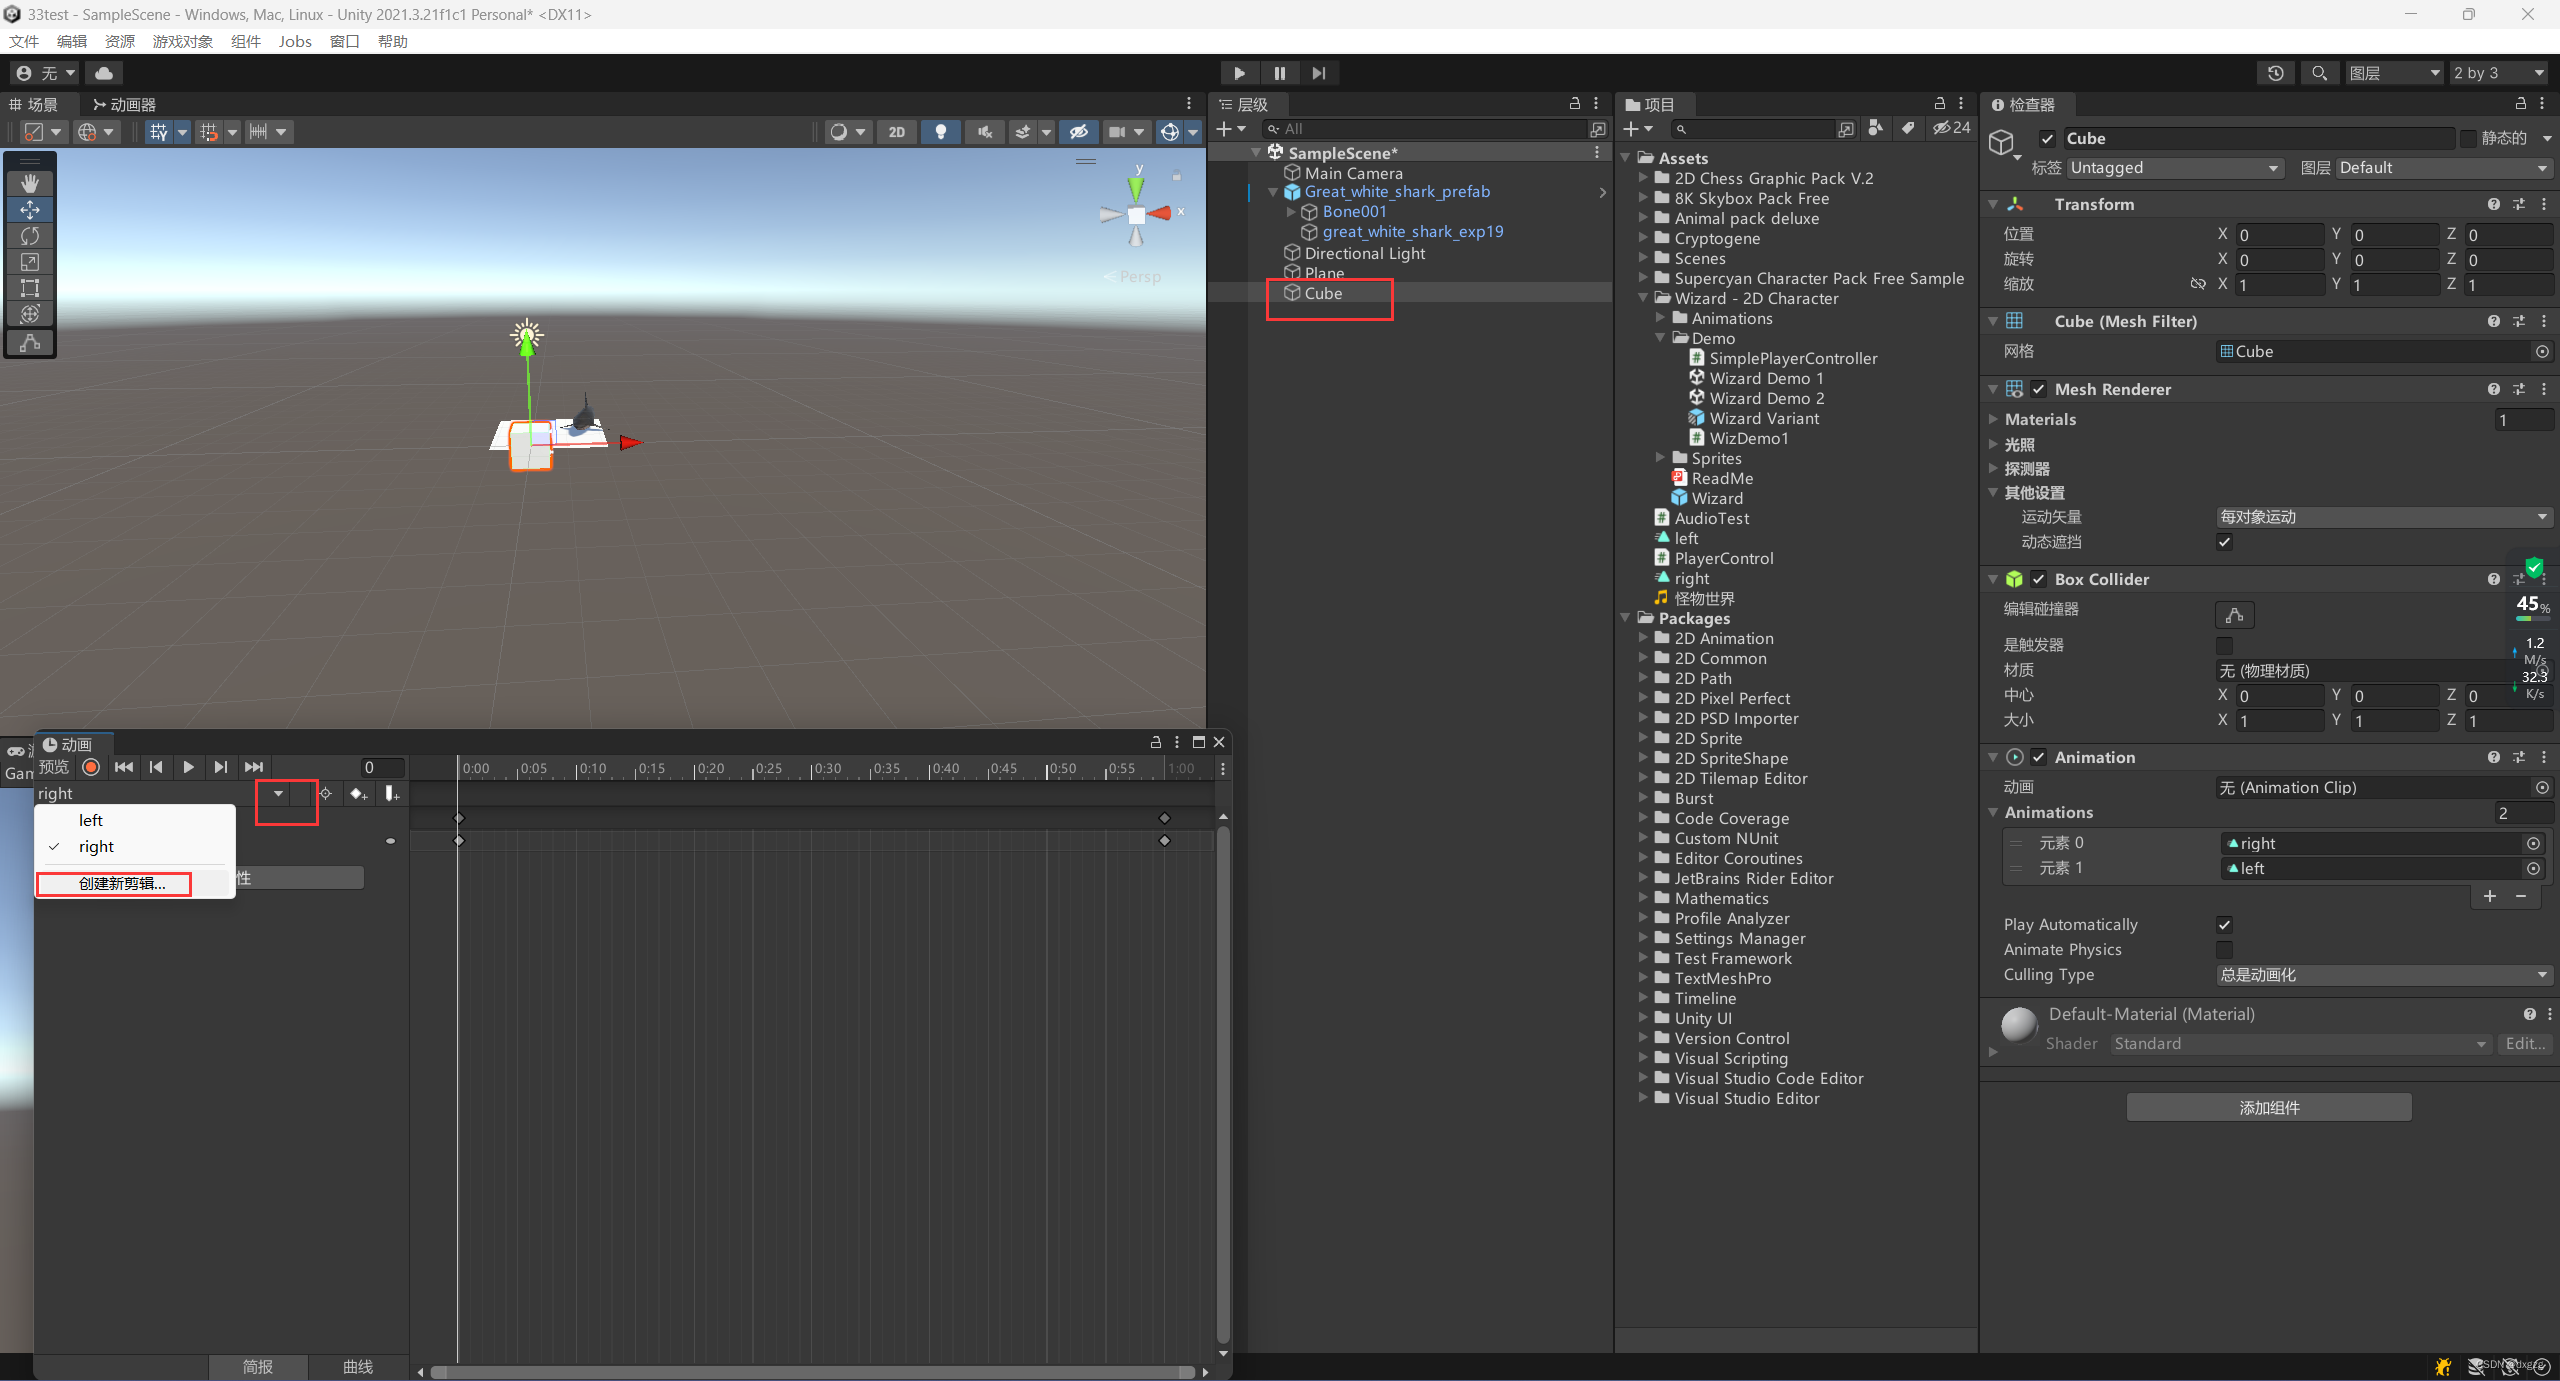
两帧,起始帧和结束帧
代码运行动画
和播放音乐类似
GetComponent<Animation>().Play("right");
人物绑定多个动画
站立切换动画
需要绑定一个动画控制器,然后拖拽idle,创建一个过渡指向下一个动画,但值得注意的是,一定要记住最后一个动画的播放方式是循环的,否则人物将傻傻的站着不再播放任何的动画
带参数切换动画
设置一个tigger,其实本质就是一个触发器,然后在这个过渡上设置条件,为什么不设置在动画上呢?其实这样是合理的,因为可能会有多个下一个动画,所以条件放在了过渡上进行判断。
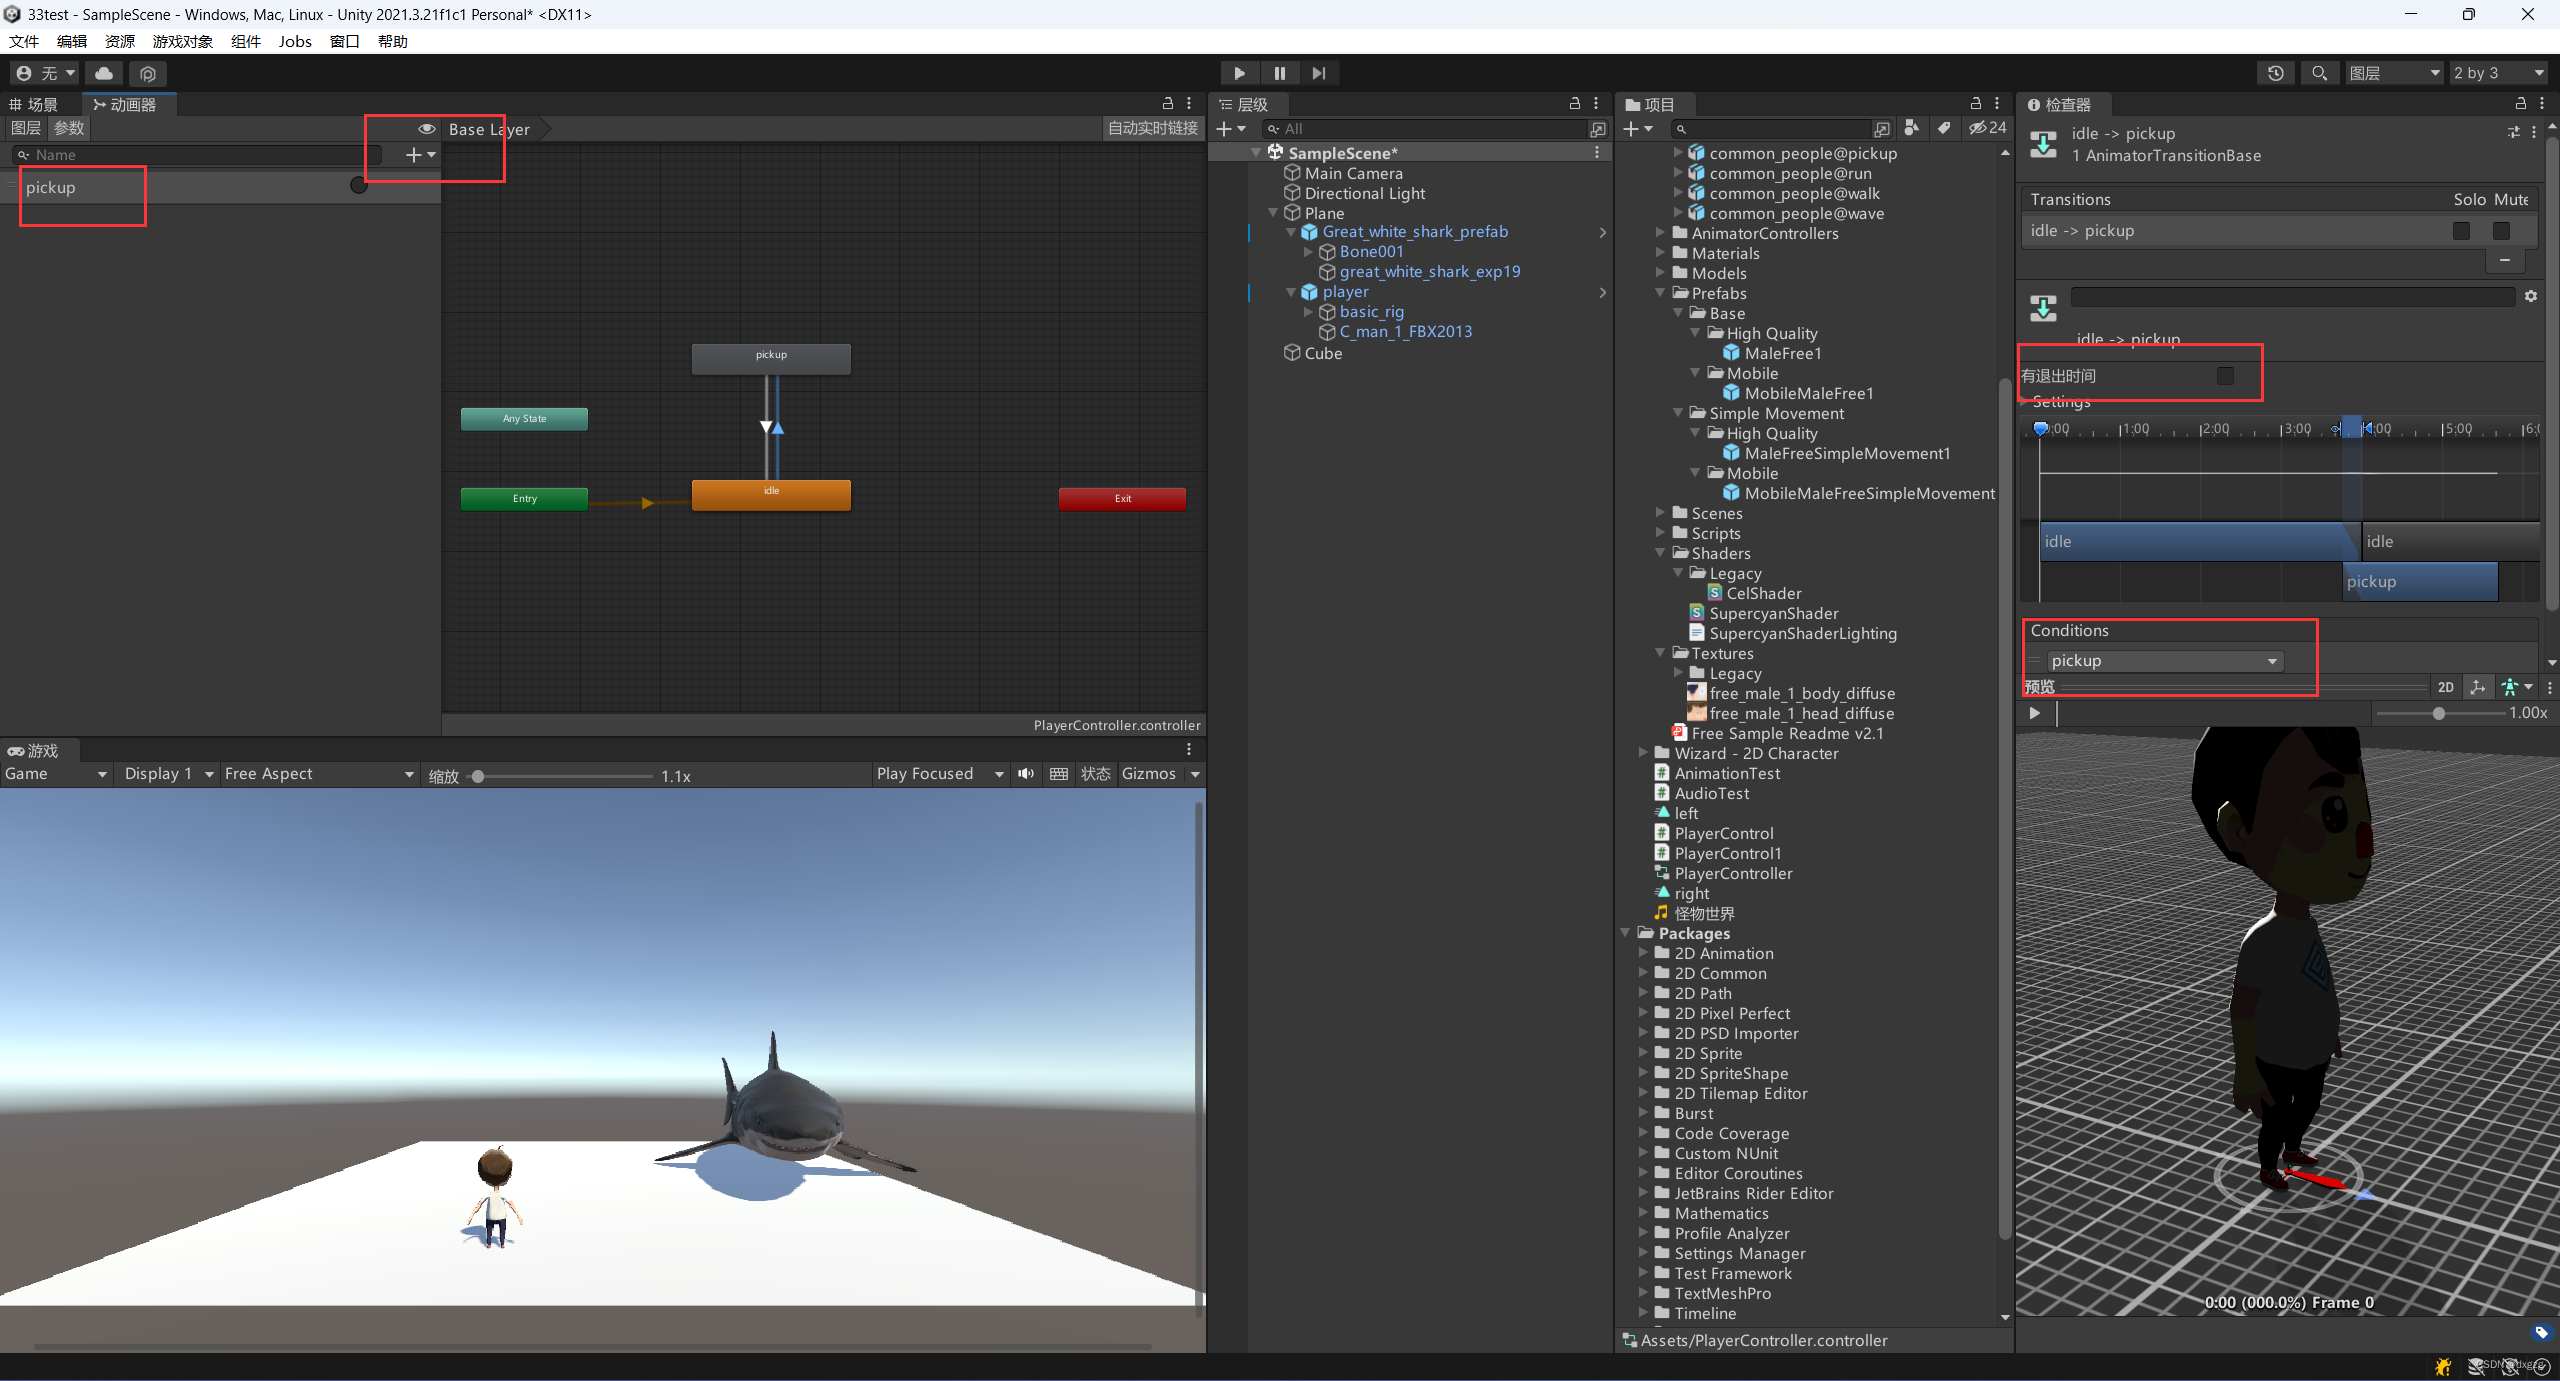
还是老规矩 GetComponent<Animator>().SetTrigger("pickup");GetComponent()走天下的按键进行控制
动画退出时间是什么意思?
当我按下F想拾取东西的时候,这个时候其实不是立马放拾取的动画,为什么呢?就是有这个退出时间,意思就是,我知道你按F了,但你也要等等我啊,等我结束在执行下一个动画,但这个对于玩家来说肯定是不可能接受的,这延迟太大了,取消退出时间就可以立刻播放拾取的动画啦
人物跑动
其实就是把之前的例子给他串了起来,用translate 进行运动
		// 水平轴
        float horizontal = Input.GetAxis("Horizontal");
        float vertical = Input.GetAxis("Vertical");

        Debug.Log(string.Format("horizontal:{0} vertical:{1} ", horizontal, vertical));
        Vector3 dir = new Vector3(horizontal, 0, vertical);


       if(dir != Vector3.zero)
        {


            GetComponent<Animator>().SetBool("isRunning", true);
            // 面向向量,看向某个向量
            transform.rotation = Quaternion.LookRotation(dir);

			// 每秒跑两米
            transform.Translate(Vector3.forward *2 * Time.deltaTime);
            //transform.LookAt(dir);
        }
        else
        {


            GetComponent<Animator>().SetBool("isRunning", false);
        }
碰撞监听
一方一定要有刚体,和碰撞检测盒子
using System.Collections;
using System.Collections.Generic;
using UnityEngine;

public class FireTest : MonoBehaviour
{


    // Start is called before the first frame update

    public GameObject boomObj;
    void Start()
    {


    }

    // Update is called once per frame
    void Update()
    {


    }
    // 监听发生碰撞
    private void OnCollisionEnter(Collision collision)
    {


        Instantiate(boomObj, transform.position, Quaternion.identity);
        Destroy(gameObject);
        Debug.Log(collision.gameObject.name);
    }
    // 持续碰撞
    private void OnCollisionStay(Collision collision)
    {


    }

    // 结束碰撞
    private void OnCollisionExit(Collision collision)
    {


    }
}
人物导航
生成网格才可以使用人物的导航
首先点击这里,进行一个静态导航
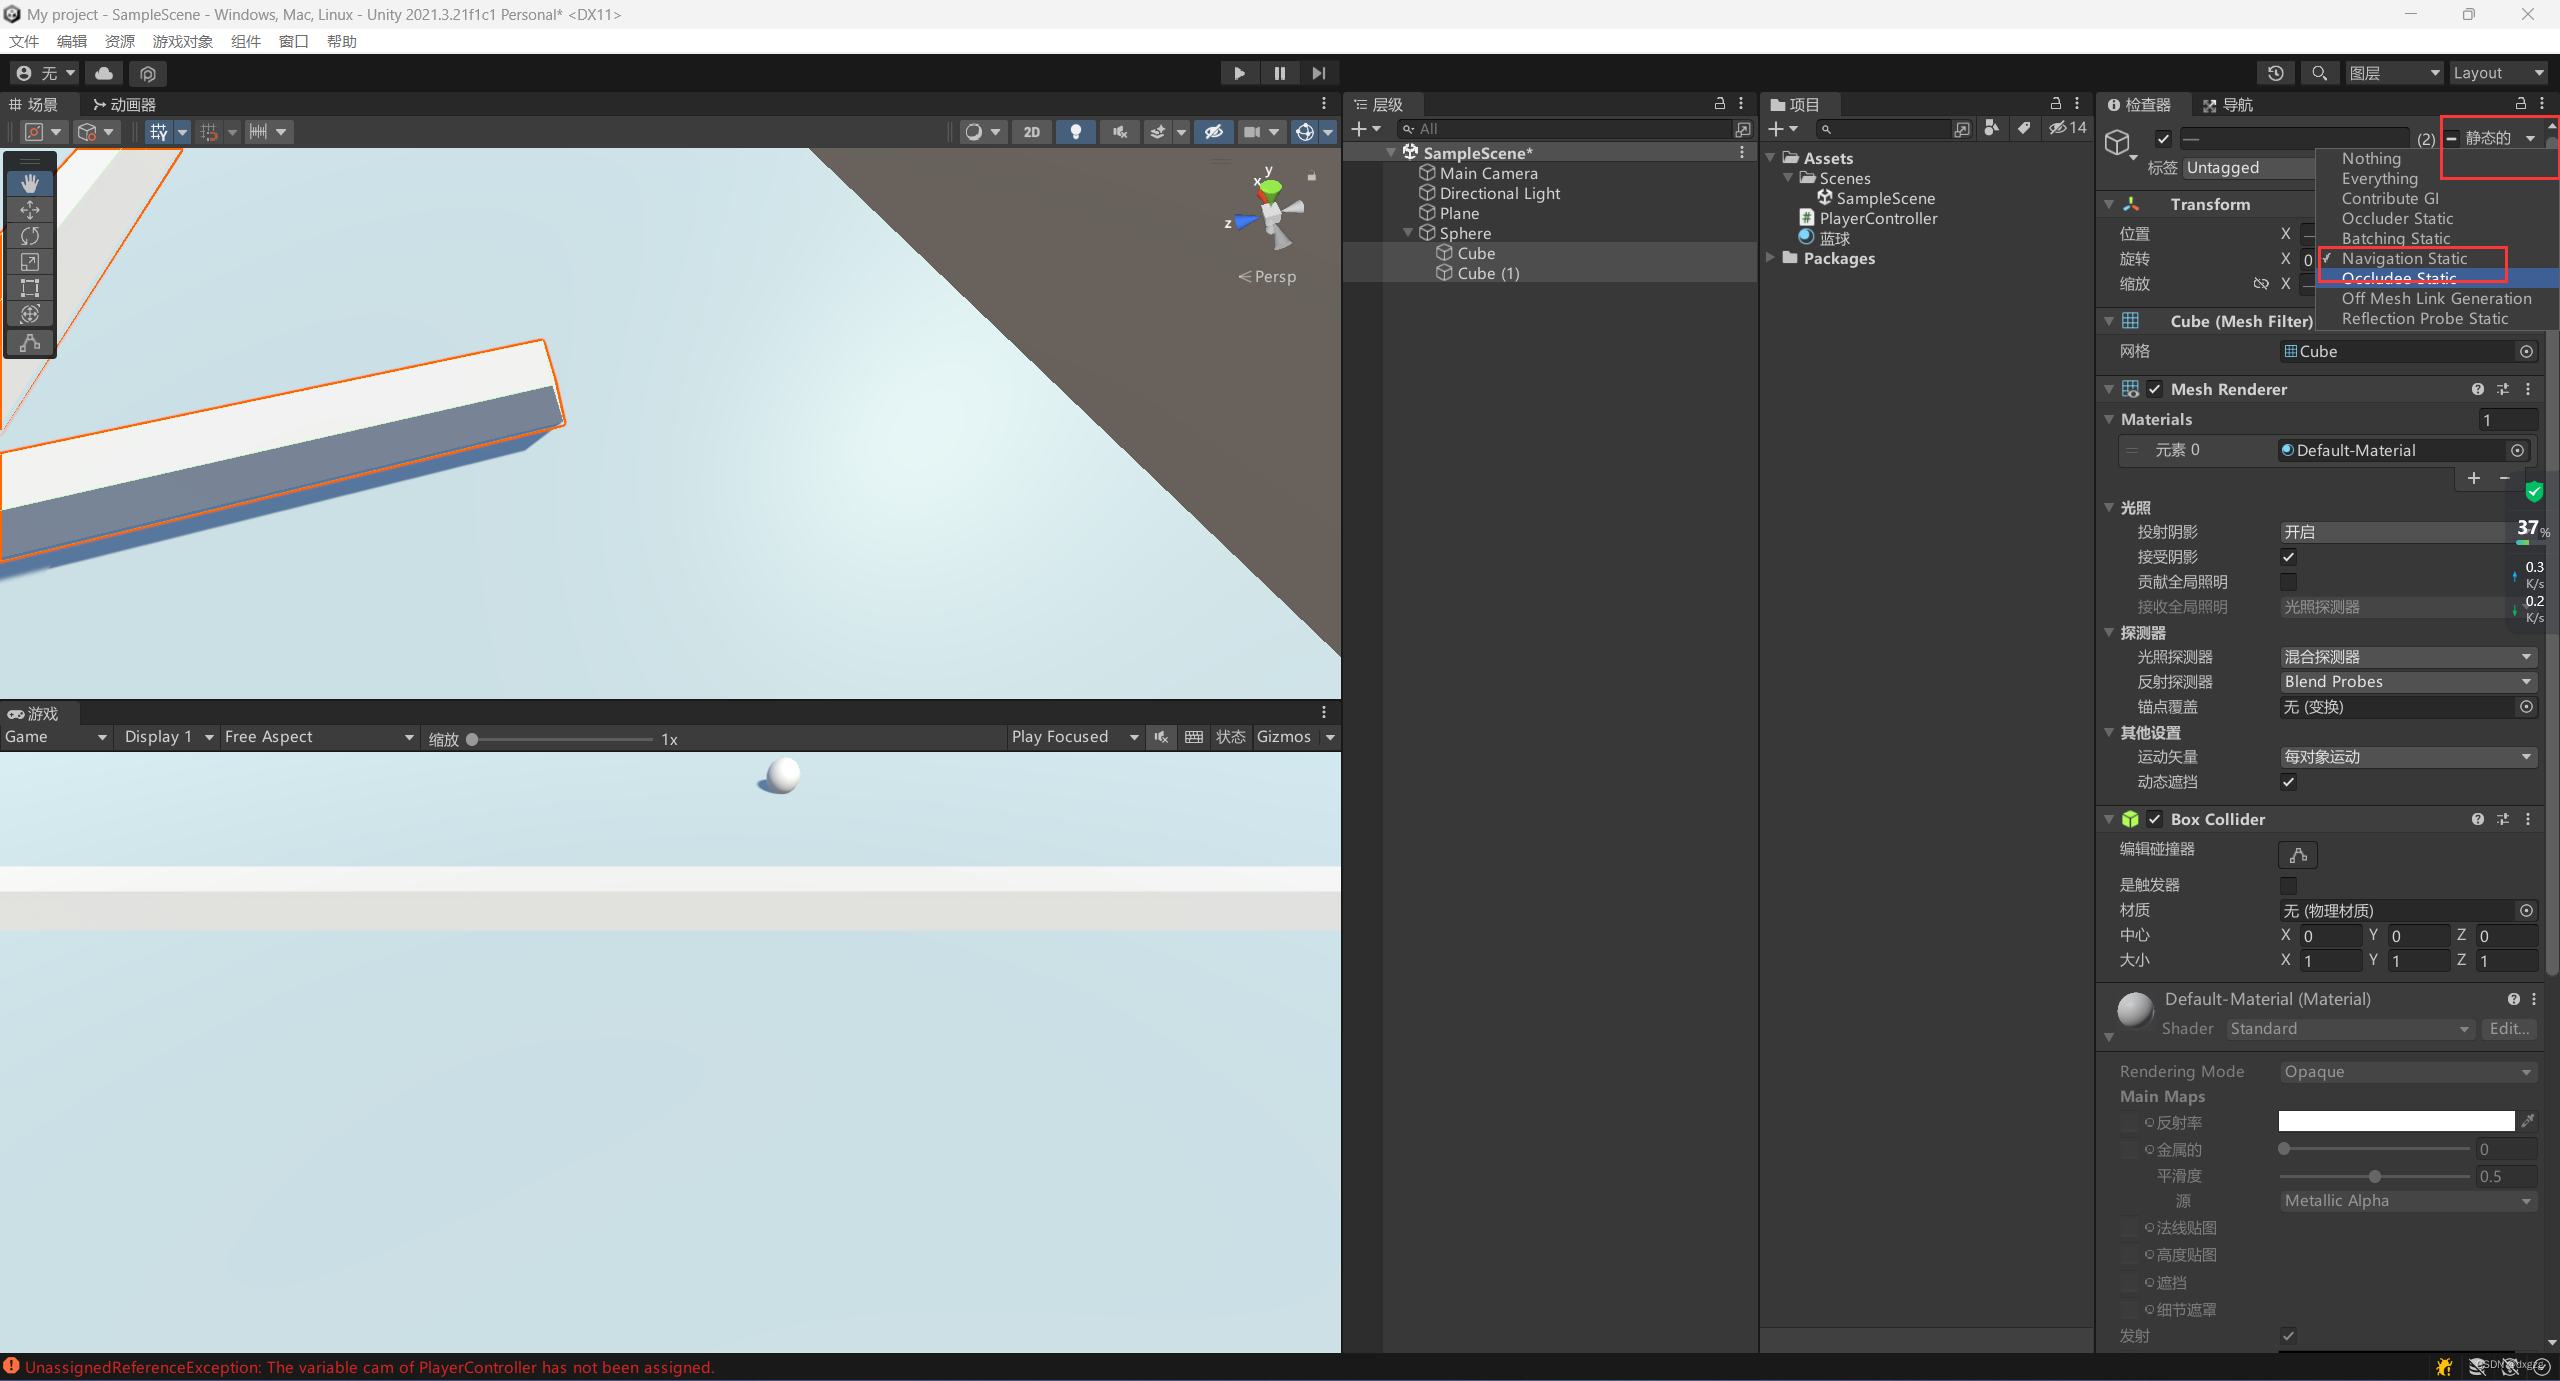
窗口-》AI-》烘焙
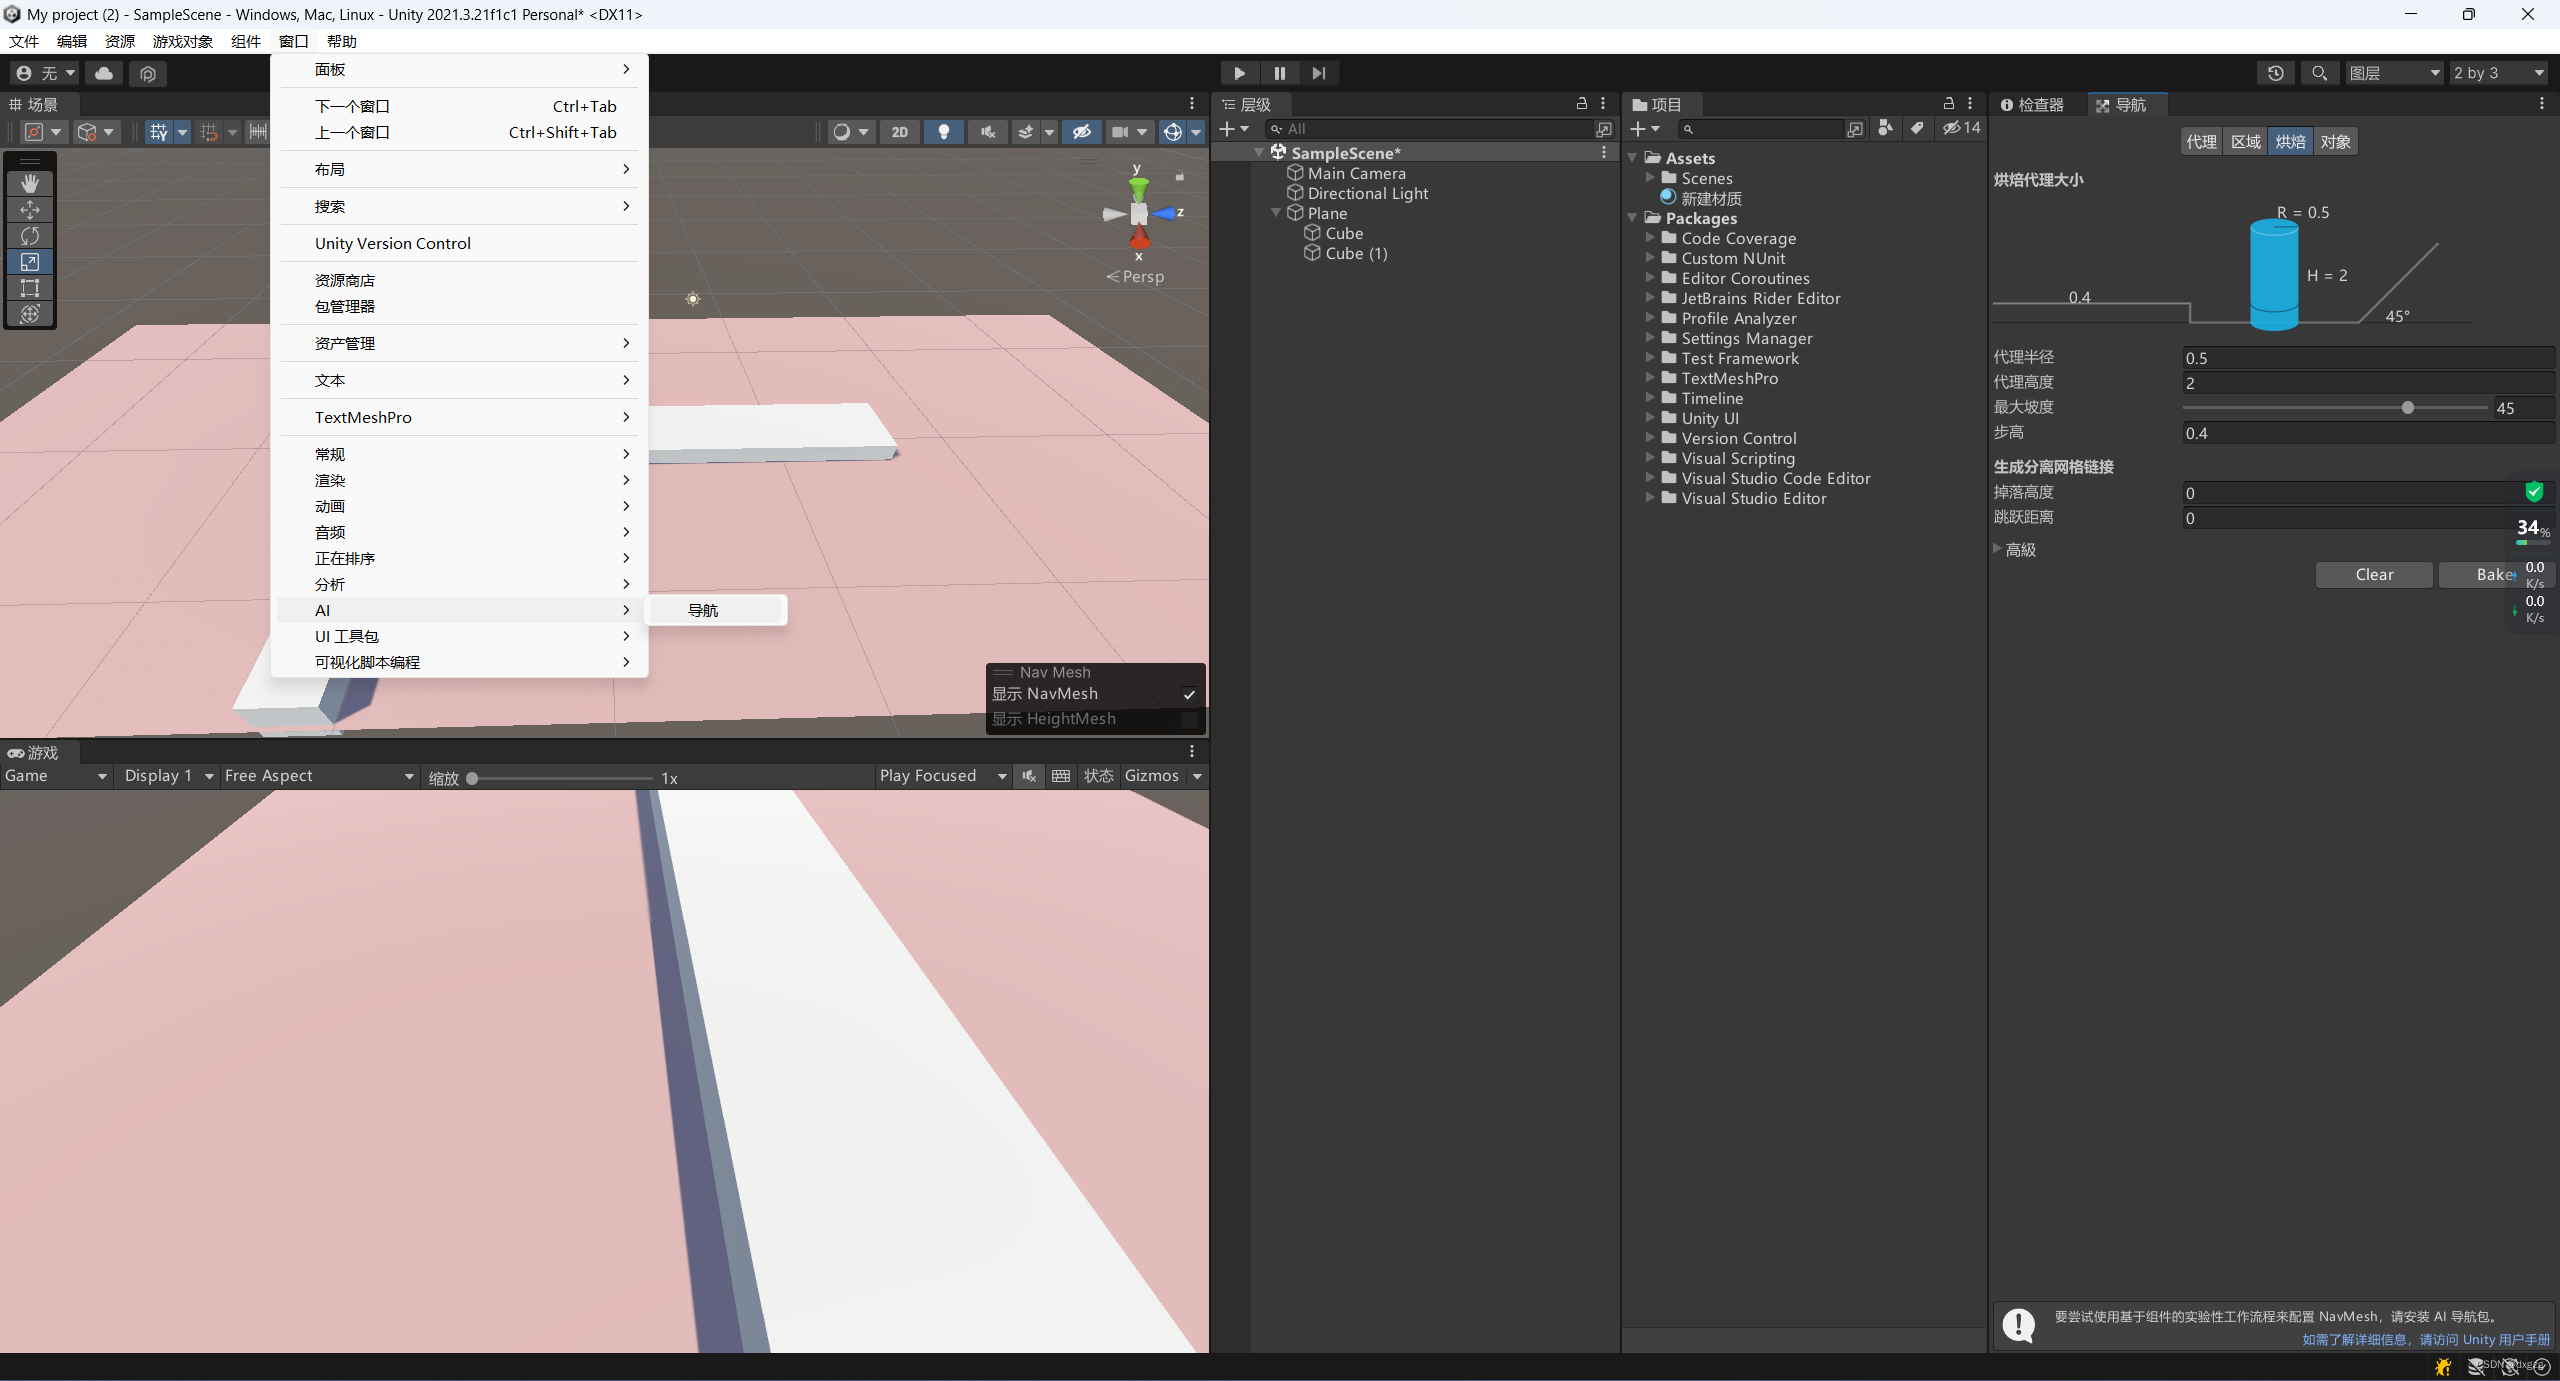
代理高度可以理解为人物的高度,还有一些坡度等等,代码如下
using System.Collections;
using System.Collections.Generic;
using UnityEngine;
using UnityEngine.AI;
using UnityEngine.UI;

public class PlayControl : MonoBehaviour
{


    private NavMeshAgent agent;
    // Start is called before the first frame update
    void Start()
    {


        agent = GetComponent<NavMeshAgent>();
    }

    // Update is called once per frame
    void Update()
    {


        if(Input.GetMouseButtonDown(0)) {


            Ray ray = Camera.main.ScreenPointToRay(Input.mousePosition);
            RaycastHit hit;
            if(Physics.Raycast(ray, out hit))
            {


                // 点击位置
                Vector3 point = hit.point;
                agent.SetDestination(point);
            }
        }
    }
}
拾取物品
public class MousePickup : MonoBehaviour
{


    private GameObject selectedObject;
    public float maxDistance = 5f;
    public float objectRadius = 0.5f;

    private void Update()
    {


        // 点击左键相当于 “拾取” 物体
        if (Input.GetMouseButtonDown(0))
        {


            Ray ray = Camera.main.ScreenPointToRay(Input.mousePosition);
            RaycastHit hit;
            if (Physics.Raycast(ray, out hit))
            {


                if (hit.transform.gameObject.CompareTag("PickupObject"))
                {


                    float distance = Vector3.Distance(hit.transform.position, transform.position);
                    if (distance <= maxDistance + objectRadius)
                    {


                        selectedObject = hit.transform.gameObject;

                        // 将所选择的物体加入到一个选择列表中,做其他操作
                        // ...

                        // 移动到指定位置
                        Vector3 offset = hit.transform.position - transform.position;
                        Vector3 direction = offset.normalized;
                        float moveDistance = distance - objectRadius;
                        Vector3 targetPosition = transform.position + (direction * moveDistance);
                        selectedObject.transform.position = targetPosition;
                    }
                }
            }
        }

        // 点击右键相当于 “放下” 物体
        if (Input.GetMouseButtonDown(1))
        {


            if (selectedObject)
            {


                // 将所选择的物体从选择列表中移除
                // ...

                selectedObject = null;
            }
        }
    }
}
怪物追击玩家
using UnityEngine;
using UnityEngine.AI;

public class MonsterChase : MonoBehaviour
{


    // 手动设置怪物和玩家对象
    private NavMeshAgent monster;
    public Transform player;

    // 追击距离
    public float chaseDistance = 10f;

    // 怪物每次追击的时间间隔
    public float chaseInterval = 2f;
    private float lastChaseTime = -999f;

    private void Start()
    {


        monster = GetComponent<NavMeshAgent>();
    }

    void Update()
    {


        // 计算怪物与玩家之间的距离
        float distance = Vector3.Distance(monster.transform.position, player.position);

        if (distance <= chaseDistance)
        {


            // 玩家在追击范围内,怪物开始追击
            monster.SetDestination(player.position);

            // 每隔 chaseInterval 秒进行一次追击
            if (Time.time - lastChaseTime >= chaseInterval)
            {


                lastChaseTime = Time.time;
                print("怪物追击玩家!");
            }
        }
        else
        {


            // 玩家超出追击范围,怪物停止追击
            monster.ResetPath();
            print("超出了怪物的视野!");
        }
    }
}
追击玩家带上攻击距离,到了攻击范围则停止攻击
using UnityEngine;
using UnityEngine.AI;

public class MonsterChase : MonoBehaviour
{


    // 手动设置怪物和玩家对象
    private NavMeshAgent monster;

    // 追击距离
    public float chaseDistance = 10f;

    // 怪物每次追击的时间间隔
    public float chaseInterval = 2f;
    private float lastChaseTime = -999f;
    public float attackDistance = 0f;

    private void Start()
    {


        monster = GetComponent<NavMeshAgent>();
    }

    void Update()
    {


        Transform player = GameObject.FindWithTag("Player").transform;
        if (player == null)
        {


            print("怪物脸上没有玩家");
            return;
        }
        // 计算怪物与玩家之间的距离
        float distance = Vector3.Distance(monster.transform.position, player.position);

        if (distance <= chaseDistance)
        {


            print(string.Format("distance:{0}", distance));

            if (distance > attackDistance) {


                // 玩家不在攻击范围内,怪物继续追击直到进入攻击范围内
                monster.SetDestination(player.position);
            }
            else
            {


                monster.ResetPath();
            }

            // 每隔 chaseInterval 秒进行一次追击
            if (Time.time - lastChaseTime >= chaseInterval)
            {


                lastChaseTime = Time.time;
                print("怪物追击玩家!");
                if(distance < attackDistance)
                {


                    print("可以攻击玩家!");
                }
            }
        }
        else
        {


            // 玩家超出追击范围,怪物停止追击
            monster.ResetPath();
            print("超出了怪物的视野!");
        }
    }
}
v键吸附地面
按住V,然后选择物体中的一个点,就样就能吸附到底线的平面了,种棵树的时候就不用过分的树的高度不对齐的问题
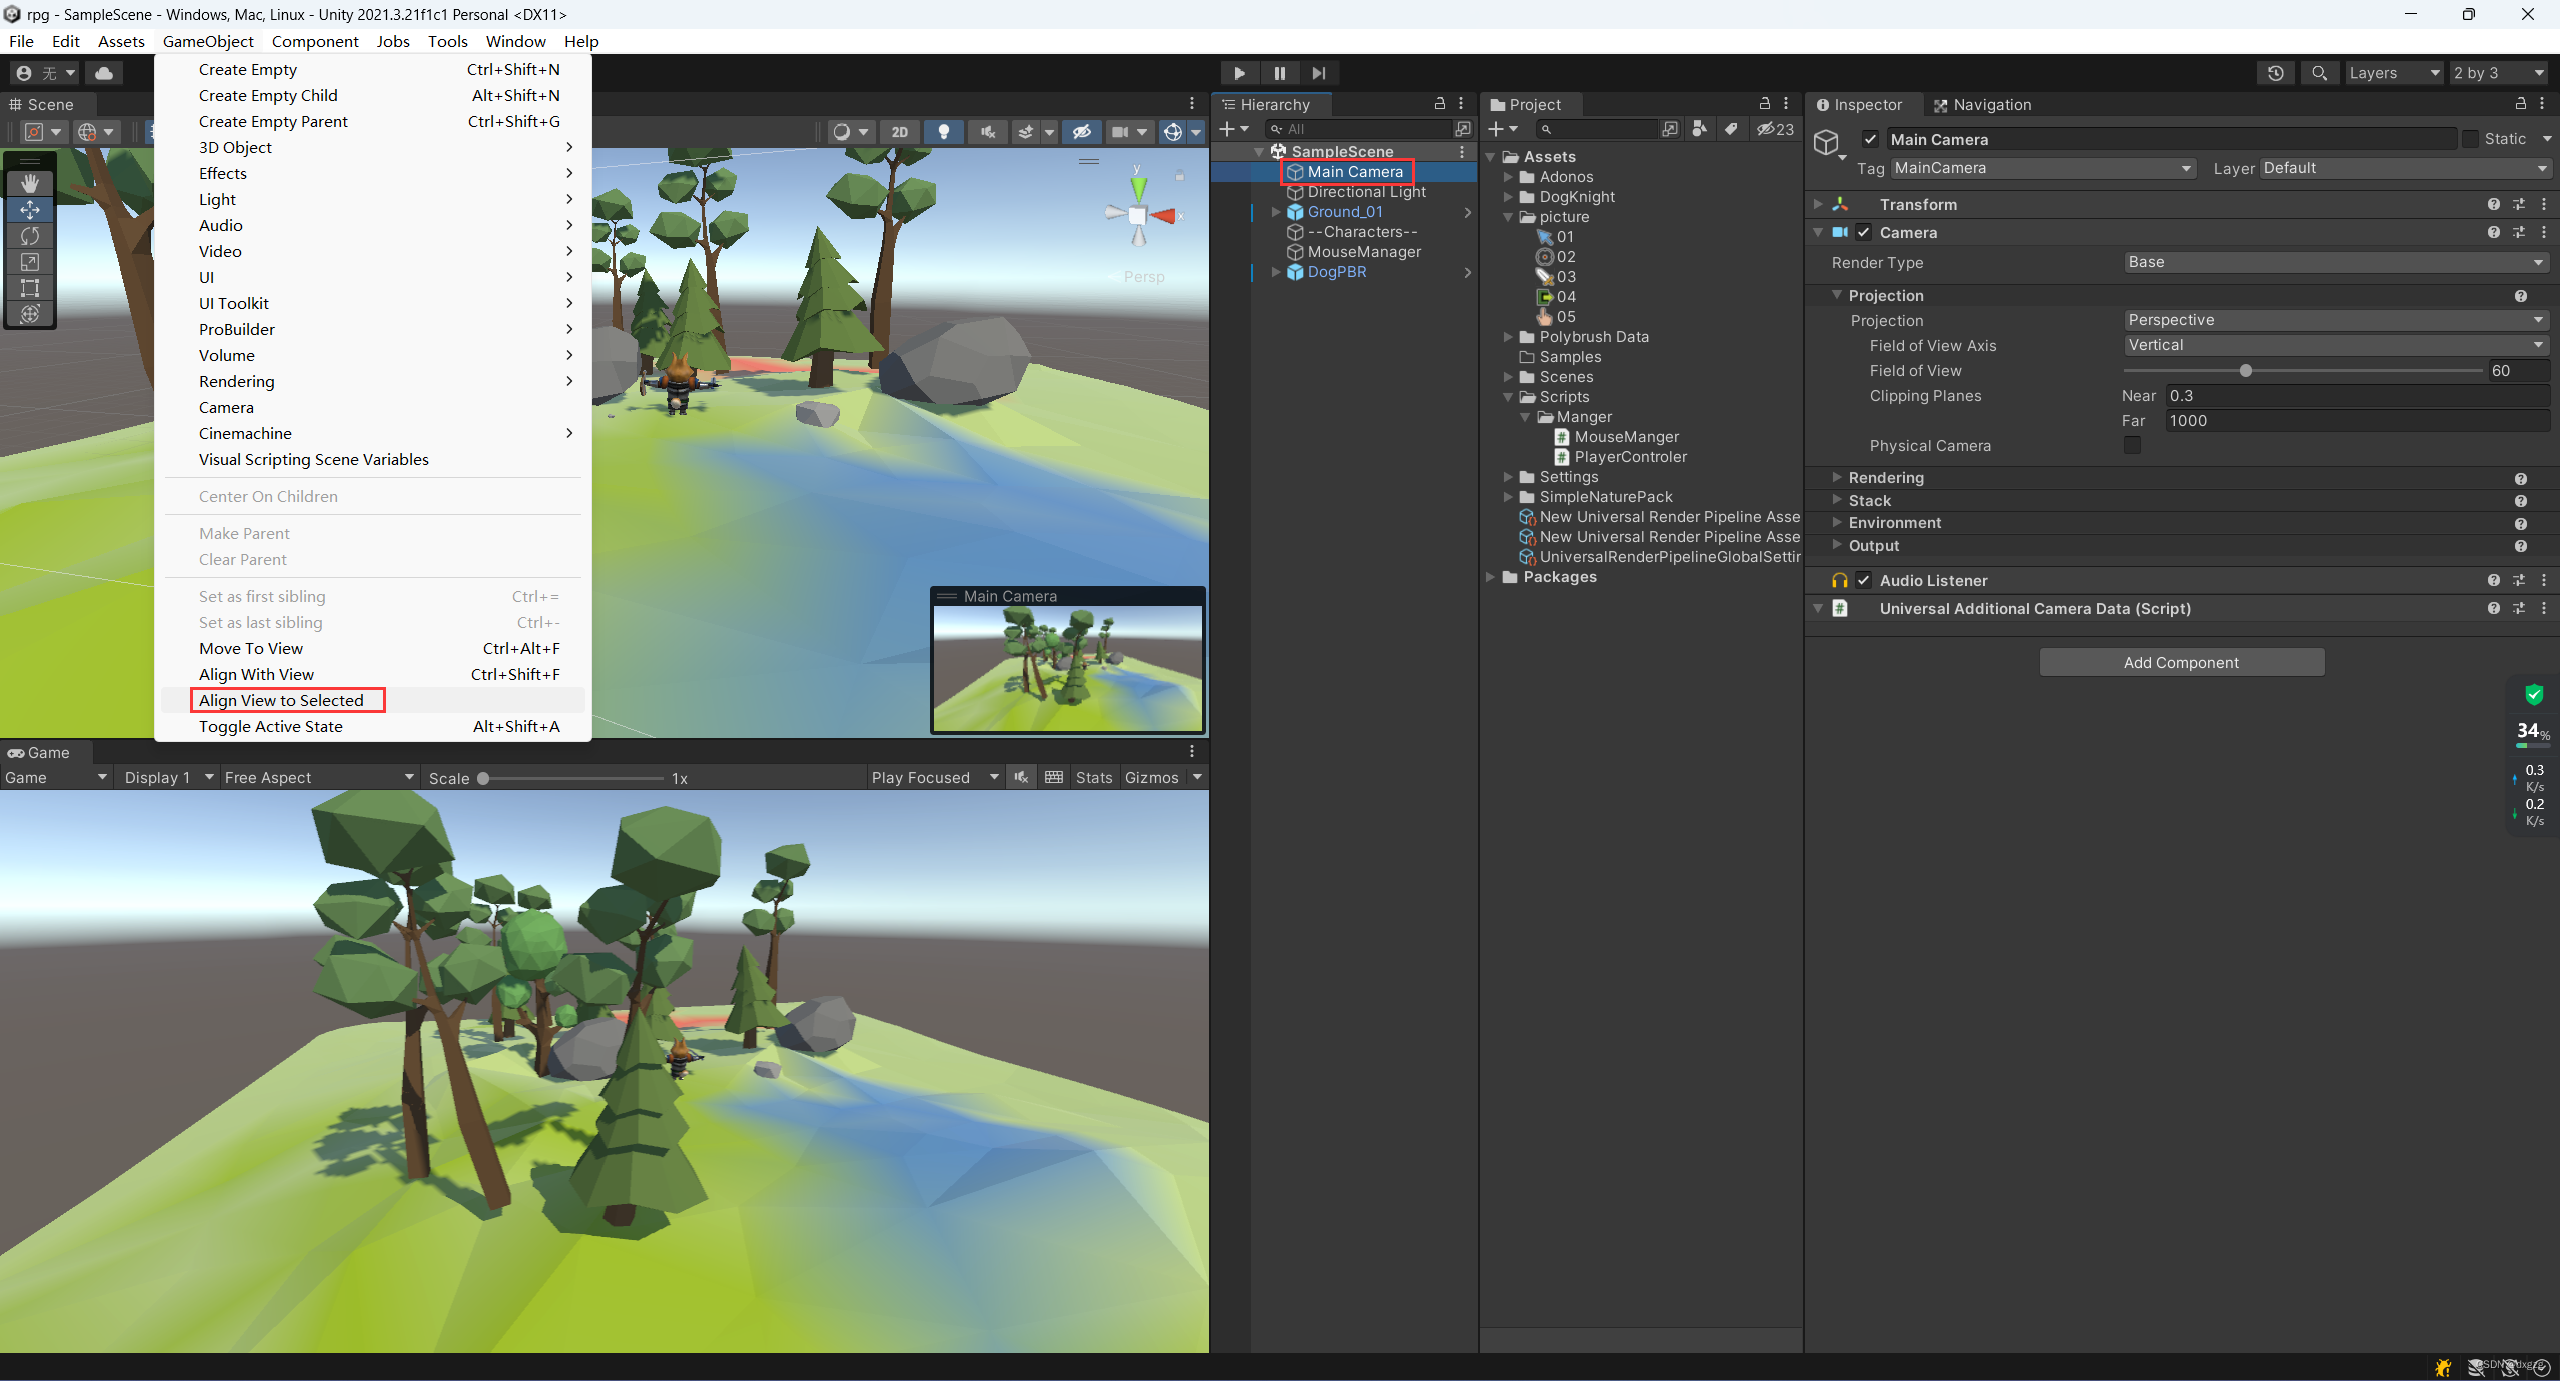
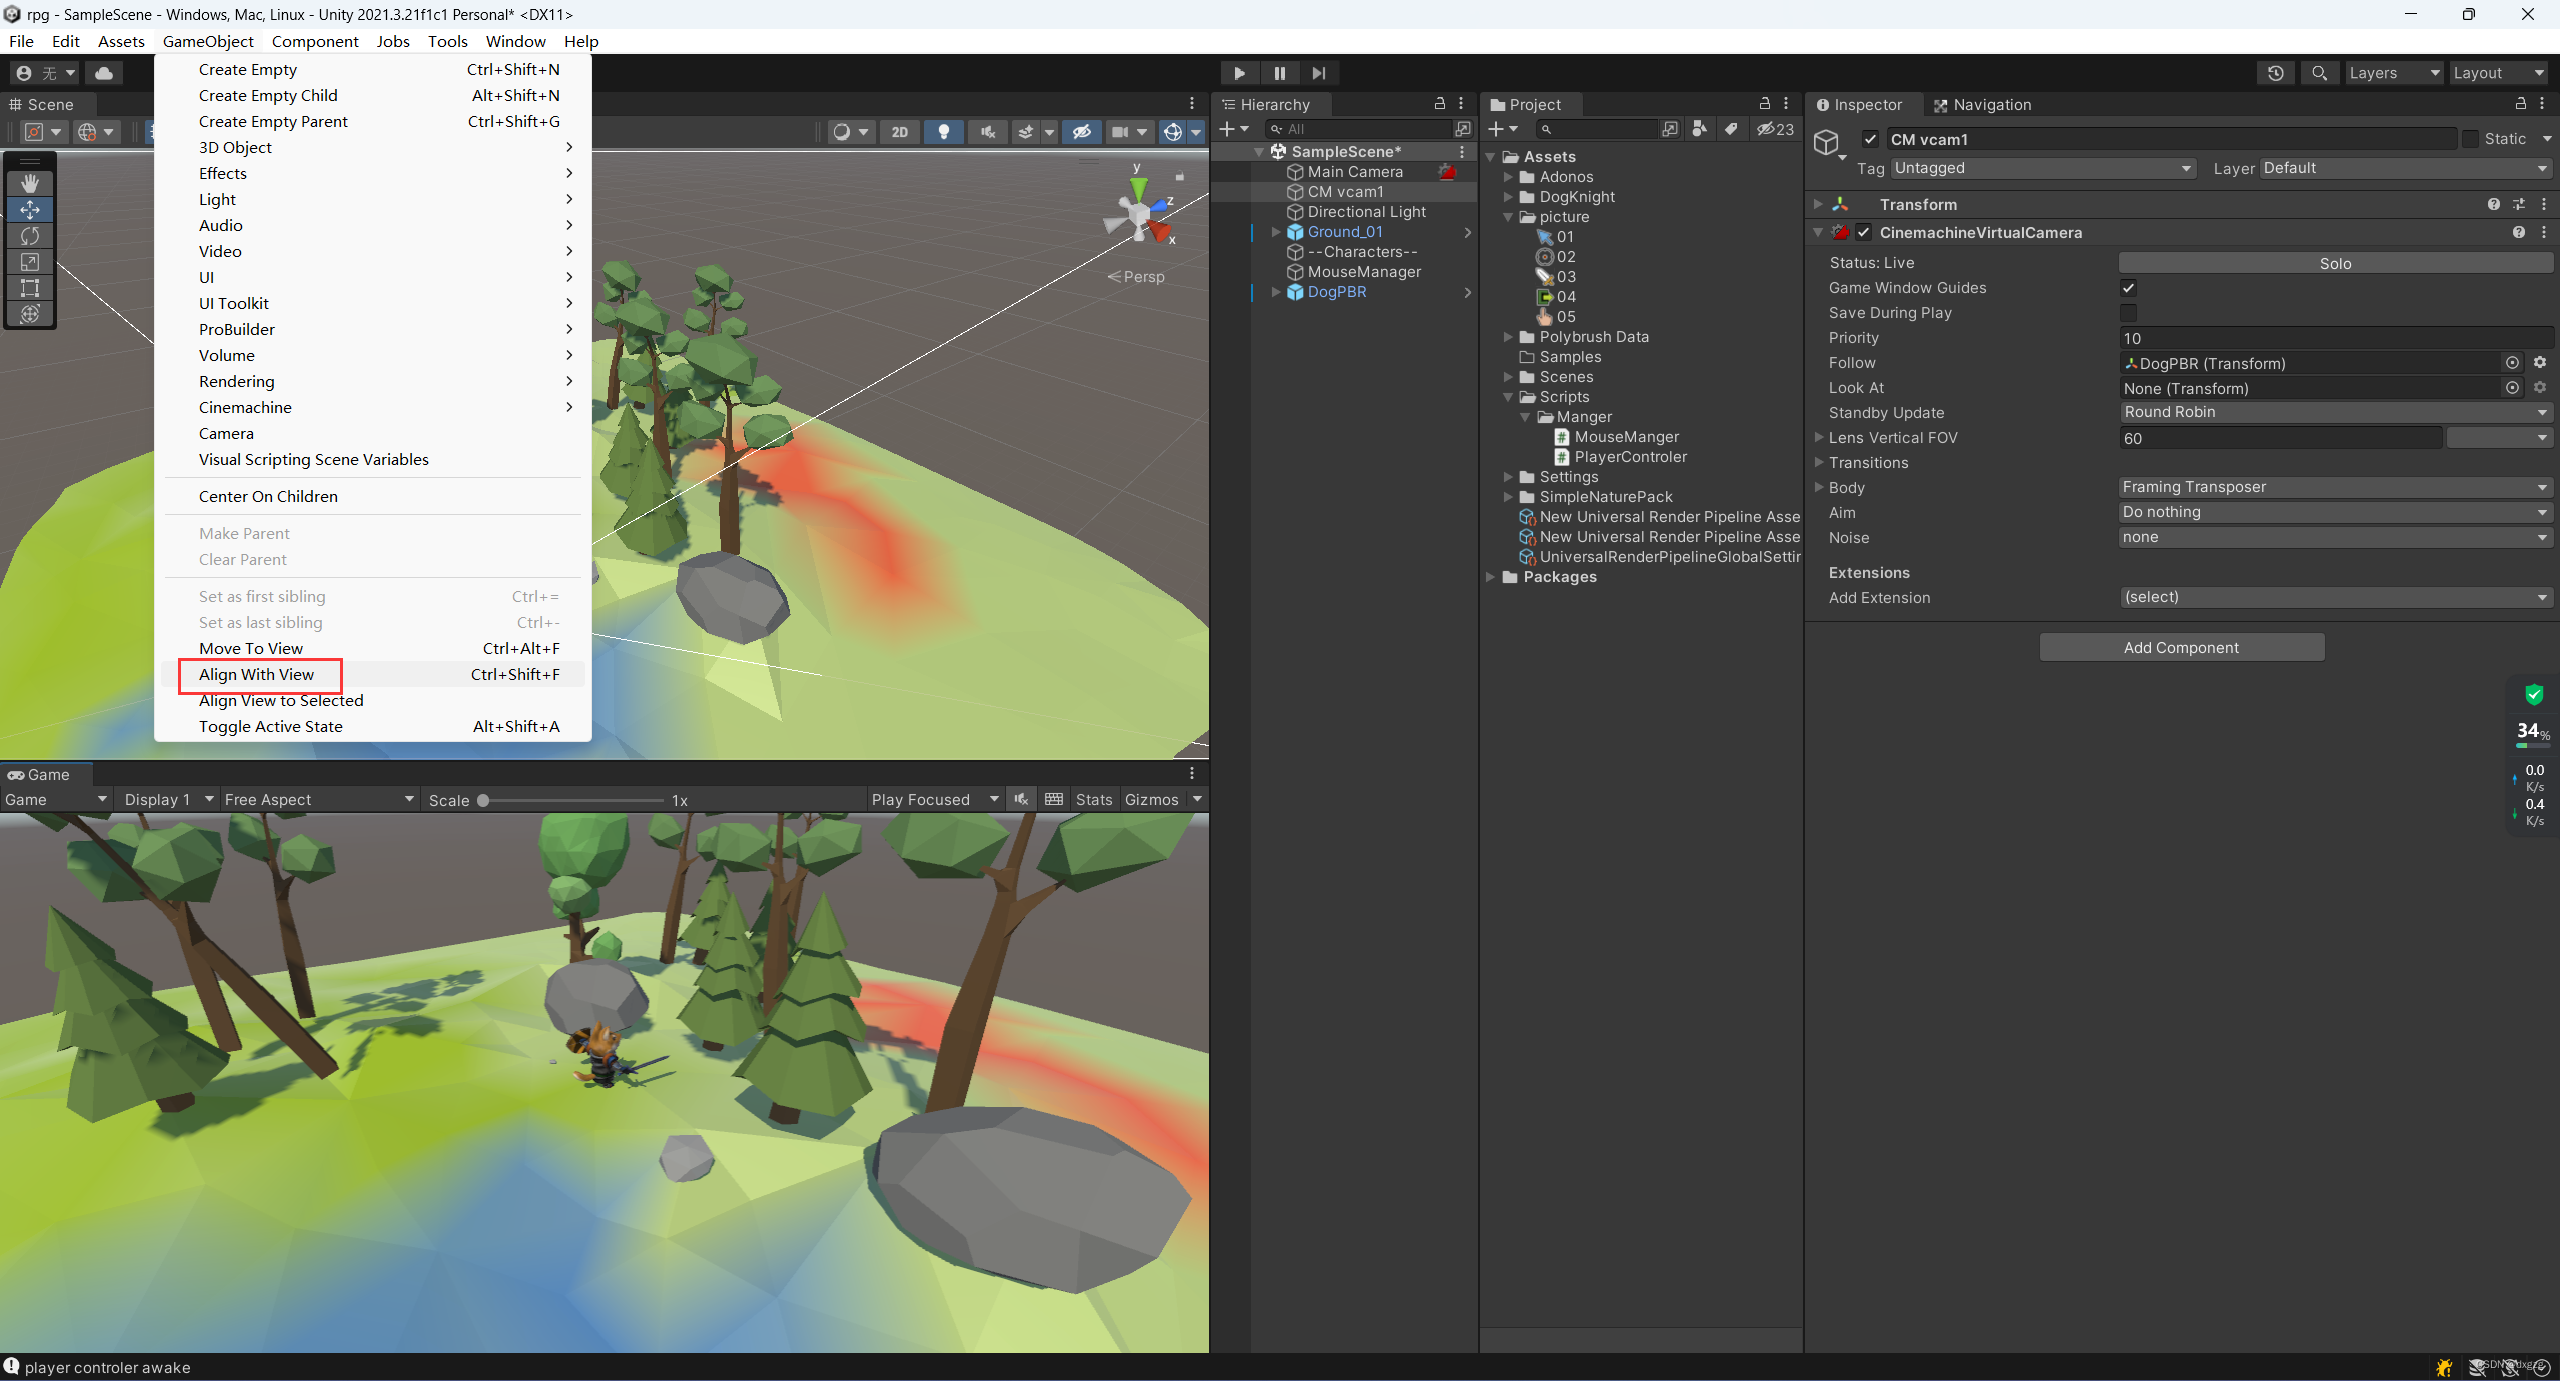
ctrl+shif+f
按下之后,since中摄像机的位置就是运行时候摄像机的位置了。如果无效则说明按键冲突了,大概率是和自己的输入法产生了冲突。
urp的使用
包管理器搜索并安装universal
翻译真坑 pipeline assets
客户端名词太多,懒得搜单词,看的教程我找了一圈,还没有找到,原来是这小子翻译有问题
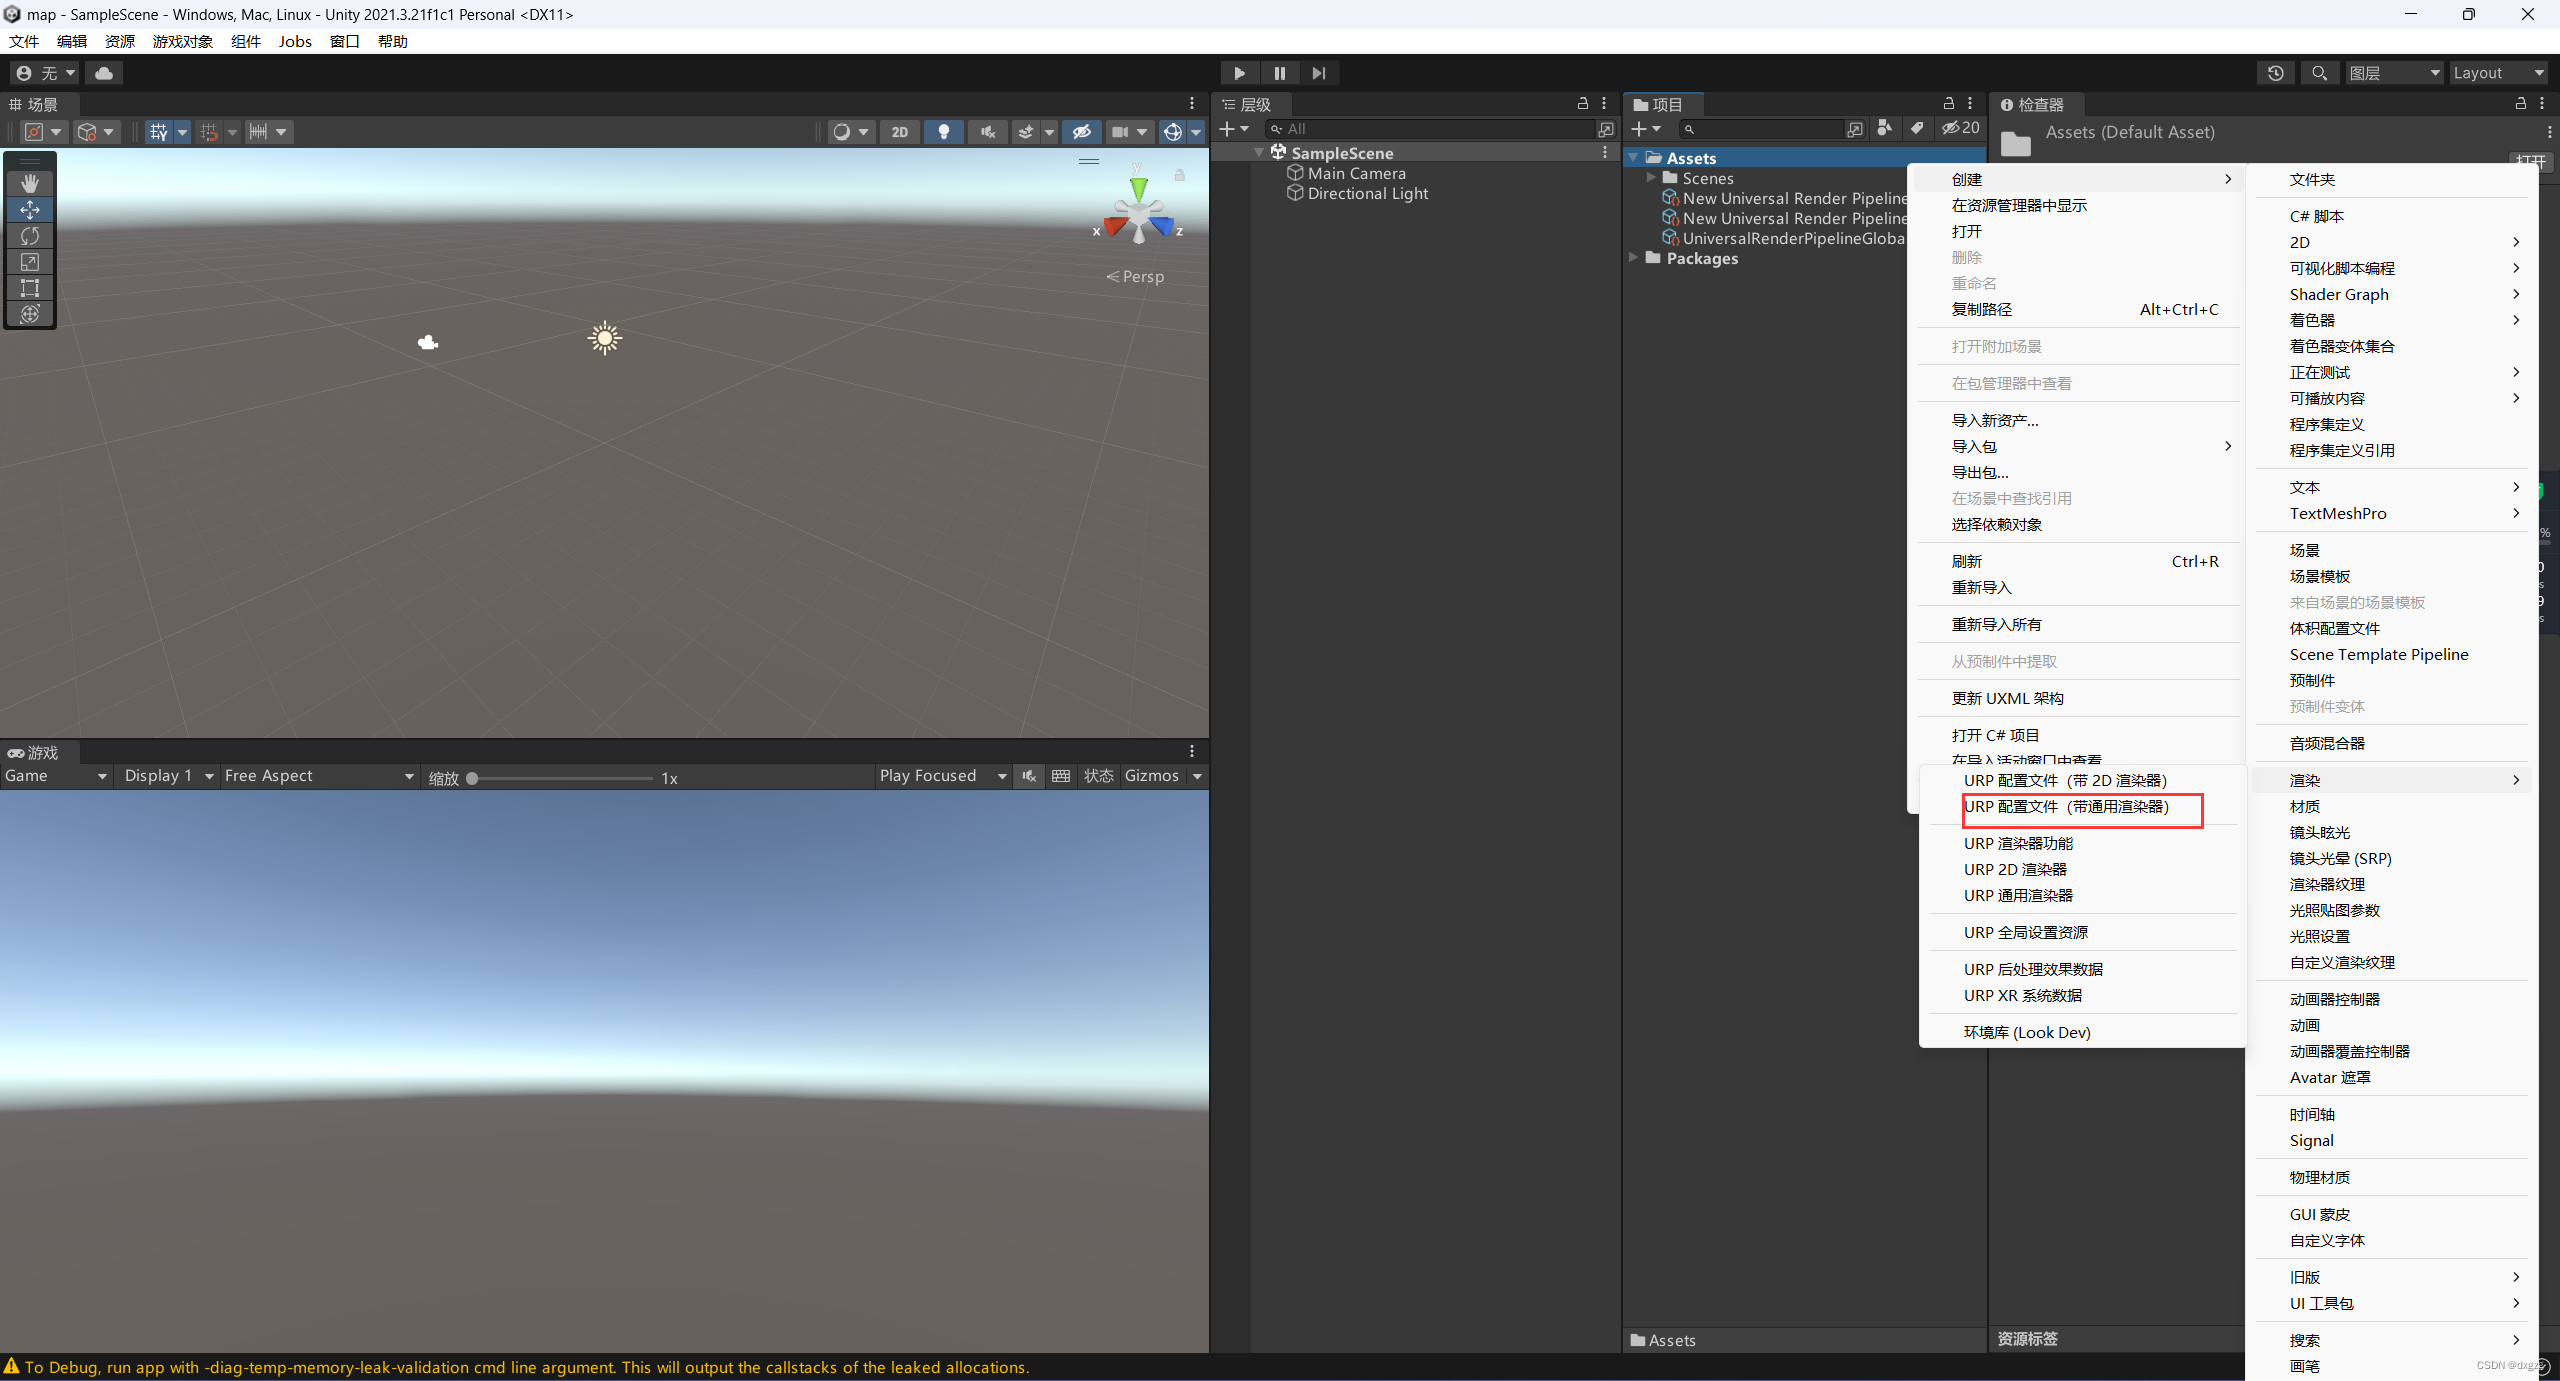
设置urp
在项目设置中点击质量和图形进行一个渲染
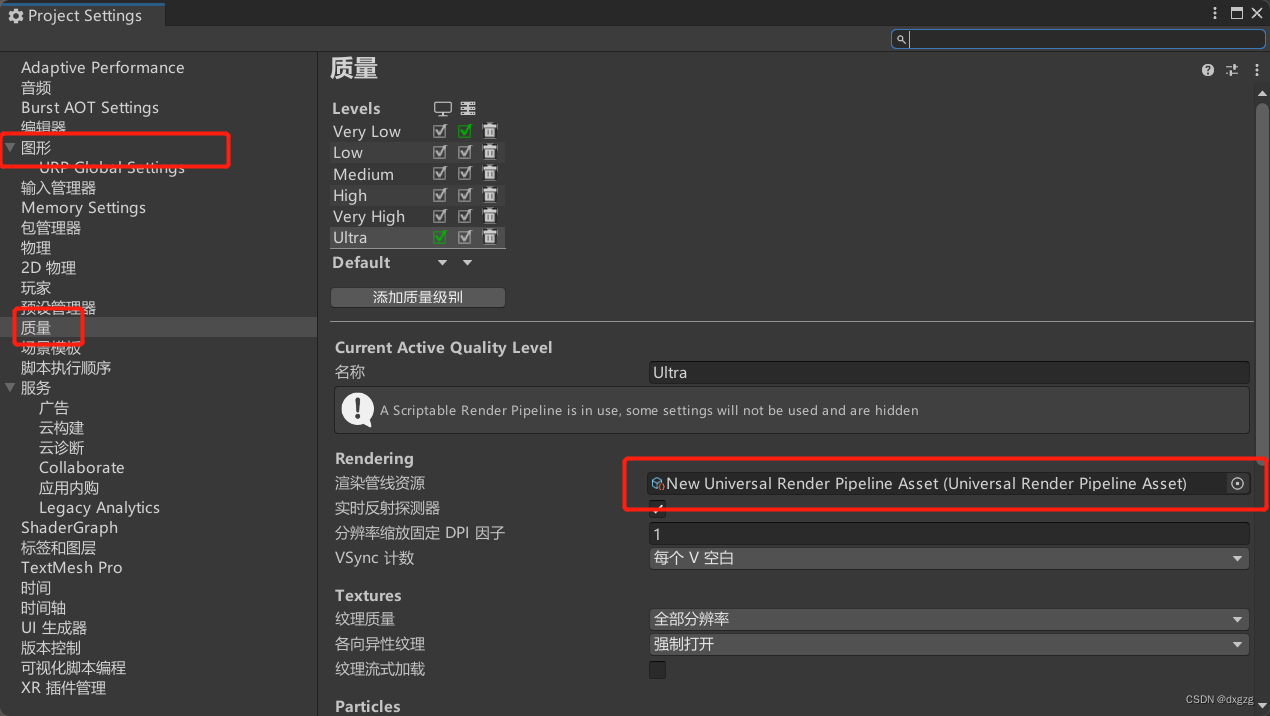
修改场景的项目为urp
这也是和视频中讲的不一样的地方
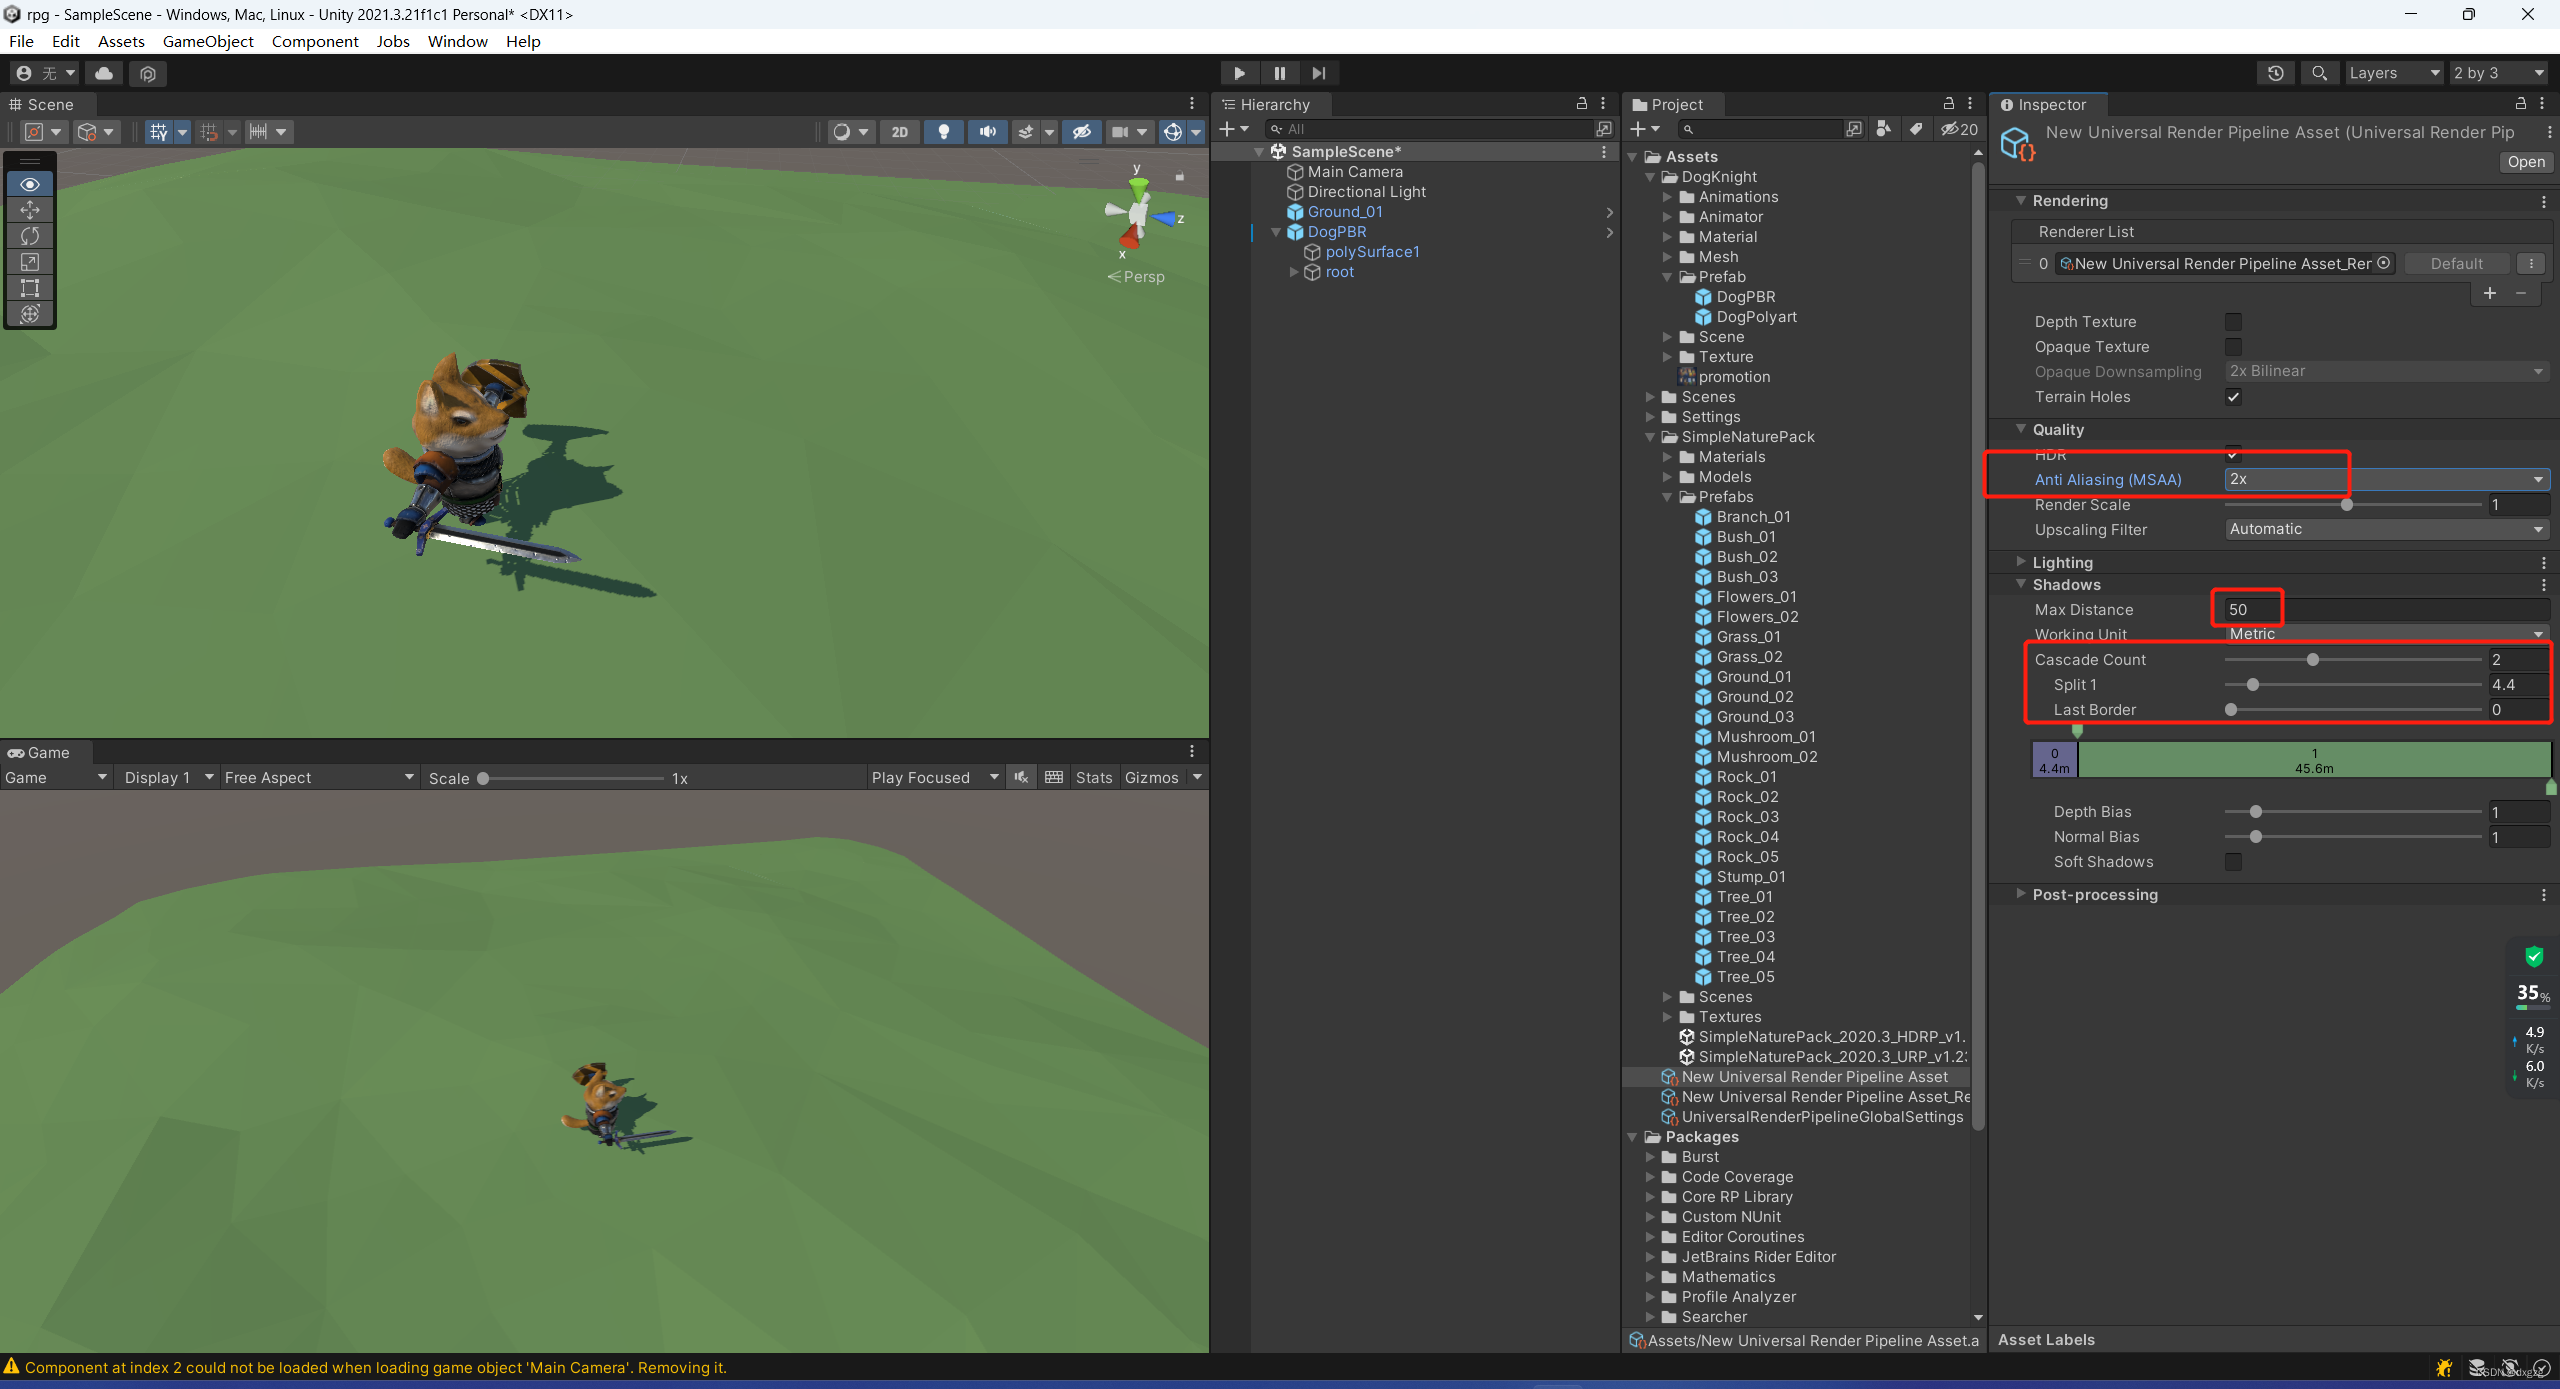
urp 使用说明
抗锯齿、距离、以及距离缘尽渲染的等级不同的设置
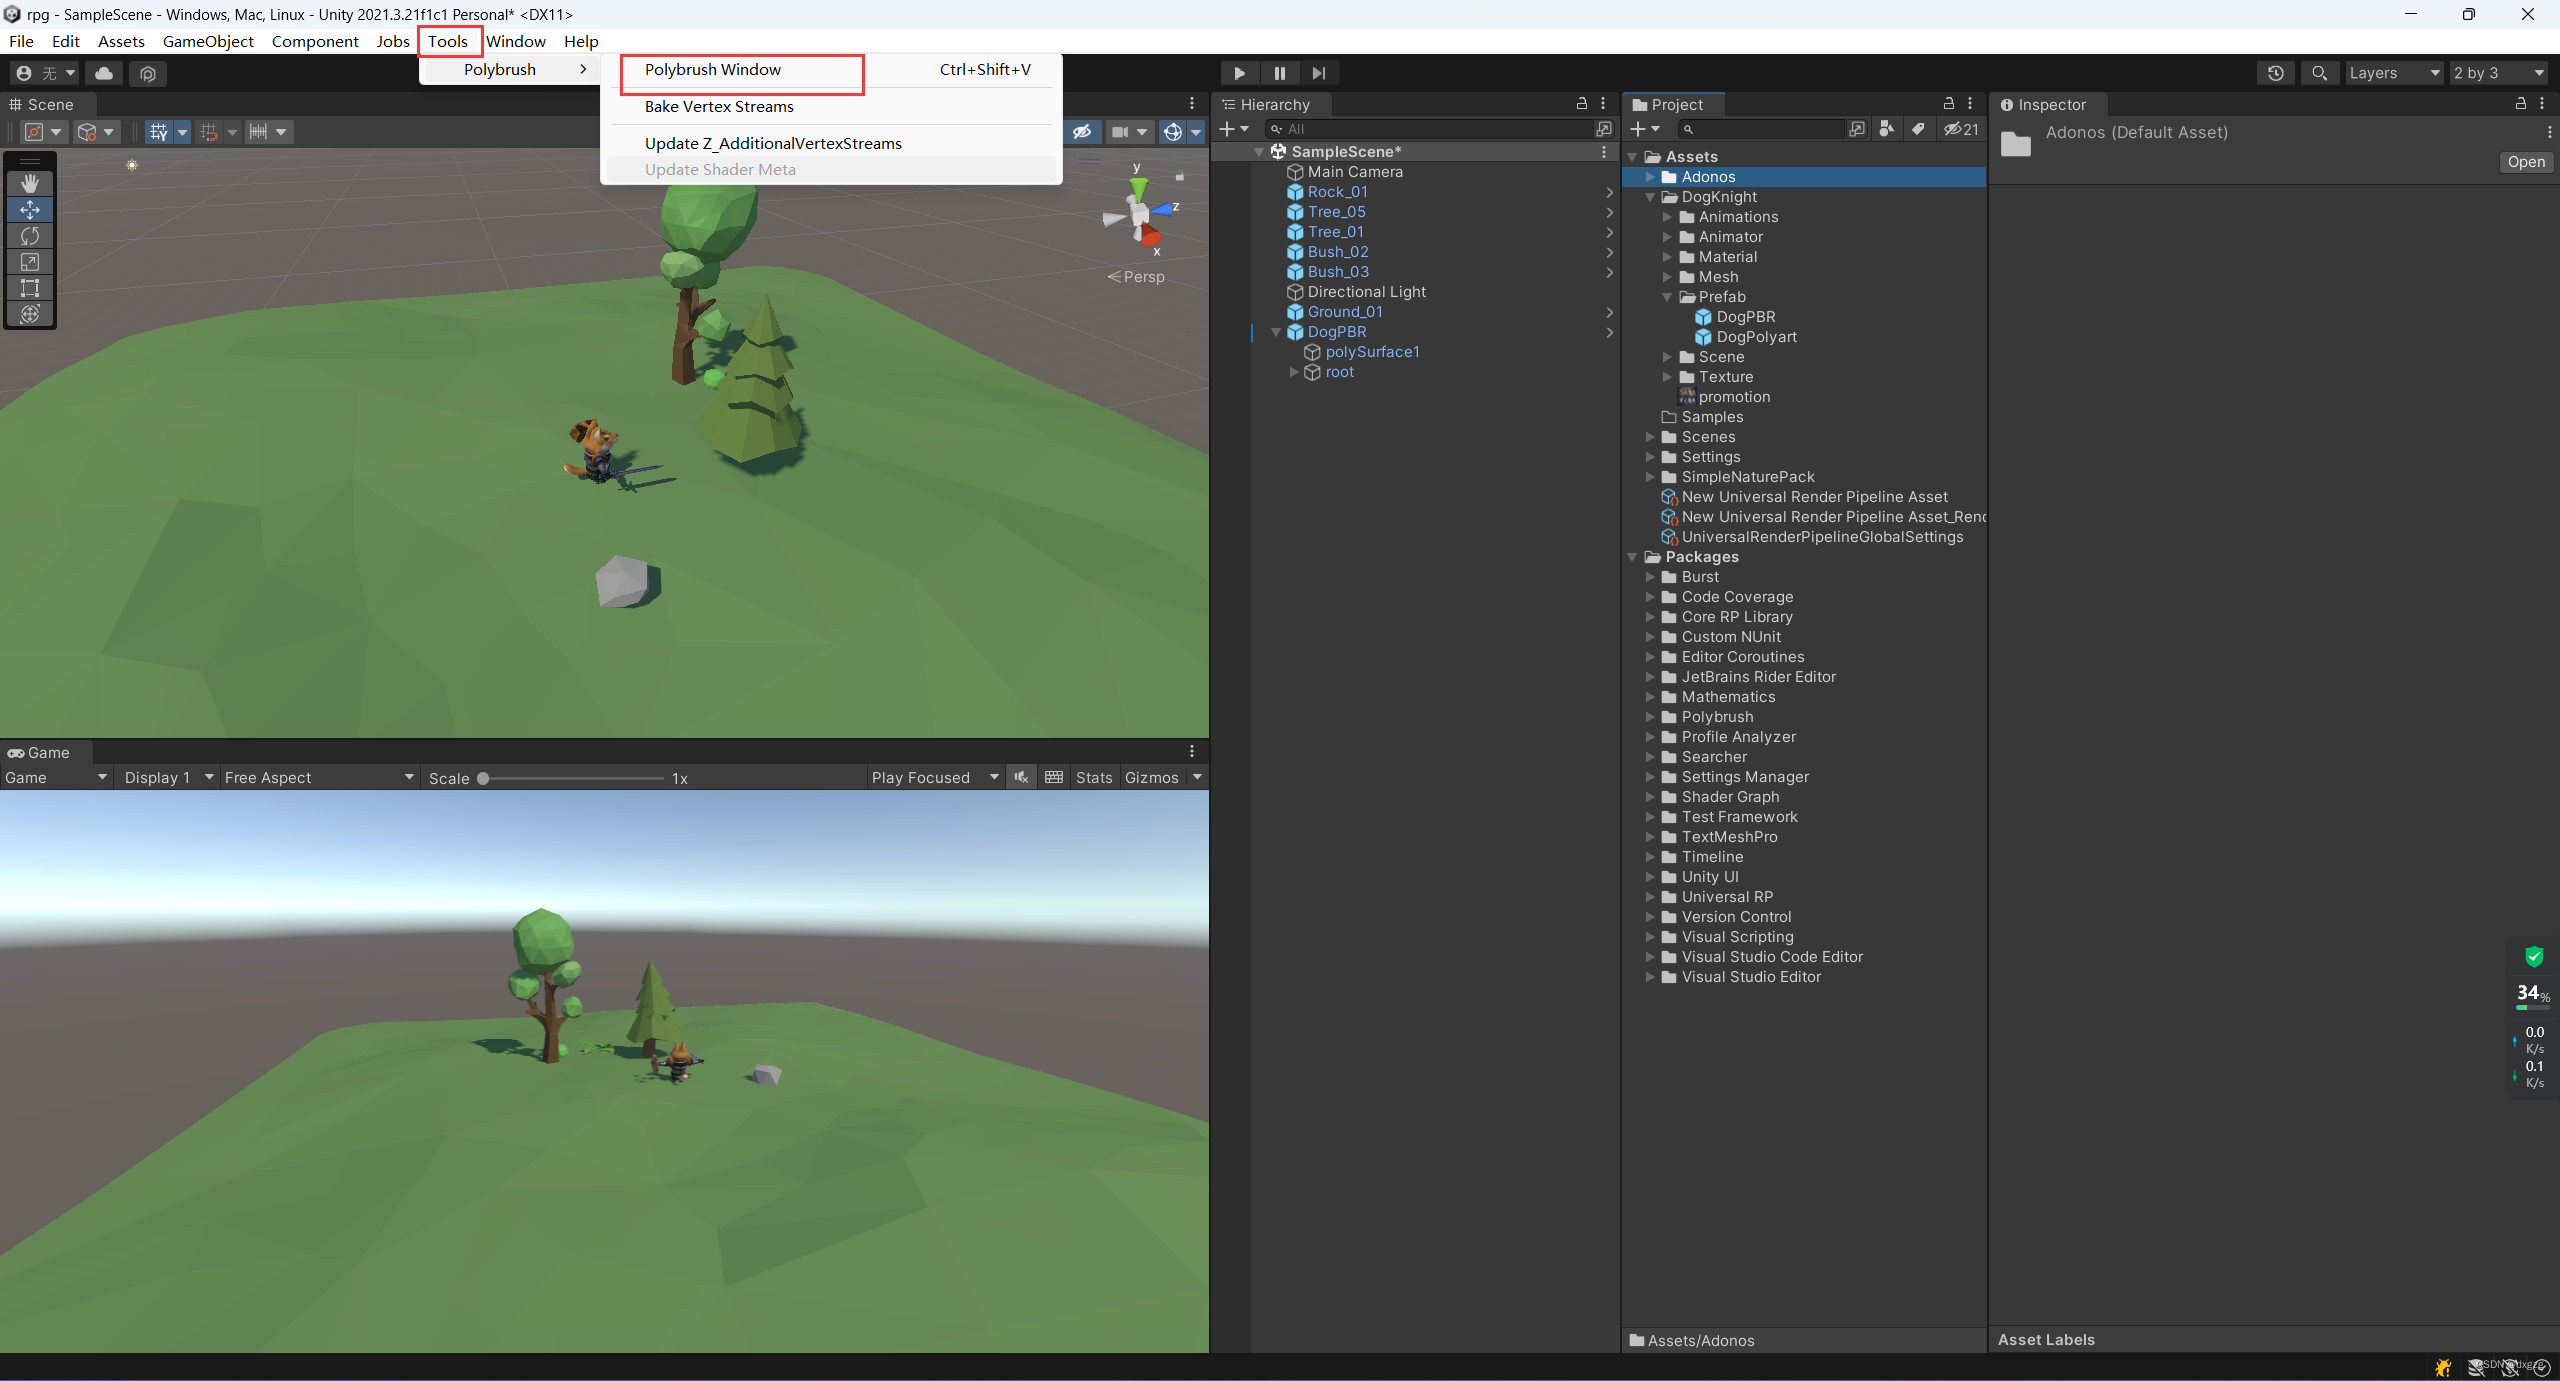
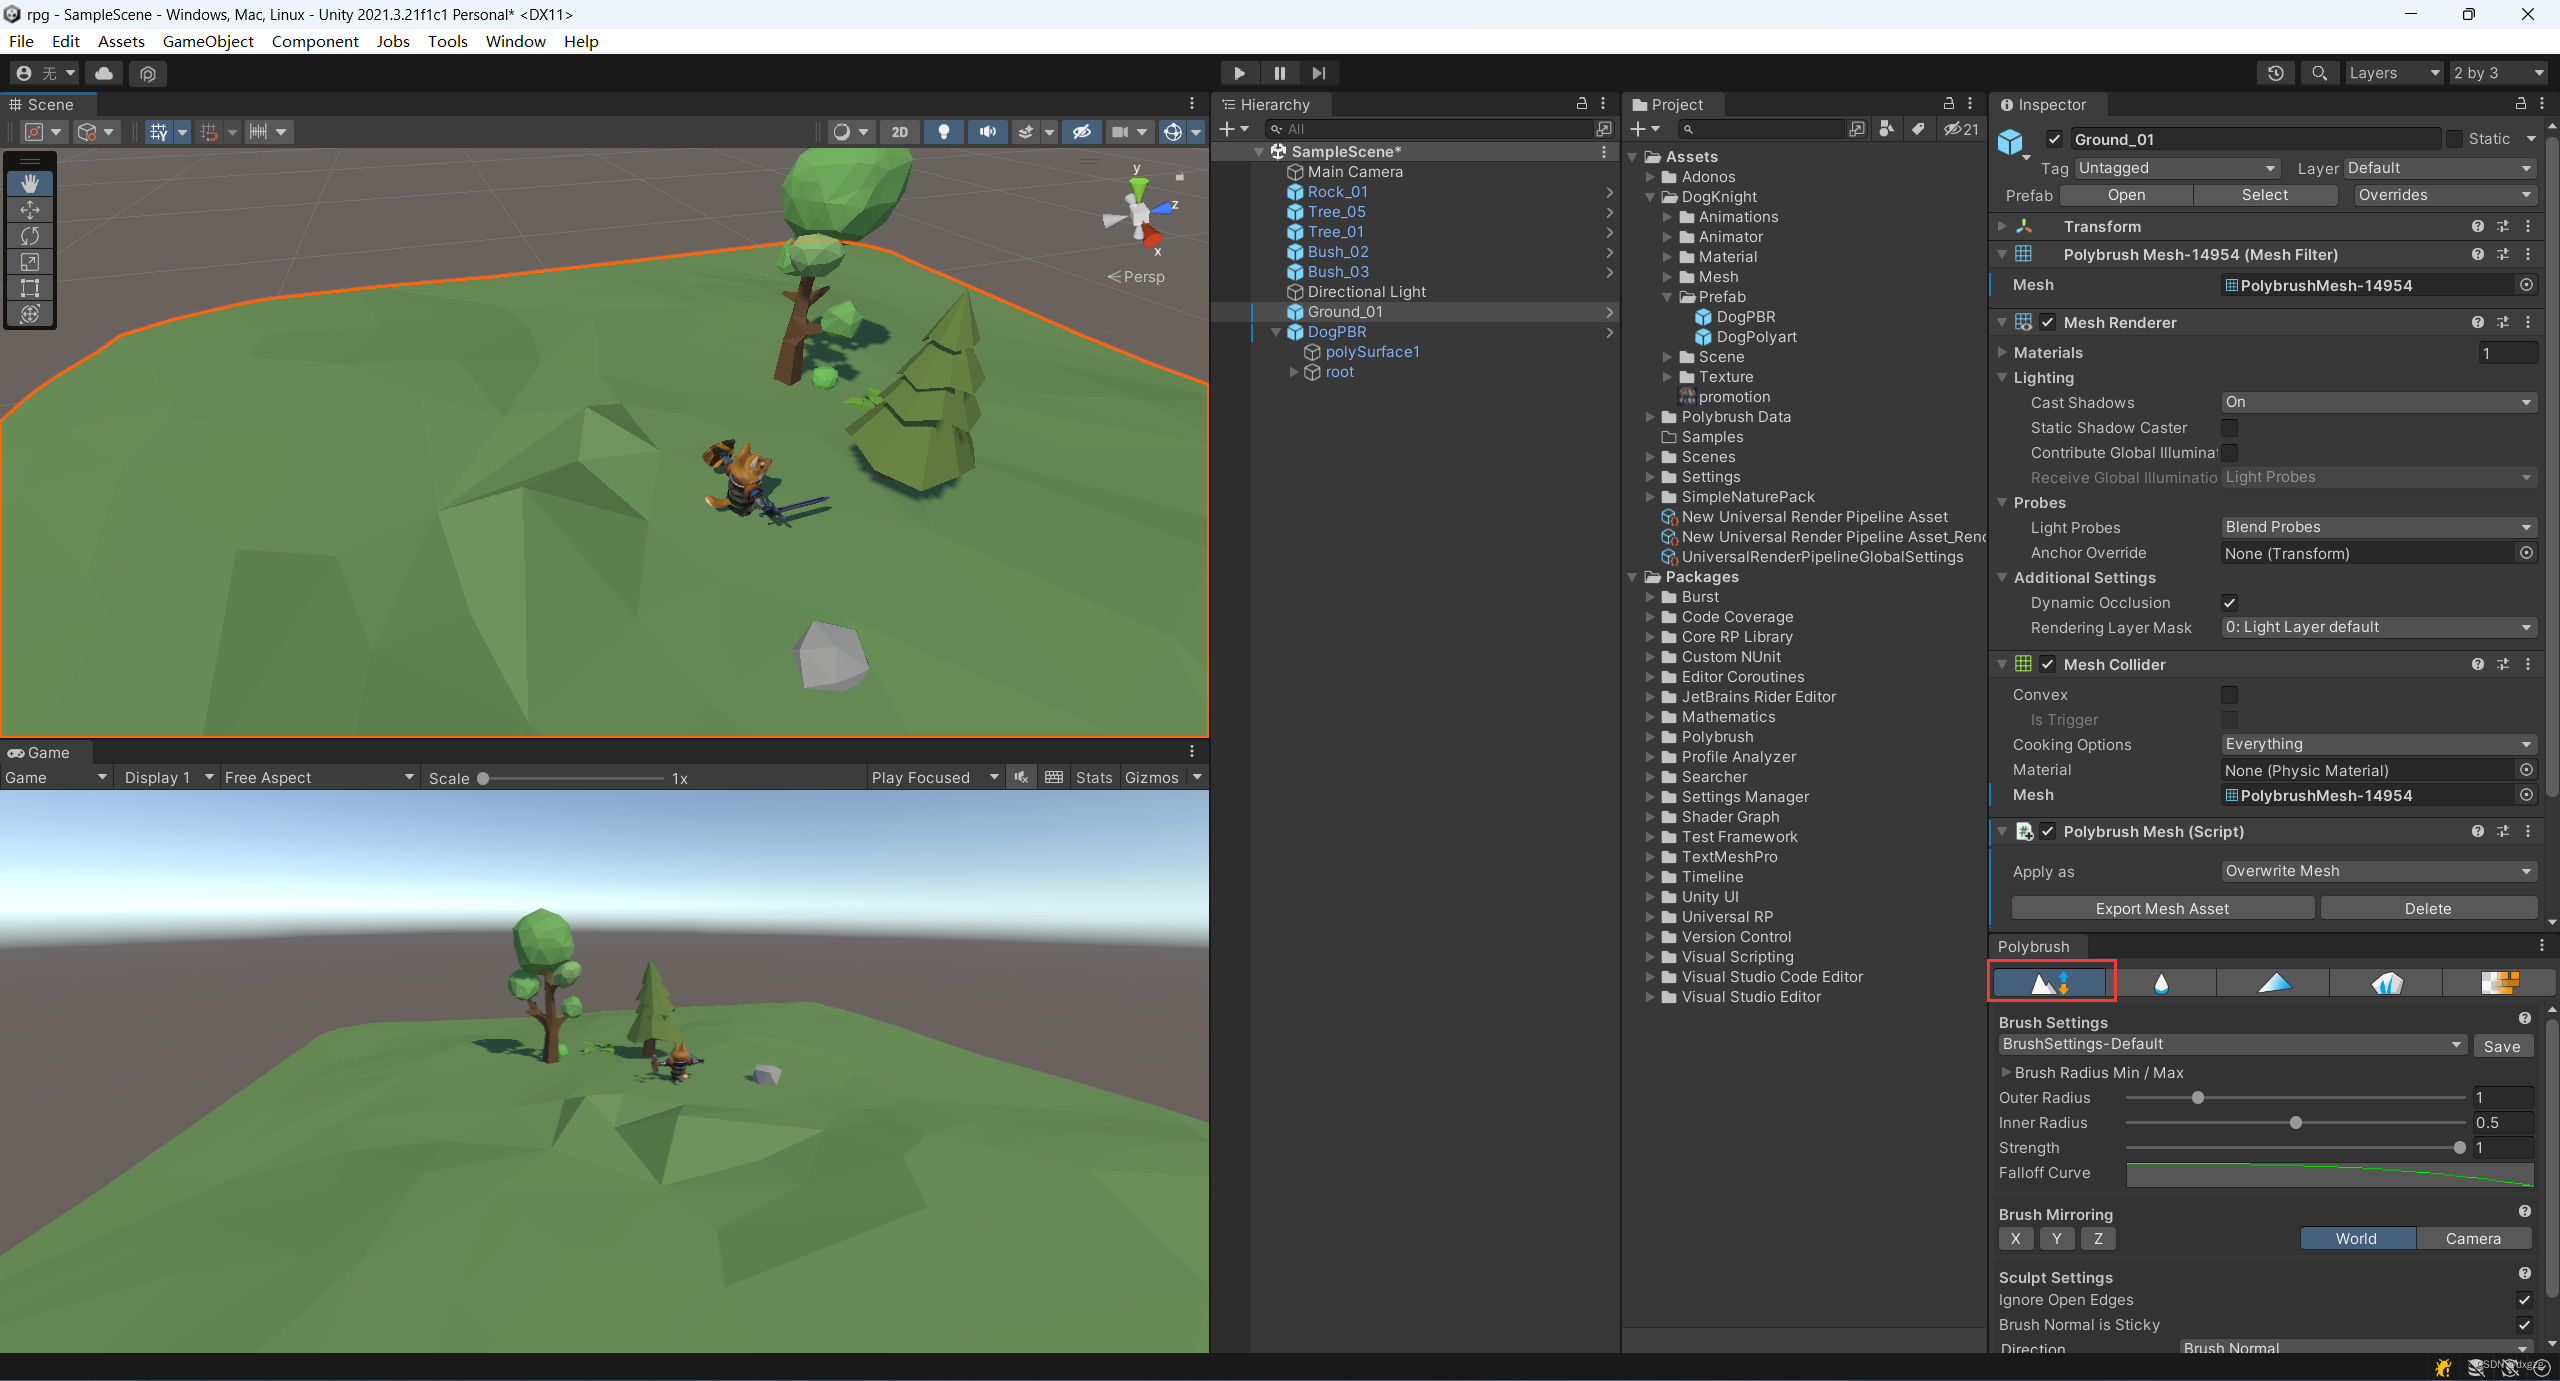
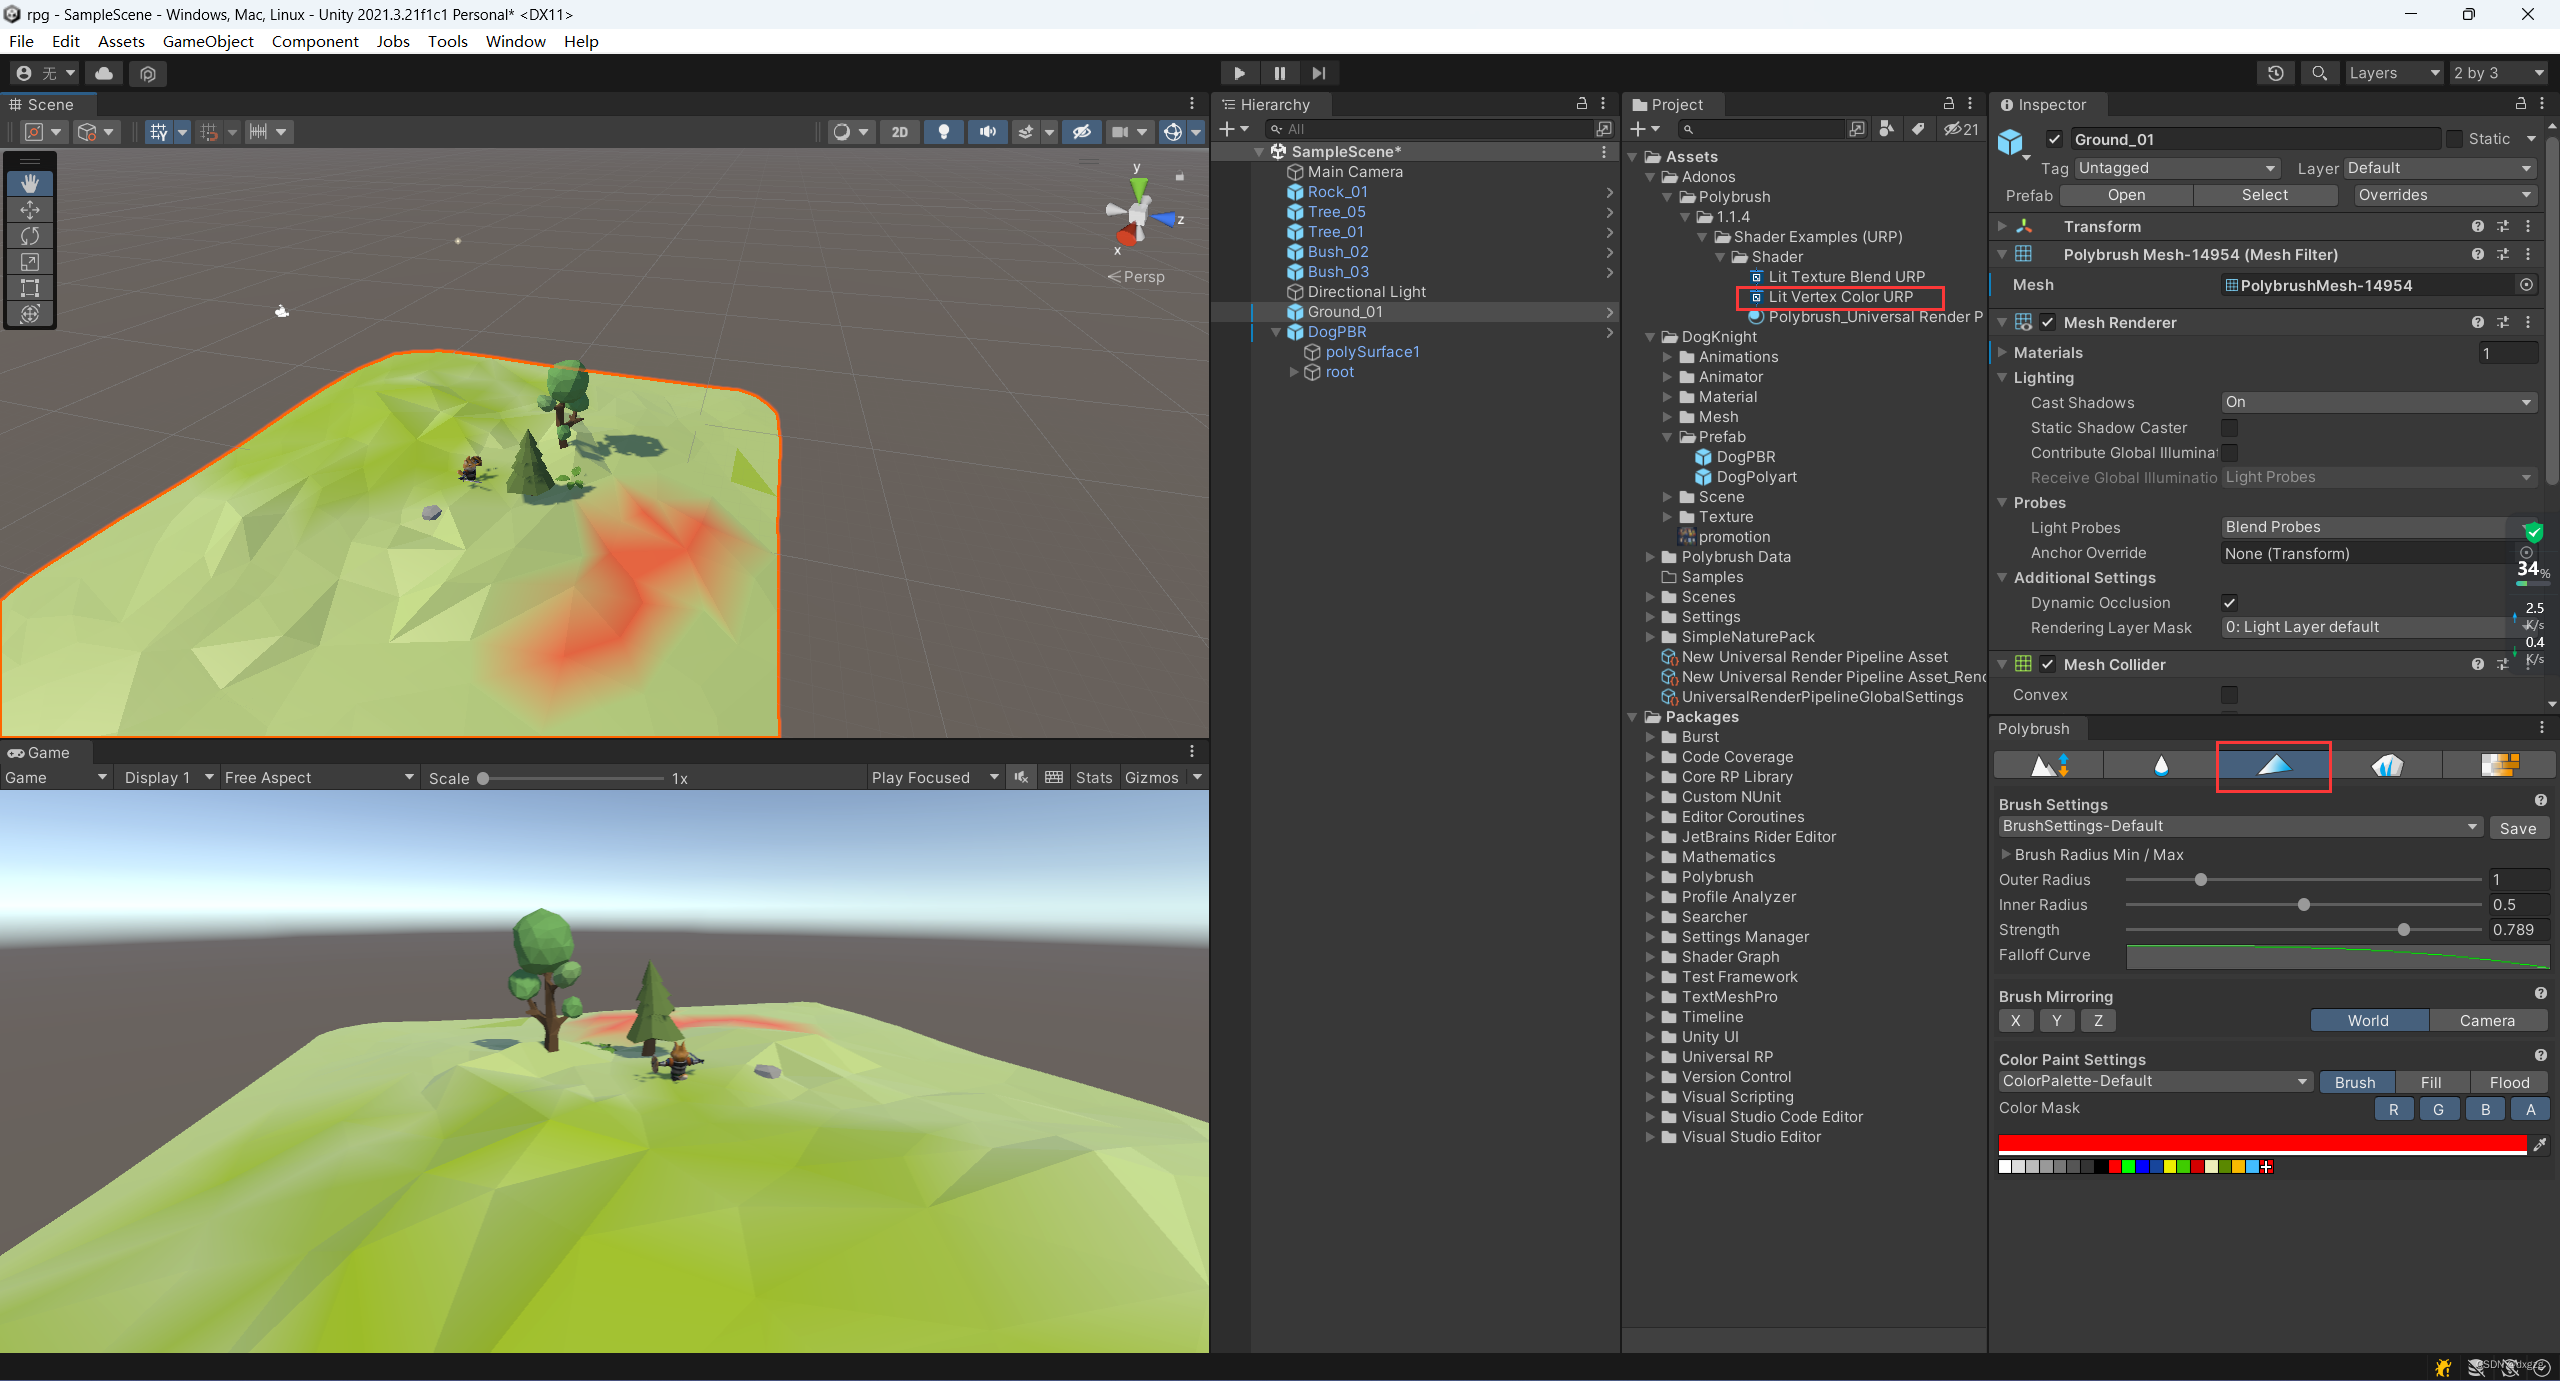
地形编辑器
Polybrush使用
资产里搜索Polybrush,然后安装,别忘了导入相应的渲染管线包,这个路径下打开
调整高低
选中之后再点地面,点点就是升高,ctrl+点就是降低地面,下面的方向可以只调那个轴,十分的方便
刷地面
这个功能我认为是我能用到的一个最实在的功能,先让Polybrush的urp创建材质,将这个材质拖到地面,这样就可以随意涂刷地面了。而且可以涂刷不一样的颜色
ProBuilder插件
还是老规矩一样Polybrush的导入。中心点也是要点小按钮就行了
ctrl+shift 也可以使用跟v快捷键类似的功能
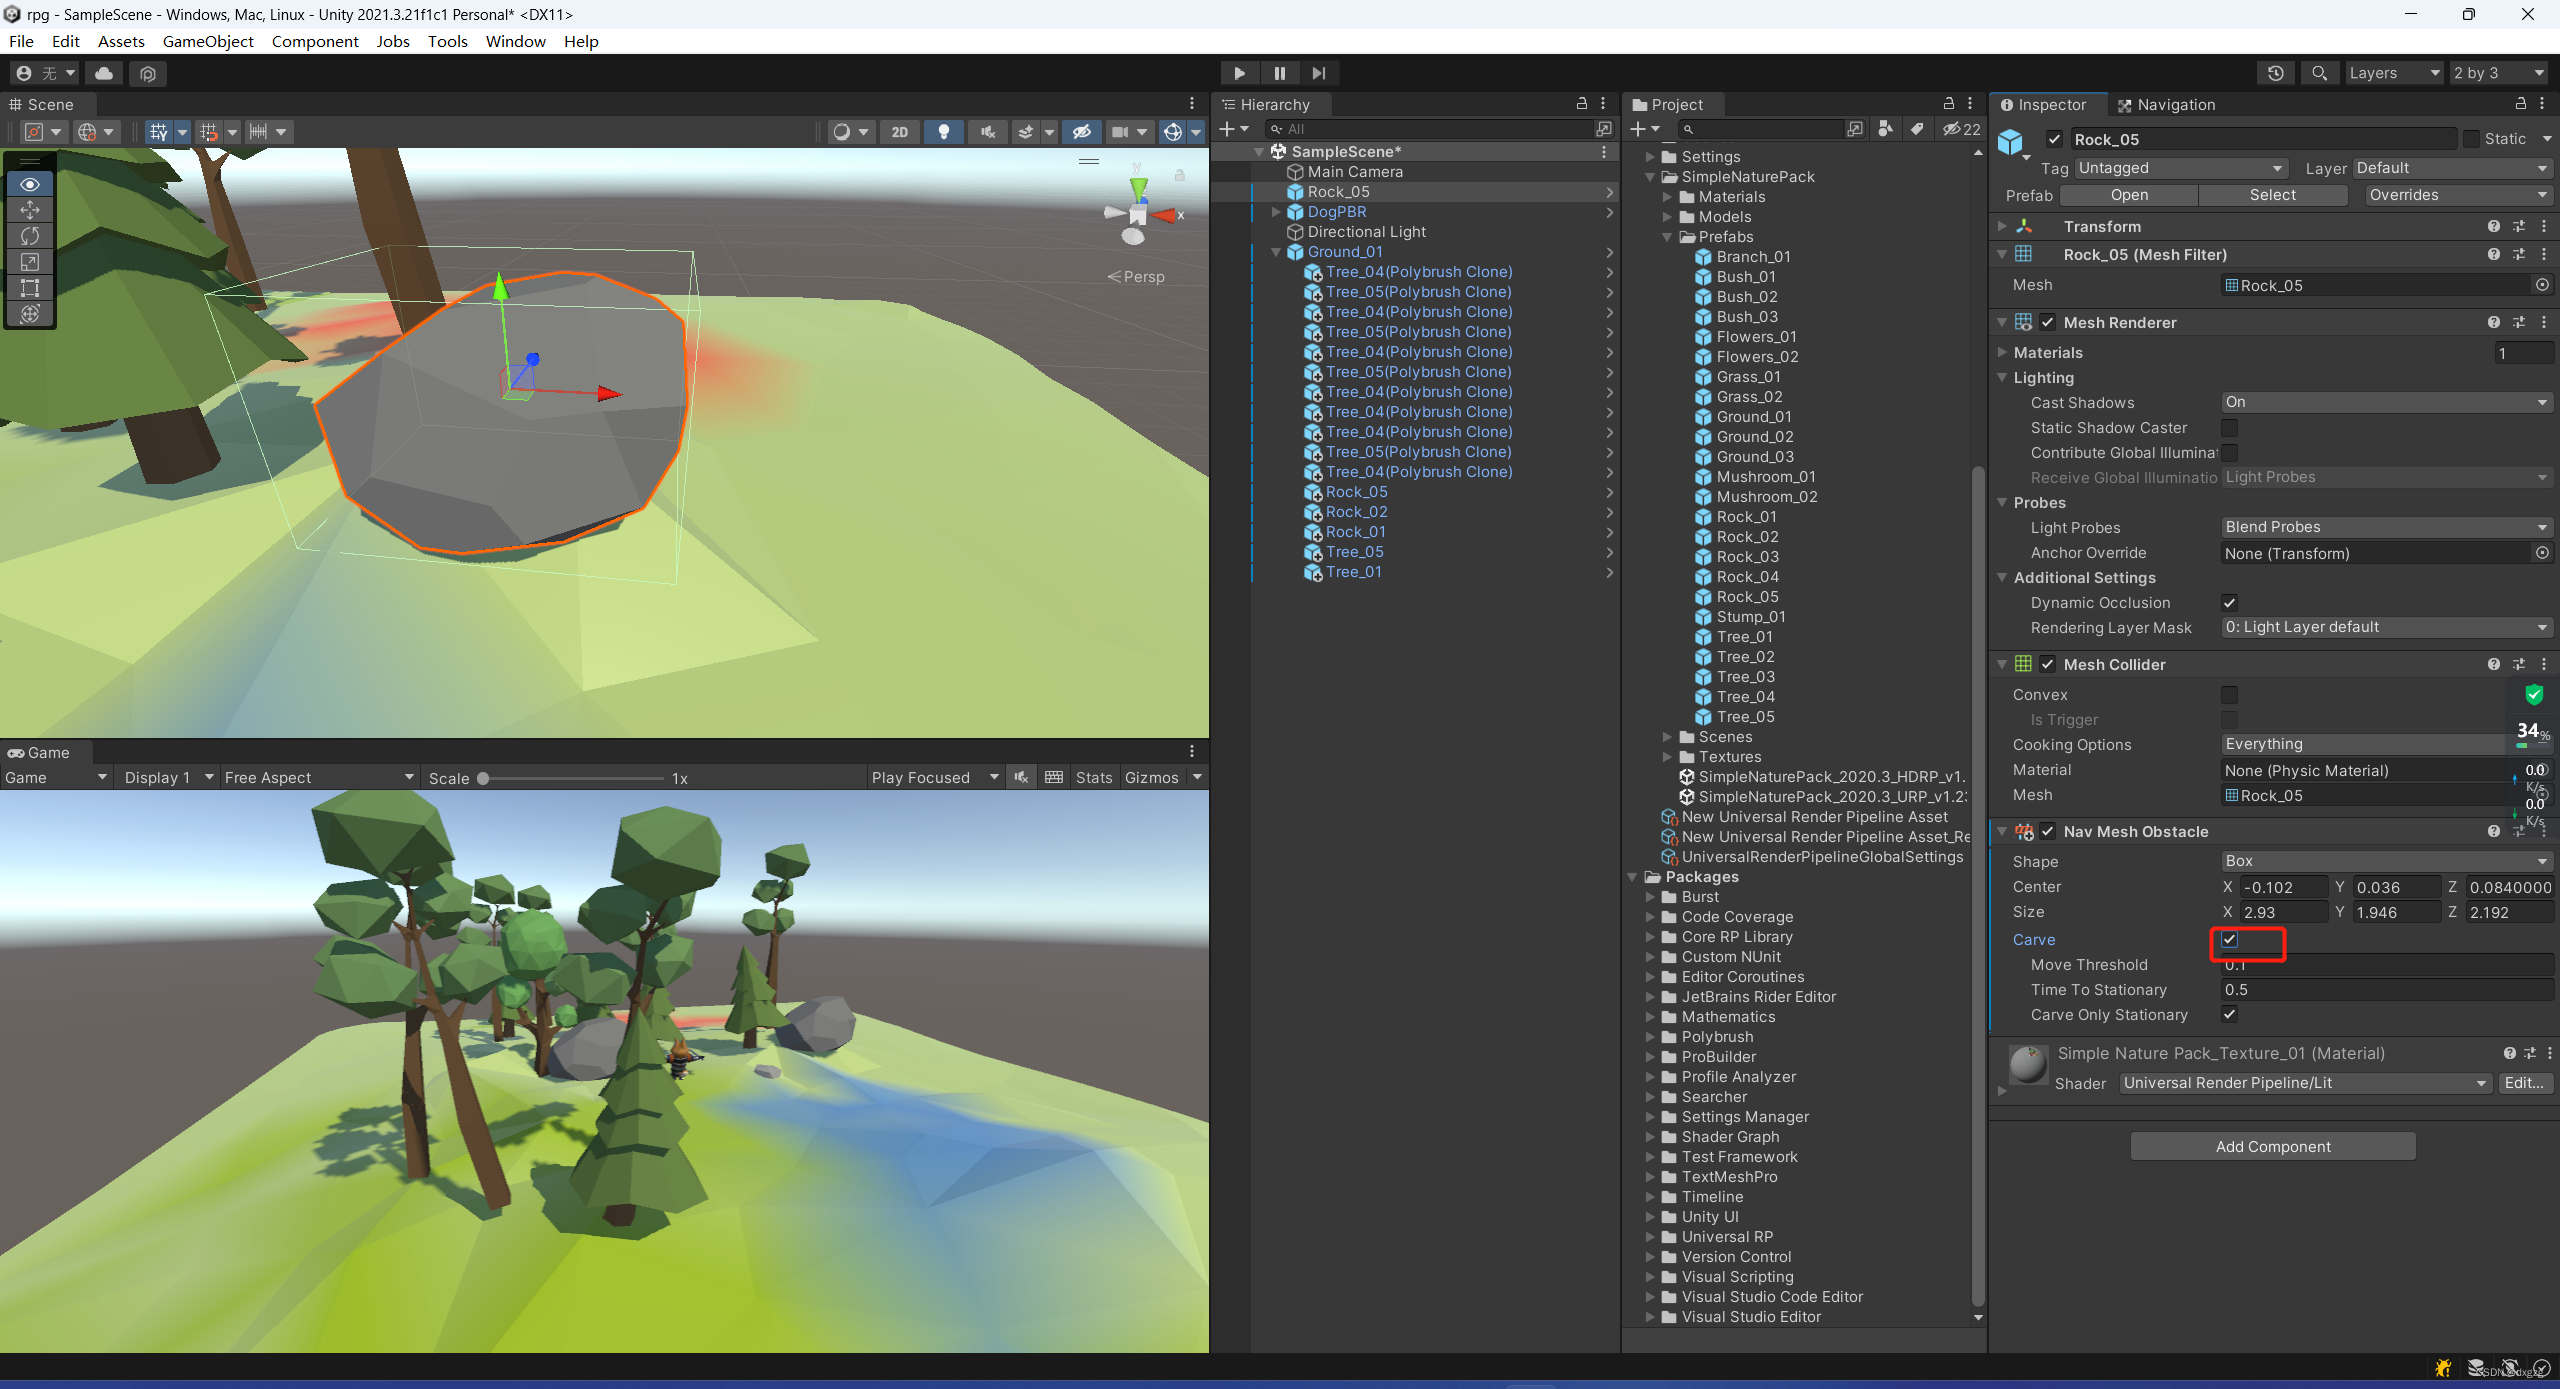
nav mesh 的使用
这个是针对可移动的物体,防止人物和移动穿模,因为会移动所以就不能使用了static的方式了,要勾选这个切割才会生效。
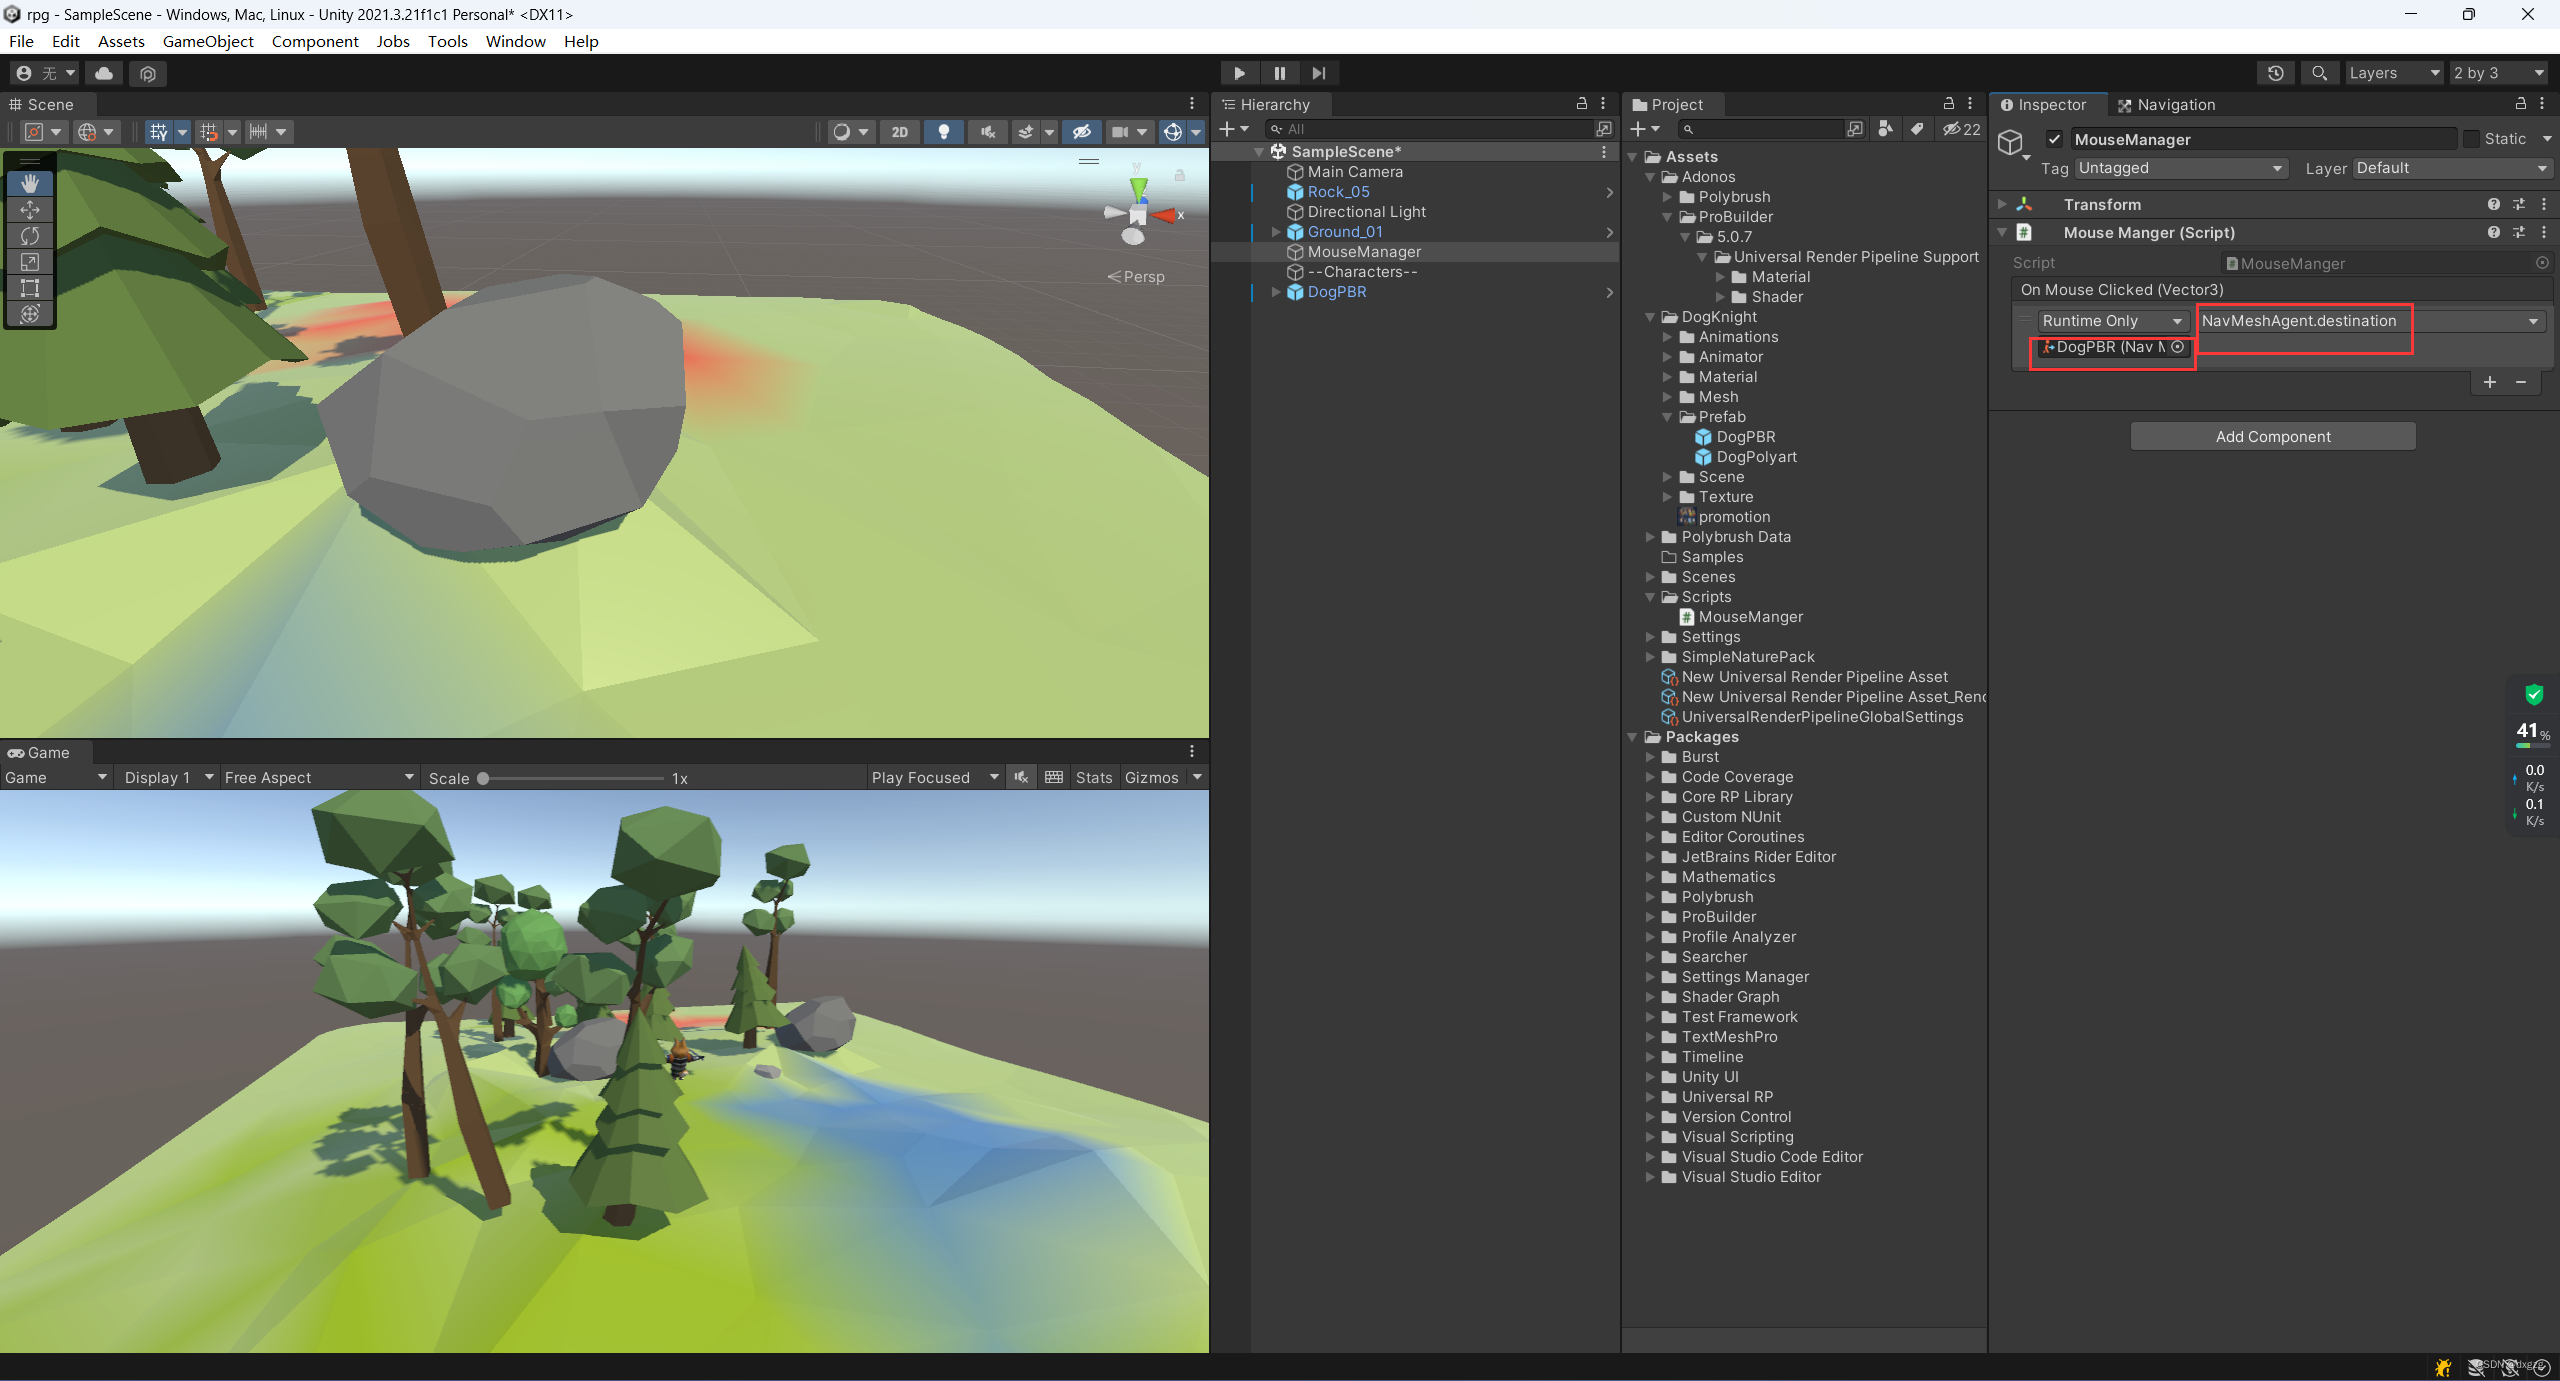
unity中的事件
UnityEvent,需要继承的。还需要System.Serializable才可以对外显示出来
// 这个就类似于触发一个事件。
[System.Serializable]
public class EventVector3 :UnityEvent<Vector3> {

     }

public class MouseManger : MonoBehaviour
{


    public EventVector3 OnMouseClicked;
}
另一种脚本控制鼠标移动的方法
我们可以把玩家加入到这个事件当中去,然后选中玩家的nav的值
切换图标
还是老规矩,根据我们的好朋友tag标签来进行一个图标的切换
switch (hitInfo.collider.gameObject.tag)
            {


                case "Ground":
                    Cursor.SetCursor(target, new Vector2(16, 16), CursorMode.Auto);
                    break;
            }
在使用 Cursor.SetCursor() 方法时,传入的第一个参数可以是一张带有透明背景的 PNG 图像,该图像将作为鼠标指针的外观。第二个参数(热点位置)是一个 Vector2 类型的坐标值,它用于定义图像中的哪个点应该对应于鼠标指针的精确位置。在大多数情况下,将热点位置设置为图像的中心点是最佳选择。
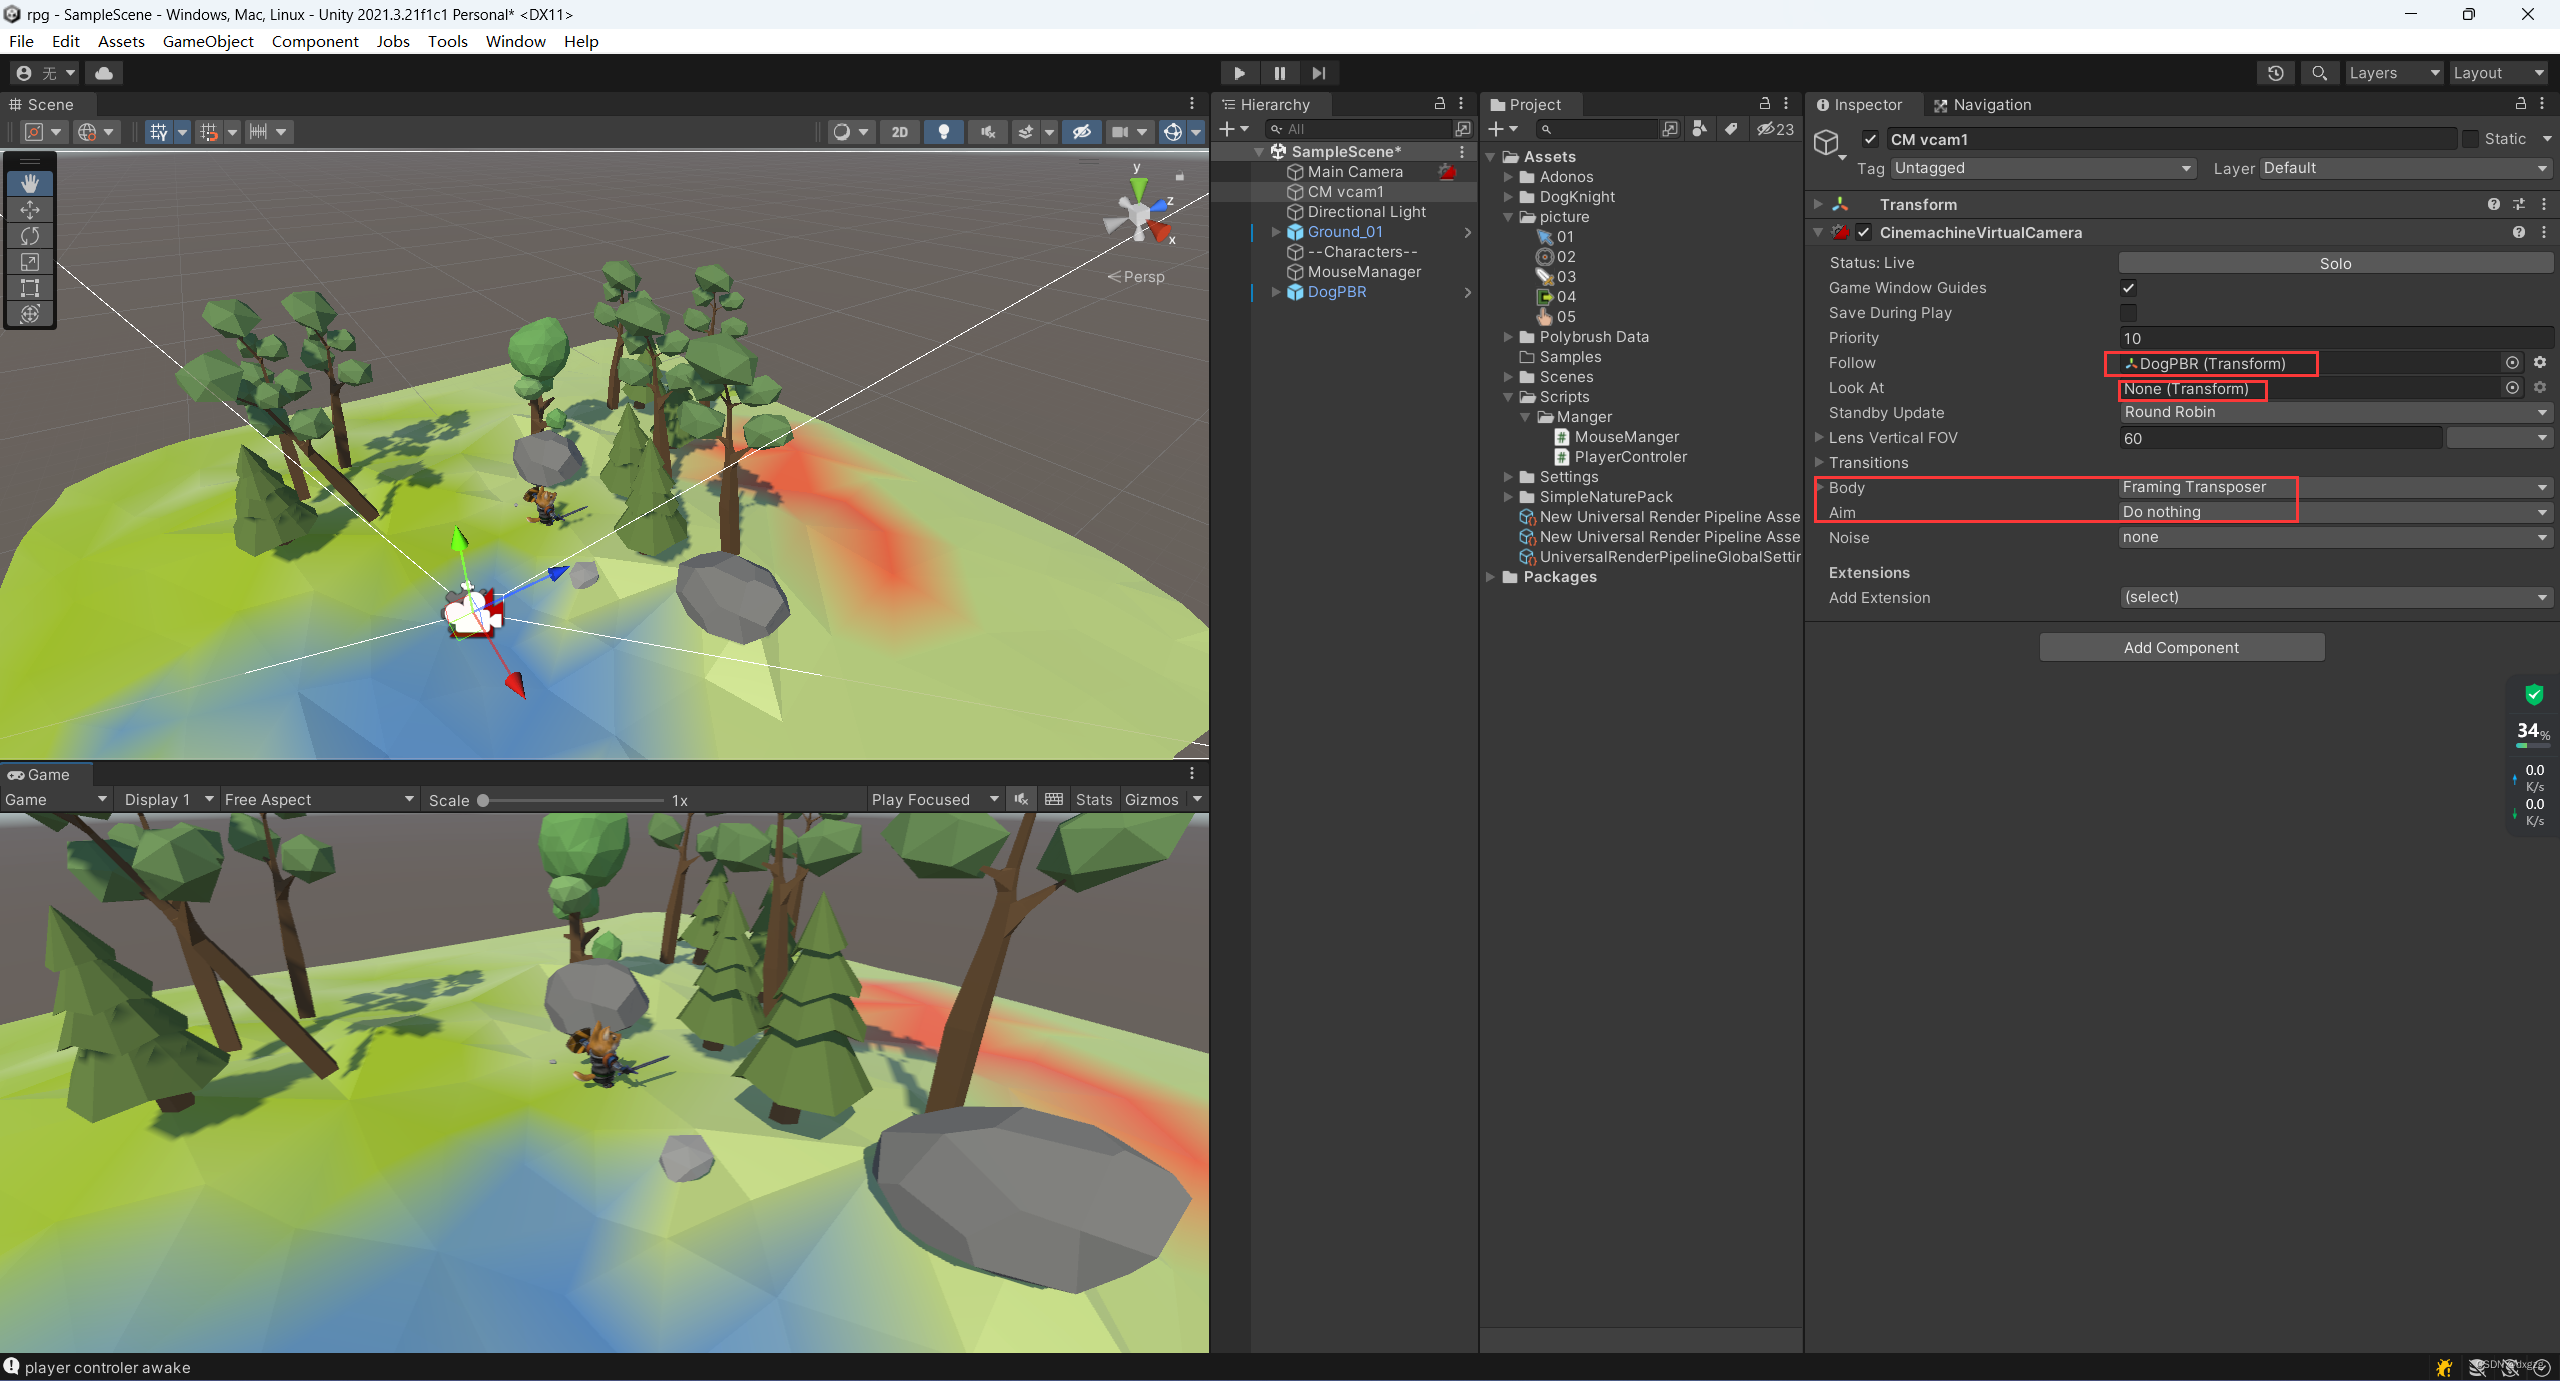
Cinemachine 使用
安装完了在这里进行查找,在创建的地方进行创建虚拟摄像机
选中相机,然后进行一个选中固定视角
这样就可以让我们创建的虚拟相机固定我们选中的角度了
模式可以暂时先按照这个来,然后物体和点根据自身需求进行调整