1.页面设计简介
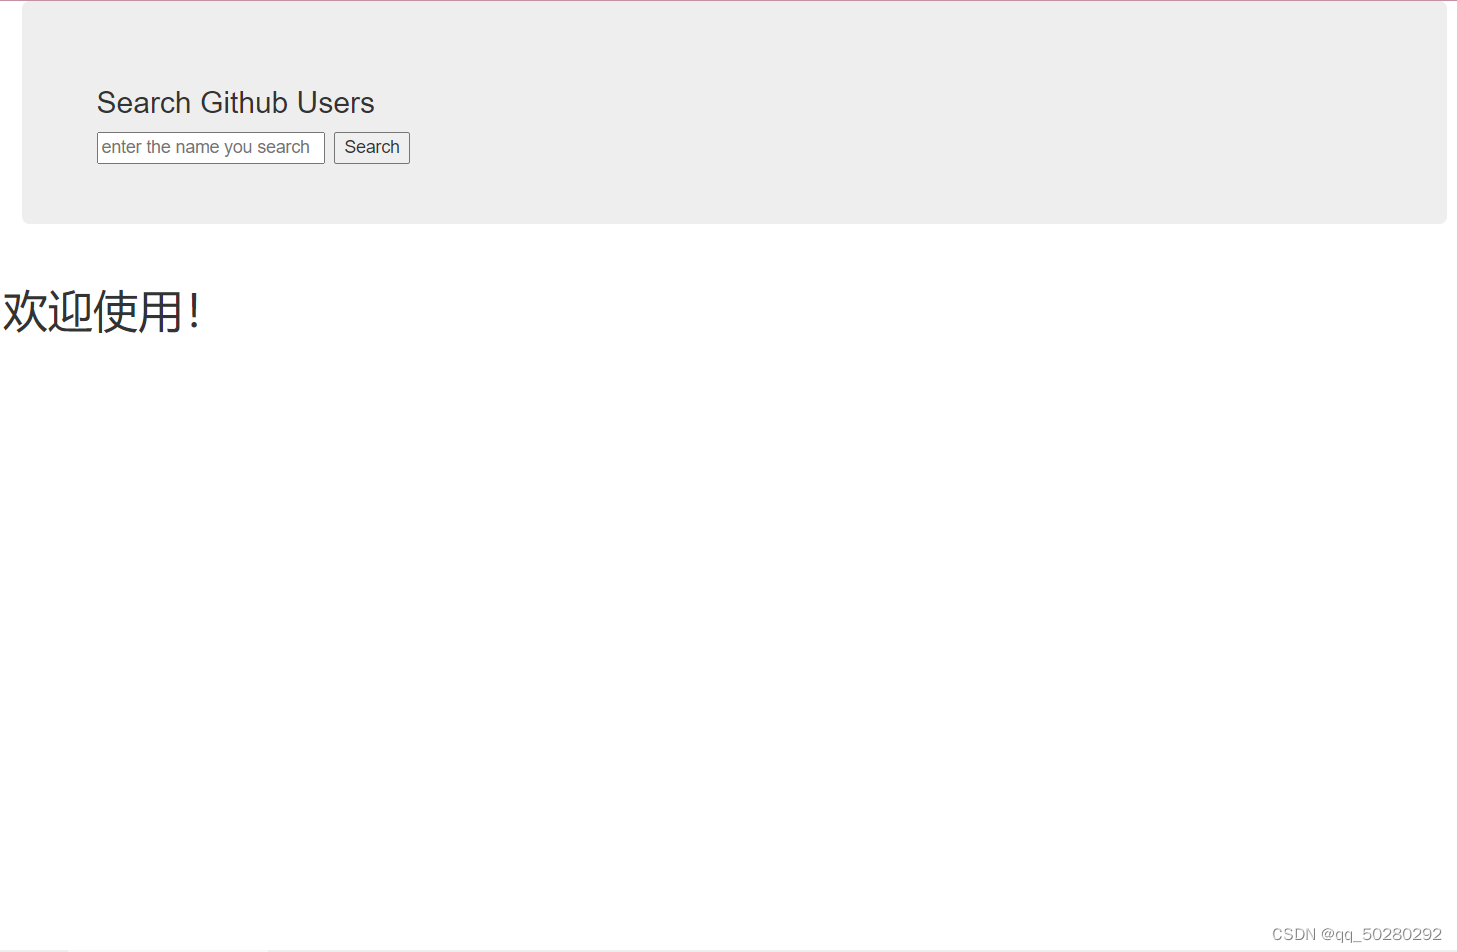
通过github的一个网址,输入任何内容都可以搜索到相应的内容,并以列表的形式展示给用户。
根据页面形式,代码主要分为两部分,search组件和list组件。

2.所用知识点
2.1 axios配置代理
在vue终端中下载axios库 npm install axios 并引入。
2.2 全局事件总线
我们知道整体结构可以分为两大部分,search组件用于发送数据,list组件用于接收数据。
2.3 bootstrap样式库
这个样式库非常方便只要拿来用就行,但是可能会出现库里面有些字体或者什么没有进行安装的问题,这时候解决的办法就是将样式库放到public目录下面,在index.html中引入该库就可以解决问题了。
3.代码展示
public/index.html
<!DOCTYPE html>
<html lang="">
    <head>
        <meta charset="UTF-8">
        <!-- 针对IE浏览器的特殊配置,含义是让IE浏览器以最高渲染级别渲染页面 -->
        <meta http-equiv="X-UA-Compatible" content="IE=edge">
        <!-- 开启移动端的理想端口 -->
        <meta name="viewport" content="width=device-width, initial-scale=1.0">
        <!-- 配置页签图标 -->
        <link rel="icon" href="<%= BASE_URL %>favicon.ico">
        <!-- 引入bootstrap样式 -->
        <link rel="stylesheet" href="<%= BASE_URL %>css/bootstrap.css">
        <!-- 配置网页标题 -->
        <title><%= htmlWebpackPlugin.options.title %></title>
    </head>
    <body>
        <!-- 容器 -->
        <div id="app"></div>
    </body>
</html>
src/main.js
import Vue from 'vue'
import App from './App.vue'

Vue.config.productionTip = false

new Vue({
    el: "#app",
    render: h => h(App),
    // 定义全局事件总线
    beforeCreate() {
        Vue.prototype.$bus = this
    }

})
src/App.vue
<template>

    <div class="container">
        <Search></Search>
        <List></List>
    </div>

</template>
<script>
import Search from './components/Search.vue';
import List from './components/List.vue';
export default {
    name: 'App',
    components: {
        Search,
        List
    }

}
</script>
src/components/Search.vue
<template>
<section class="jumbotron">
<h3 class="jumbotron-heading">Search Github Users</h3>
<div>
<input type="text" placeholder="enter the name you search" v-model="keyWord" />
<button @click="getUsers">Search</button>
</div>
</section>
</template>
<script>
import axios from 'axios'
export default {
name: 'Search',
data() {
return {
keyWord: ''
}
},
methods: {
getUsers() {
//请求前更新List的数据
this.$bus.$emit('updateListData', { isLoading: true, errMsg: '', users: [], isFirst: false })
axios.get(`https://api.github.com/search/users?q=${this.keyWord}`).then(
response => {
console.log('请求成功了')
//请求成功后更新List的数据
this.$bus.$emit('updateListData', { isLoading: false, errMsg: '', users: response.data.items })
},
error => {
//请求后更新List的数据
this.$bus.$emit('updateListData', { isLoading: false, errMsg: error.message, users: [] })
}
)
}
}
}
</script>
src/components/List.vue
<template>
    <div class="row">
        <!-- 展示用户列表 -->
        <div class="card" v-show="info.users.length" v-for="user in info.users" :key="user.id">
            <a :href="user.html_url" target="_blank">
                <img :src="user.avatar_url" style='width: 100px' />
            </a>
            <h4 class="card-title">{

   { user.login }}</h4>
        </div>
        <!-- 展示欢迎词 -->
        <h1 v-show="info.isFirst">欢迎使用!</h1>
        <!-- 展示加载中 -->
        <h1 v-show="info.isLoading">加载中...</h1>
        <!-- 展示错误信息 -->
        <h1 v-show="info.errMsg">{

   { errMsg }}</h1>
    </div>
</template>

<script>
export default {
    name: 'List',
    data() {
        return {
            info: {
                isFirst: true,
                isLoading: false,
                errMsg: '',
                users: []
            }
        }
    },
    mounted() {
        this.$bus.$on('updateListData', (dataObj) => {
            //动态合并两个对象的属性
            this.info = { ...this.info, ...dataObj }
        })
    },
    beforeDestroy() {
        this.$bus.$off('updateListData')
    }
}
</script>

<style scoped>
.album {
    min-height: 50rem;
    /* Can be removed; just added for demo purposes */
    padding-top: 3rem;
    padding-bottom: 3rem;
    background-color: #f7f7f7;
}

.card {
    float: left;
    width: 33.333%;
    padding: .75rem;
    margin-bottom: 2rem;
    border: 1px solid #efefef;
    text-align: center;
}

.card>img {
    margin-bottom: .75rem;
    border-radius: 100px;
}

.card-text {
    font-size: 85%;
}
</style>
4.效果展示
输入test
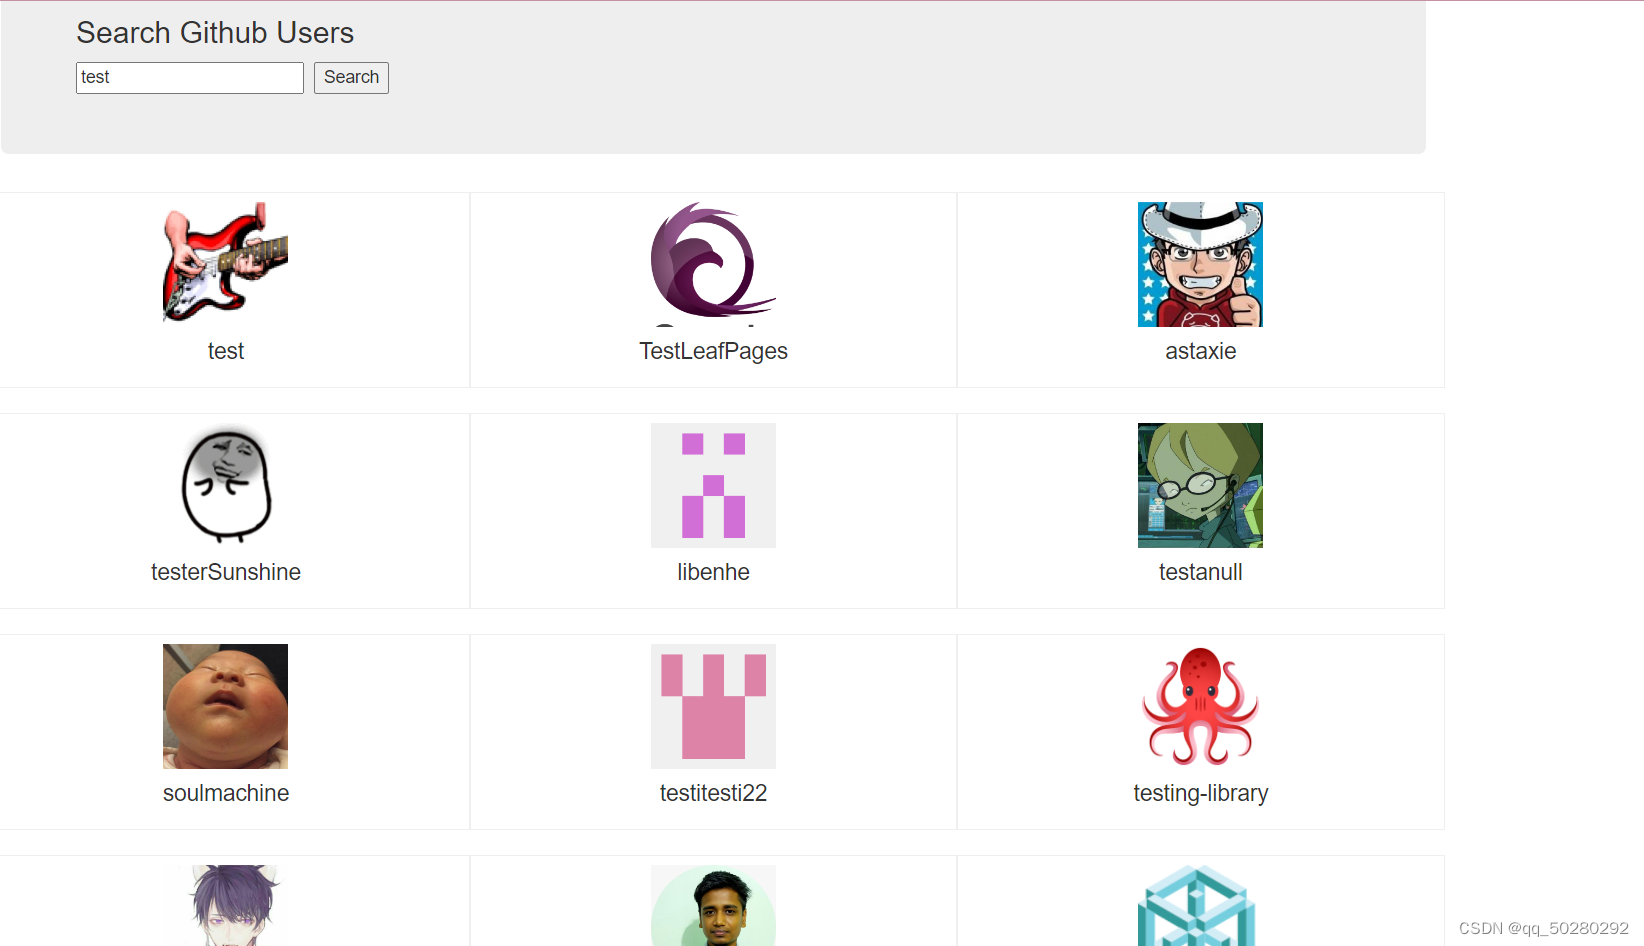
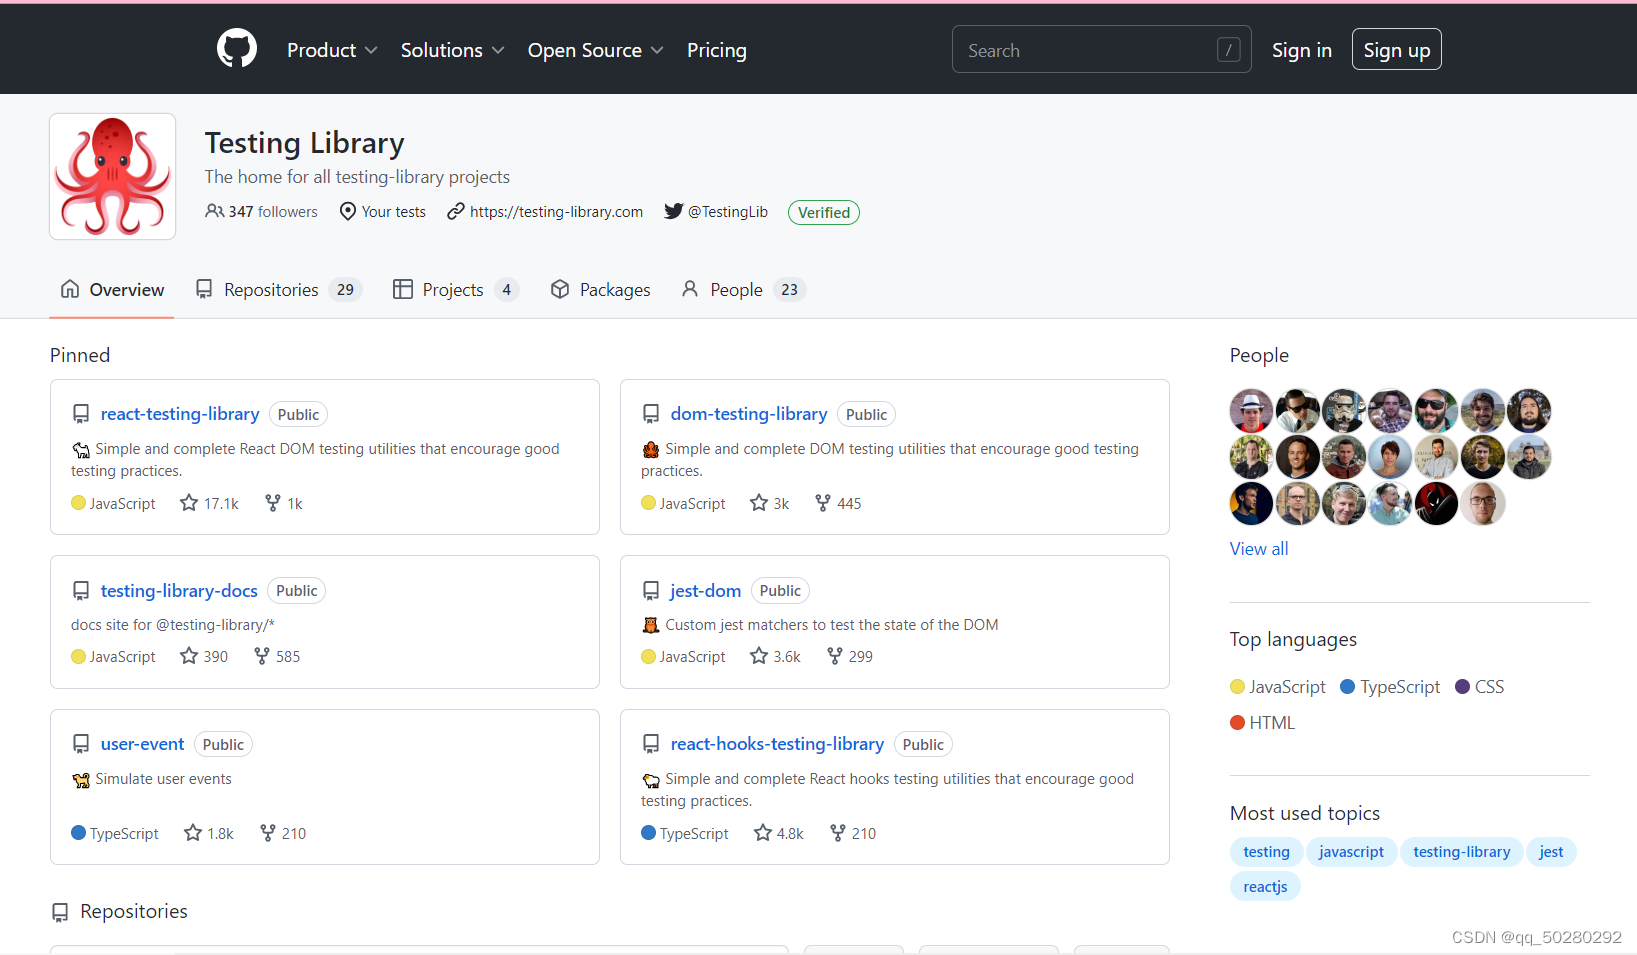
点击每一个图片可以查看具体信息
5.总结
vue知识点较多,接下来还会进行深入的学习。