cocosCreator版本 3.4.2
先看一下效果吧

代码示例 代码都有注释 请自行查看
import { _decorator, Component, EventTouch, Graphics, Node, UITransform, Vec3, CameraComponent, Button, Color } from 'cc';
const { ccclass, property } = _decorator;
@ccclass('Example')
export class Example extends Component {
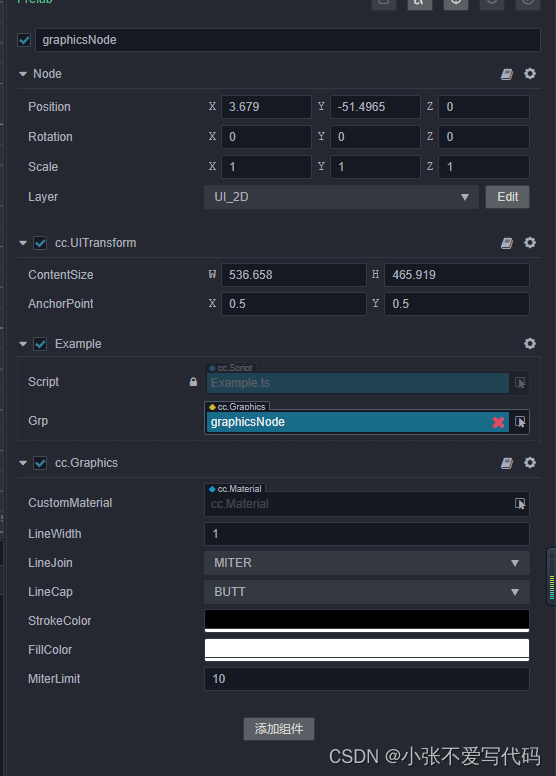
@property(Graphics)
grp: Graphics = null
camera: CameraComponent = null;
protected onLoad(): void {
//设置线条宽度
this.grp.lineWidth = 10;
this.camera = UIMgr.instance.Camera;
}
start() {
//监听手指事件
this.grp.node.on(Node.EventType.TOUCH_START, this.startgarphics.bind(this))
this.grp.node.on(Node.EventType.TOUCH_MOVE, this.movegarphics.bind(this))
this.grp.node.on(Node.EventType.TOUCH_CANCEL, this.endgarphics.bind(this))
this.grp.node.on(Node.EventType.TOUCH_END, this.endgarphics.bind(this))
}
//手指松开
endgarphics(event) {
//关闭画图
this.grp.close()
}
//手指按下
startgarphics(event: EventTouch) {
//获取手指位置
let point = event.getLocation()
//将手指位置转为相机下的世界坐标
let point1 = this.camera.screenToWorld(new Vec3(point.x, point.y));
//将世界坐标转为Node节点下的局部坐标
let touchPoint = this.node.getComponent(UITransform).convertToNodeSpaceAR(point1);
//把路径移动到画布中的指定点,不创建线条
this.grp.moveTo(touchPoint.x, touchPoint.y)
}
//开始移动
movegarphics(event: EventTouch) {
//获取手指位置
let point = event.getLocation()
//将手指位置转为相机下的世界坐标
let point1 = this.camera.screenToWorld(new Vec3(point.x, point.y));
//将世界坐标转为Node节点下的局部坐标
let touchPoint = this.node.getComponent(UITransform).convertToNodeSpaceAR(point1);
//添加一个新点,然后在画布中创建从该点到最后指定点的线条
this.grp.lineTo(touchPoint.x, touchPoint.y)
//绘制已定义的路径
this.grp.stroke()
//重新规划路径
this.grp.moveTo(touchPoint.x, touchPoint.y)
}
}也可以指定颜色 代码如下
    //设置线条绘制颜色为红色
    red() {
        this.grp.strokeColor = Color.RED
    }

    //设置线条绘制颜色为蓝色
    blue() {
        this.grp.strokeColor = Color.BLUE
    }
效果如下

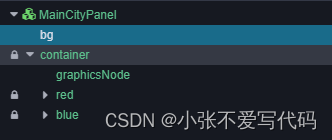
如下是节点路径 以及代码挂载