本次引擎2.0.9
目标
RTS战略游戏中的选取框
实现
利用cc.graphics组件绘制,
确定范围后,children属性遍历。
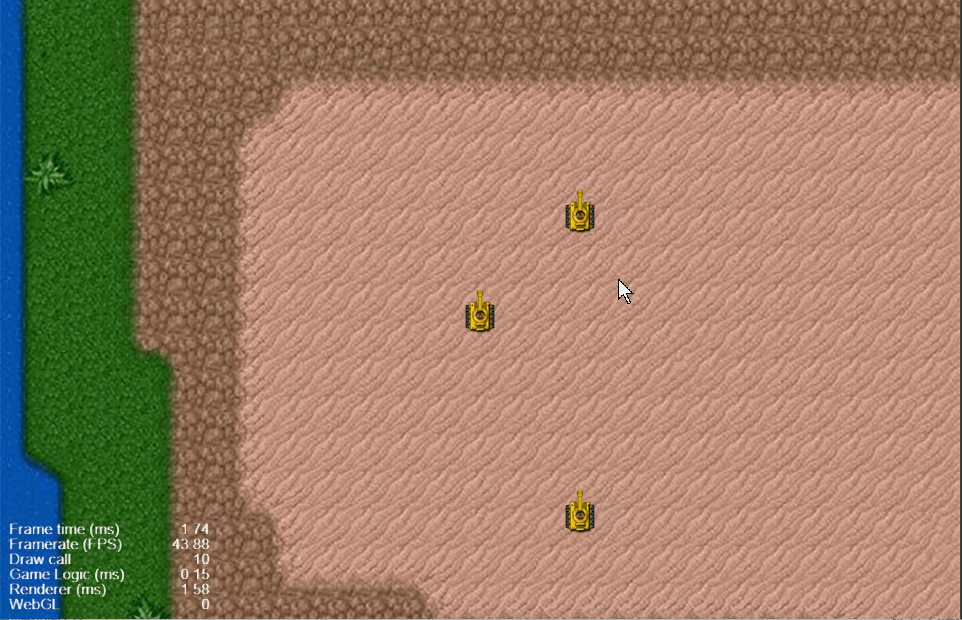
最终效果
层级

记得绑定绘图组件
 controlLayer.js脚本
cc.Class({
    extends: cc.Component,

    properties: {
        // 为了调用playerMng方法
        playerMng : require('playerMng')
    },

    onLoad () {
        // 绘图组件
        this.ctx = this.getComponent(cc.Graphics);
        // 点击起始点
        this.startPoint = cc.v2(0,0);
        // 点击结束点
        this.endPoint = cc.v2(0,0);
    },

    start () {
        // 监听鼠标事件
        this.node.on('mousedown',this.mouseDown,this);
        this.node.on('mousemove',this.mouseMove,this);
        this.node.on('mouseup',this.mouseUP,this);
    },

    mouseDown (event) {
        // 如果是鼠标左键
        if (event.getButton() == cc.Event.EventMouse.BUTTON_LEFT) {
            // 转化为中心坐标系
            let pos = this.node.convertToNodeSpaceAR(event.getLocation());
            // 赋值起始点
            this.startPoint.set(pos);
        }
    },

    mouseMove (event) {
        // 如果是鼠标左键
        if (event.getButton() == cc.Event.EventMouse.BUTTON_LEFT) {
            // 转化为中心坐标系
            let pos = this.node.convertToNodeSpaceAR(event.getLocation());
            let w = pos.x - this.startPoint.x;
            let h = pos.y - this.startPoint.y;
            this.ctx.clear();
            this.ctx.rect(this.startPoint.x,this.startPoint.y,w,h);
            this.ctx.stroke();
        }
    },

    mouseUP (event) {
        this.ctx.clear();
        // 记录结束点
        // 转化为中心坐标系
        let pos = this.node.convertToNodeSpaceAR(event.getLocation());
        this.endPoint.set(pos);

        // 对区域内坦克显示
        this.playerMng.mapForSign(this.startPoint,this.endPoint);
    },

});
这样,调用playerMng.js中的遍历及控制
playerMng.js脚本
cc.Class({
    extends: cc.Component,

    properties: {
        // 坦克预制体
        tank : cc.Prefab
    },

    start () {
        // 创造3个
        this.createOne(0,0);
        this.createOne(100,100);
        this.createOne(100,-200);
    },

    createOne (x, y) {
        let t = cc.instantiate(this.tank);
        t.parent = this.node;
        t.x = x;
        t.y = y;
    },

    mapForSign (startPoint, endPoint) {
        // 根据两点取框选范围
        let max_X = startPoint.x >= endPoint.x ? startPoint.x : endPoint.x;
        let min_X = startPoint.x < endPoint.x ? startPoint.x : endPoint.x;
        let max_Y = startPoint.y >= endPoint.y ? startPoint.y : endPoint.y;
        let min_Y = startPoint.y < endPoint.y ? startPoint.y : endPoint.y;
        // 遍历子节点
        for (let i = 0; i < this.node.children.length; i++) {
            if (this.node.children[i].x > min_X && this.node.children[i].x < max_X &&
                this.node.children[i].y > min_Y && this.node.children[i].y < max_Y) {
                // 在范围内
                let t = this.node.children[i].getComponent('tank');
                // 未被控制时显示光圈
                if (t.isCtrl == false) {
                    t.showSign();
                }
            } else {
                // 不在范围内
                let t = this.node.children[i].getComponent('tank');
                t.isCtrl = false;
                t.closeSign();
            }
        }
    }
});
预制体结构
 tank.js脚本
cc.Class({
    extends: cc.Component,

    properties: {
        // 光圈节点绘图组件
        ctx : cc.Graphics,
        // 是否被控制
        isCtrl : false
    },

    showSign () {
        this.ctx.circle(0,0,20);
        this.ctx.stroke();
    },

    closeSign () {
        this.ctx.clear();
    }
});
好了,第一部分完成!!!!
O(∩_∩)O~~
加我QQ群:(博客里面的项目,群文件里都有哦)
706176551
我们一起学习!
O(∩_∩)O~~