1、Editor.md下载
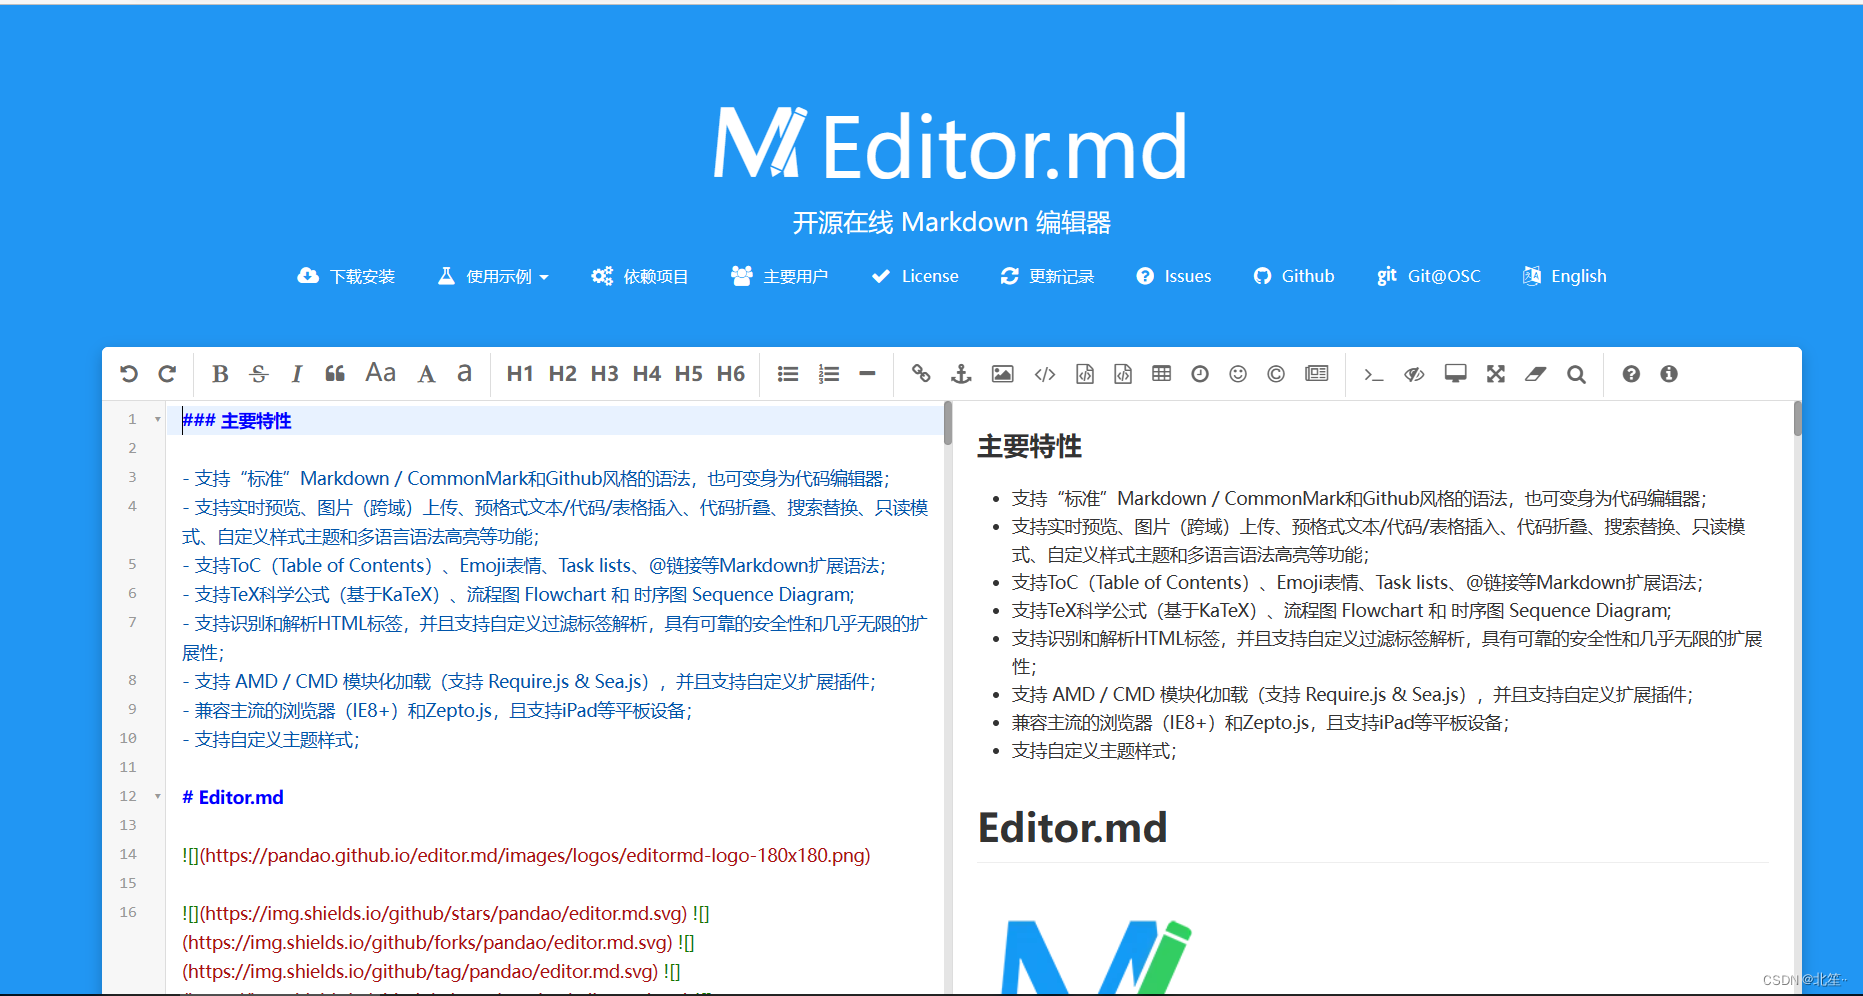
Editor.md——功能非常丰富的编辑器,左端编辑,右端预览,非常方便,完全免费。
官网下载:https://pandao.github.io/editor.md/
我们平时在博客园,或者CSDN等平台进行写作的时候,他们的编辑器就是富文本编辑器。
解压以后,在examples目录下面,可以看到他的很多案例使用。
2、导入 editor.md 资源

需要导入editor.md压缩包里的一些资源

在编写页面之前需要导入thmleaf模板
<dependency>
            <groupId>org.springframework.boot</groupId>
            <artifactId>spring-boot-starter-thymeleaf</artifactId>
        </dependency>
3.editor.html编辑页面
<!DOCTYPE html>
<html class="x-admin-sm" lang="zh" xmlns:th="http://www.thymeleaf.org">

<head>
    <meta charset="UTF-8">
    <title>富文本编辑器</title>
    <meta name="renderer" content="webkit">
    <meta http-equiv="X-UA-Compatible" content="IE=edge,chrome=1">
    <!--Editor.md-->
    <link rel="stylesheet" type="text/css" th:href="@{/css/editormd.css}"/>
    <link rel="stylesheet" type="text/css" th:href="@{/layui/css/layui.css}"/>
    <link rel="shortcut icon" href="https://pandao.github.io/editor.md/favicon.ico" type="image/x-icon" />
</head>

<body>

<div class="lay-ui-fluid">
    <div class="lay-ui-row lay-ui-col-space15">
        <div class="lay-ui-col-md12">
            <!--博客表单-->
            <form name="mdEditorForm">
                <div>
                    标题:<input class="lay-ui-input" type="text" name="title">
                </div>
                <div id="article-content">
                    <textarea name="content" id="content" style=""> </textarea>
                </div>
            </form>

        </div>
    </div>
</div>
</body>

<!--editormd-->
<script th:src="@{/js/jquery-3.5.1.js}"></script>
<script th:src="@{/editormd.js}"></script>

<script type="text/javascript">
    var testEditor;

    //window.onload = function(){ }
    $(function() {


        testEditor = editormd("article-content", {


            width : "95%",
            height : "1000px",
            syncScrolling : "single",
            path : "/lib/", //使用自己的路径
            saveHTMLToTextarea : true,    // 保存 HTML 到 Textarea
            emoji: true,
            theme: "dark",//工具栏主题
            previewTheme: "dark",//预览主题
            editorTheme: "pastel-on-dark",//编辑主题
            tex : true,                   // 开启科学公式TeX语言支持,默认关闭
            flowChart : true,             // 开启流程图支持,默认关闭
            sequenceDiagram : true,       // 开启时序/序列图支持,默认关闭,
            //图片上传
            imageUpload : true,
            imageFormats : ["jpg", "jpeg", "gif", "png", "bmp", "webp"],
            imageUploadURL : "/article/file/upload", //图片上传路径
            onload : function() {


                console.log('onload', this);
            },
            /*指定需要显示的功能按钮*/
            toolbarIcons : function() {


                return ["undo","redo","|",
                    "bold","del","italic","quote","ucwords","uppercase","lowercase","|",
                    "h1","h2","h3","h4","h5","h6","|",
                    "list-ul","list-ol","hr","|",
                    "link","reference-link","image","code","preformatted-text",
                    "code-block","table","datetime","emoji","html-entities","pagebreak","|",
                    "goto-line","watch","preview","fullscreen","clear","search","|",
                    "help","info","releaseIcon", "index"]
            },

            /*自定义功能按钮,下面我自定义了2个,一个是发布,一个是返回首页*/
            toolbarIconTexts : {


                releaseIcon : "<span bgcolor=\"gray\">发布</span>",
                index : "<span bgcolor=\"red\">返回首页</span>",
            },

            /*给自定义按钮指定回调函数*/
            toolbarHandlers:{


                releaseIcon : function(cm, icon, cursor, selection) {


                    //表单提交
                    mdEditorForm.method = "post";
                    mdEditorForm.action = "/article/addArticle";//提交至服务器的路径
                    mdEditorForm.submit();
                },
                index : function(){


                    window.location.href = '/article/toEditor';//刷新当前页面
                },
            }
        });
    });
</script>

</html>
4、编写Controller,进行跳转
这里我用的是Mybatis-Plus,直接使用其中的强大的CRUD方法即可。
package com.guo.controller;

import com.guo.mapper.ArticleMapper;
import com.guo.pojo.Article;
import org.springframework.beans.factory.annotation.Autowired;
import org.springframework.stereotype.Controller;
import org.springframework.web.bind.annotation.*;

@Controller
@RequestMapping("/article")
public class ArticleController {


    @Autowired
    ArticleMapper articleMapper;


    @GetMapping("/toEditor")
    public String toEditor() {


        return "editor";
    }

    @PostMapping("/addArticle")
    public String addArticle(Article article) {


        articleMapper.addArticle(article);
        return "editor";
    }
}
然后再加上自己的实体类编写添加文章实现类中的方法就可以简单上传文章了。
5、图片上传问题
1、页面代码
在页面中已经写了图片上传的设置,代码如下:
//图片上传
imageUpload : true,
imageFormats : ["jpg", "jpeg", "gif", "png", "bmp", "webp"],
imageUploadURL : "/article/file/upload", // //这个是上传图片时的访问地址
2、controller层添加图片上传方法
//博客图片上传问题
@RequestMapping("/file/upload")
@ResponseBody
public JSONObject fileUpload(@RequestParam(value = "editormd-image-file", required = true) MultipartFile file, HttpServletRequest request) throws IOException {
//上传路径保存设置
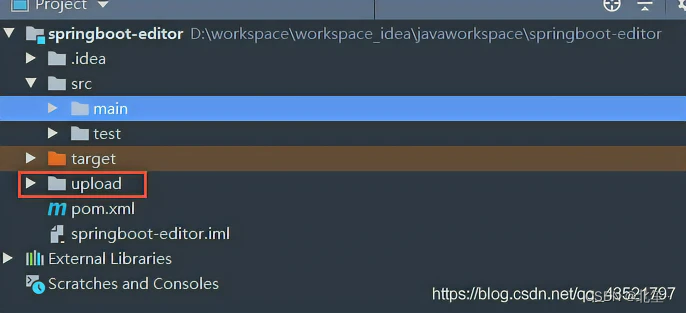
//获得SpringBoot当前项目的路径:System.getProperty("user.dir")
String path = System.getProperty("user.dir")+"/upload/";
System.out.println(path);
//按照月份进行分类:
Calendar instance = Calendar.getInstance();
String month = (instance.get(Calendar.MONTH) + 1)+"月";
path = path+month;
File realPath = new File(path);
if (!realPath.exists()){
realPath.mkdir();
}
//上传文件地址
System.out.println("上传文件保存地址:"+realPath);
//解决文件名字问题:我们使用uuid;
String filename = "ks-"+ UUID.randomUUID().toString().replaceAll("-", "");
//通过CommonsMultipartFile的方法直接写文件(注意这个时候)
file.transferTo(new File(realPath +"/"+ filename));
//给editormd进行回调
JSONObject res = new JSONObject();
res.put("url","/upload/"+month+"/"+ filename);
res.put("success", 1);
res.put("message", "upload success!");
return res;
}
3、解决文件回显显示的问题
设置虚拟目录映射!在我们自己拓展的MvcConfig中进行配置即可!
package com.zhao.config;

import org.springframework.context.annotation.Configuration;
import org.springframework.web.servlet.config.annotation.ResourceHandlerRegistry;
import org.springframework.web.servlet.config.annotation.WebMvcConfigurer;

@Configuration
public class MyMvcConfig implements WebMvcConfigurer {


    // 文件保存在真实目录/upload/下,
    // 访问的时候使用虚路径/upload,比如文件名为1.png,就直接/upload/1.png就ok了。
    @Override
    public void addResourceHandlers(ResourceHandlerRegistry registry) {


        registry.addResourceHandler("/upload/**")
                .addResourceLocations("file:"+System.getProperty("user.dir")+"/upload/");
    }

}
这里运行如果报错可能是没有文件夹,手动创建就行。
六、表情包问题
自己手动下载,emoji 表情包,放到图片路径下:
修改editormd.js文件
// Emoji graphics files url path
editormd.emoji     = {


   path : "../editormd/plugins/emoji-dialog/emoji/",
   ext   : ".png"
};
七、文章展示
1、Controller 中增加方法
@GetMapping("/article")
public String show(Model model){


   <List>Article article = articleMapper.selectList(null);
   model.addAttribute("article",article);
   return "article";
}
2、编写页面 article.html
<!DOCTYPE html>
<html lang="en" xmlns:th="http://www.thymeleaf.org">
<head>
    <meta charset="UTF-8">
    <meta name="viewport" content="width=device-width, initial-scale=1, maximum-scale=1">
    <title th:text="${article.title}"></title>
</head>
<body>

<div>
    <!--文章头部信息:标题,作者,最后更新日期,导航-->
    <h2 style="margin: auto 0" th:text="${article.title}"></h2>
    作者:<span style="" th:text="${article.author}"></span>
    <!--文章主体内容-->
    <div id="doc-content">
        <textarea style="" placeholder="markdown" th:text="${article.content}"></textarea>
    </div>

</div>

<link rel="stylesheet" th:href="@{/md/css/editormd.preview.css}" />
<script th:src="@{/js/jquery-2.1.0.js}"></script>
<script th:src="@{/md/lib/marked.min.js}"></script>
<script th:src="@{/md/lib/prettify.min.js}"></script>
<script th:src="@{/md/lib/raphael.min.js}"></script>
<script th:src="@{/md/lib/underscore.min.js}"></script>
<script th:src="@{/md/lib/sequence-diagram.min.js}"></script>
<script th:src="@{/md/lib/flowchart.min.js}"></script>
<script th:src="@{/md/lib/jquery.flowchart.min.js}"></script>
<script th:src="@{/md/editormd.js}"></script>


<script type="text/javascript">
    var testEditor;
    $(function () {


        testEditor = editormd.markdownToHTML("doc-content", {

      //注意:这里是上面DIV的id
            htmlDecode: "style,script,iframe",
            emoji: true,
            taskList: true,
            tocm: true,
            tex: true, // 默认不解析
            flowChart: true, // 默认不解析
            sequenceDiagram: true, // 默认不解析
            codeFold: true
        });});
</script>
</body>
</html>
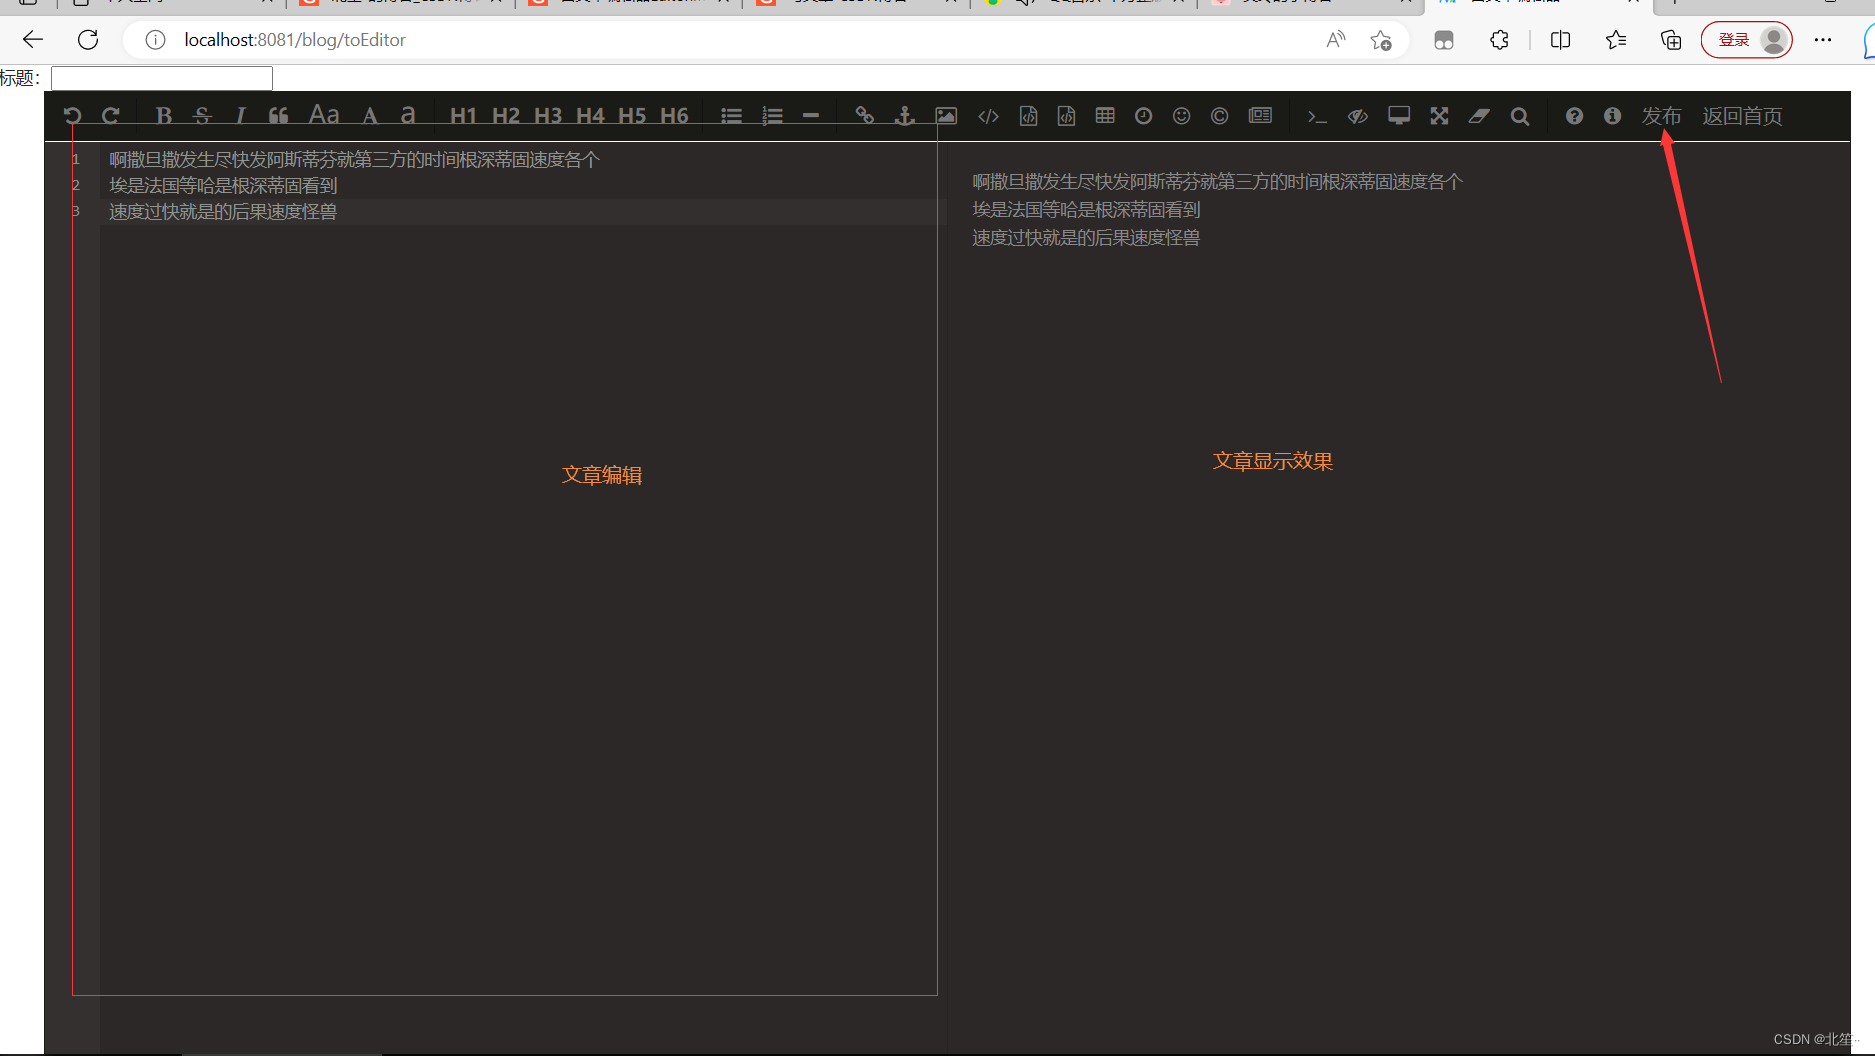
现在我们就可从新启动项目进行测试了。到这里应该就没有什么问题了。感兴趣的小伙伴可以深入了解一下这方面的知识,我认为这些基本就够用了如果写一个个人博客的话。
最后! 加油叭!程序猿!