一、环境基本要求
显卡:4090&2080ti
CUDA=11.1
python=3.8 (不重要,python3.7,python3.9都行)
torch=1.9.0+cu111
torchvision=0.10.0+cu111
spconv-cu111=1.2.1
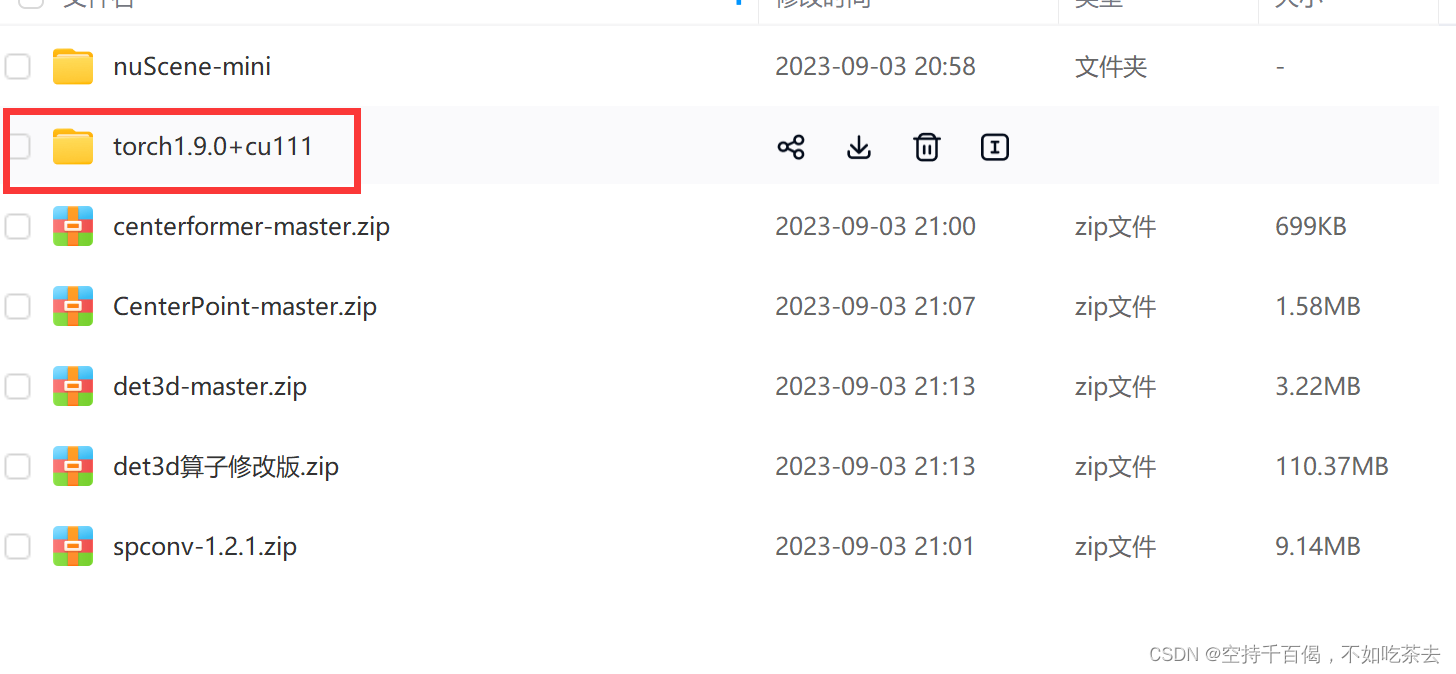
二、相关文件
所有相关的安装文件都放到这里了
链接:https://pan.baidu.com/s/1gbDuPizxke9crH1nFkCNOQ?pwd=6666
三、环境搭建
1、配置CenterPoint环境
(1)创建虚拟环境(无需安装包,Anconda自动安装python):
conda create -n centerpoint python=3.8
(2)激活环境
conda activate centerpoint
(3)安装torch、torchvision
安装说明:推荐本地安装,否则pip会不小心安装成cpu版本。
①下载文件
找到以下文件夹,放着torch、torchvision安装包。
②安装
使用pip指令实现本地安装:
pip install torch-1.9.0+cu111-cp38-cp38-linux_x86_64.whl torchvision-0.10.0+cu111-cp38-cp38-linux_x86_64.whl
③测试
先输入python进入环境,输入以下指令:
import torch    # 如正常则静默
torch.__version__ #查看torch版本
import torchvision
torchvision.__version__ #查看torchvision版本
torch.cuda.is_available() #正常的话返回“True”
a = torch.Tensor([1.])    # 如正常则静默
a.cuda()    # 如正常则返回"tensor([ 1.], device='cuda:0')"
from torch.backends import cudnn # 如正常则静默
cudnn.is_acceptable(a.cuda())    # 如正常则返回 "True"
显示可以正常使用:

④官方下载网站
如果不想用百度云,下面是官方下载网站:
torch下载网站:https://download.pytorch.org/whl/torch_stable.html
torch 1.9.0+cu111:https://download.pytorch.org/whl/cu111/torch-1.9.0%2Bcu111-cp38-cp38-linux_x86_64.whl
torchvision 0.10.0+cu111:https://download.pytorch.org/whl/cu111/torchvision-0.10.0%2Bcu111-cp38-cp38-linux_x86_64.whl
(4)安装spconv-1.2.1
这里只能采用本地安装,因为pip不提供spconv2.0以下的安装方式。
进入到spconv文件夹下,执行:
python setup.py bdist_wheel
cd ./dist && pip install *
注意最后要进入dist文件夹下安装whl文件。
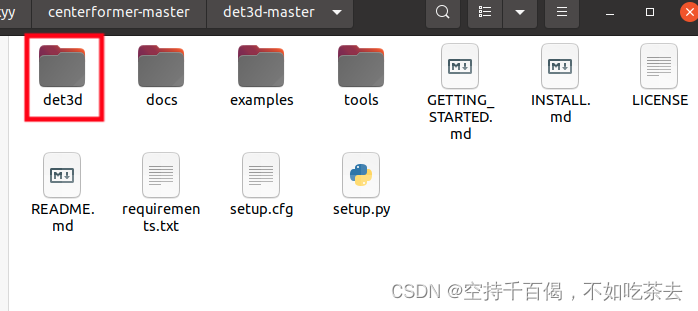
(5)安装det3d
将det3d-master放在CenterPoint文件夹下
在此之前,请将CenterPoint-master/det3d的文件拷贝到/det3d-master/det3d中进行合并+替换。
在/det3d-master主目录下,执行指令:
安装apex
git clone https://github.com/NVIDIA/apex
cd apex
pip install -v --no-cache-dir --global-option="--cpp_ext" --global-option="--cuda_ext" ./
安装nuscenes-devkit
pip install nuscenes-devkit安装第三方库
pip install -r requirements.txt安装det3d
python setup.py build develop
(6)安装CenterPoint
进入到CenterPoint主文件夹下:
git clone https://github.com/tianweiy/CenterPoint.git
cd CenterPoint-master
下载第三方库
pip install -r requirements.txt

# add CenterPoint to PYTHONPATH by adding the following line to ~/.bashrc (change the path accordingly)
export PYTHONPATH="${PYTHONPATH}:PATH_TO_CENTERPOINT"
安装cuda拓展
首先先将/CenterPoint/det3d/与原来的/det3d-master/det3d合并:

然后执行以下命令:
export PATH=/usr/local/cuda-10.0/bin:$PATH
export CUDA_PATH=/usr/local/cuda-10.0
export CUDA_HOME=/usr/local/cuda-10.0
export LD_LIBRARY_PATH=/usr/local/cuda-10.0/lib64:$LD_LIBRARY_PATH
# Rotated NMS
cd ROOT_DIR/det3d/ops/iou3d_nms
python setup.py build_ext --inplace
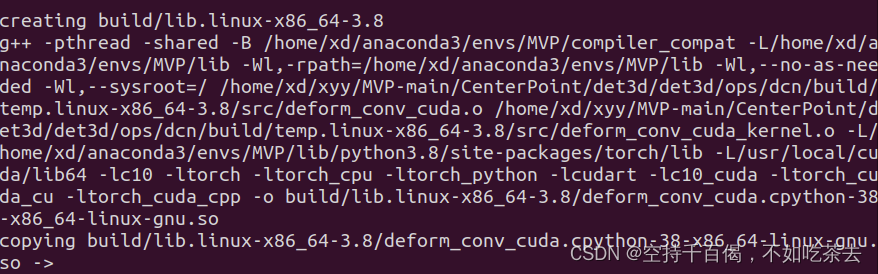
# Deformable Convolution (Optional and only works with old torch versions e.g. 1.1)
cd ROOT_DIR/det3d/ops/dcn
python setup.py build_ext --inplace前四句是为了确保cuda环境可以正常调用,后面四句是为了安装NMS和Deformable DETR的cuda版本,这里要根据自己的目录更改ROOT_DIR哦,这里正常来说应该是/CenterPoint/det3d-master/det3d/。
如果期间碰到AT_CHECK的问题,参考我后面写的问题汇总。
2、生成数据集
(1)生成
首先将数据集文件整理如下:
# For nuScenes Dataset
└── NUSCENES_DATASET_ROOT
├── samples <-- key frames
├── sweeps <-- frames without annotation
├── maps <-- unused
├── v1.0-trainval <-- metadata
然后在/CenterPoint文件夹下执行指令(注意对应好文件路径):
# nuScenes
python tools/create_data.py nuscenes_data_prep --root_path=NUSCENES_TRAINVAL_DATASET_ROOT --version="v1.0-trainval" --nsweeps=10
最后生成的文件目录大致如下:
# For nuScenes Dataset
└── CenterPoint
└── data
└── nuScenes
├── samples <-- key frames
├── sweeps <-- frames without annotation
├── maps <-- unused
|── v1.0-trainval <-- metadata and annotations
|── infos_train_10sweeps_withvelo_filter_True.pkl <-- train annotations
|── infos_val_10sweeps_withvelo_filter_True.pkl <-- val annotations
|── dbinfos_train_10sweeps_withvelo.pkl <-- GT database info files
|── gt_database_10sweeps_withvelo <-- GT database
如果本次打包完成后,数据集位置尽量不要再次变动 ,否则可能在训练或测试时报错。
(2)创建软连接
可以将提前生成好的数据集软连接到当前文件夹下:
sudo ln -s /media/xd/hpc/data/nuScene-ceneterformer/v1.0-mini/ /home/xd/xyy/MVP-main/CenterPoint/data/nuScenes
3、训练&评估&tracking
(1)training
使用以下命令启动使用4个gpu的分布式训练。模型和日志将被保存到“work_dirs/CONFIG_NAME”
python -m torch.distributed.launch --nproc_per_node=4 ./tools/train.py CONFIG_PATH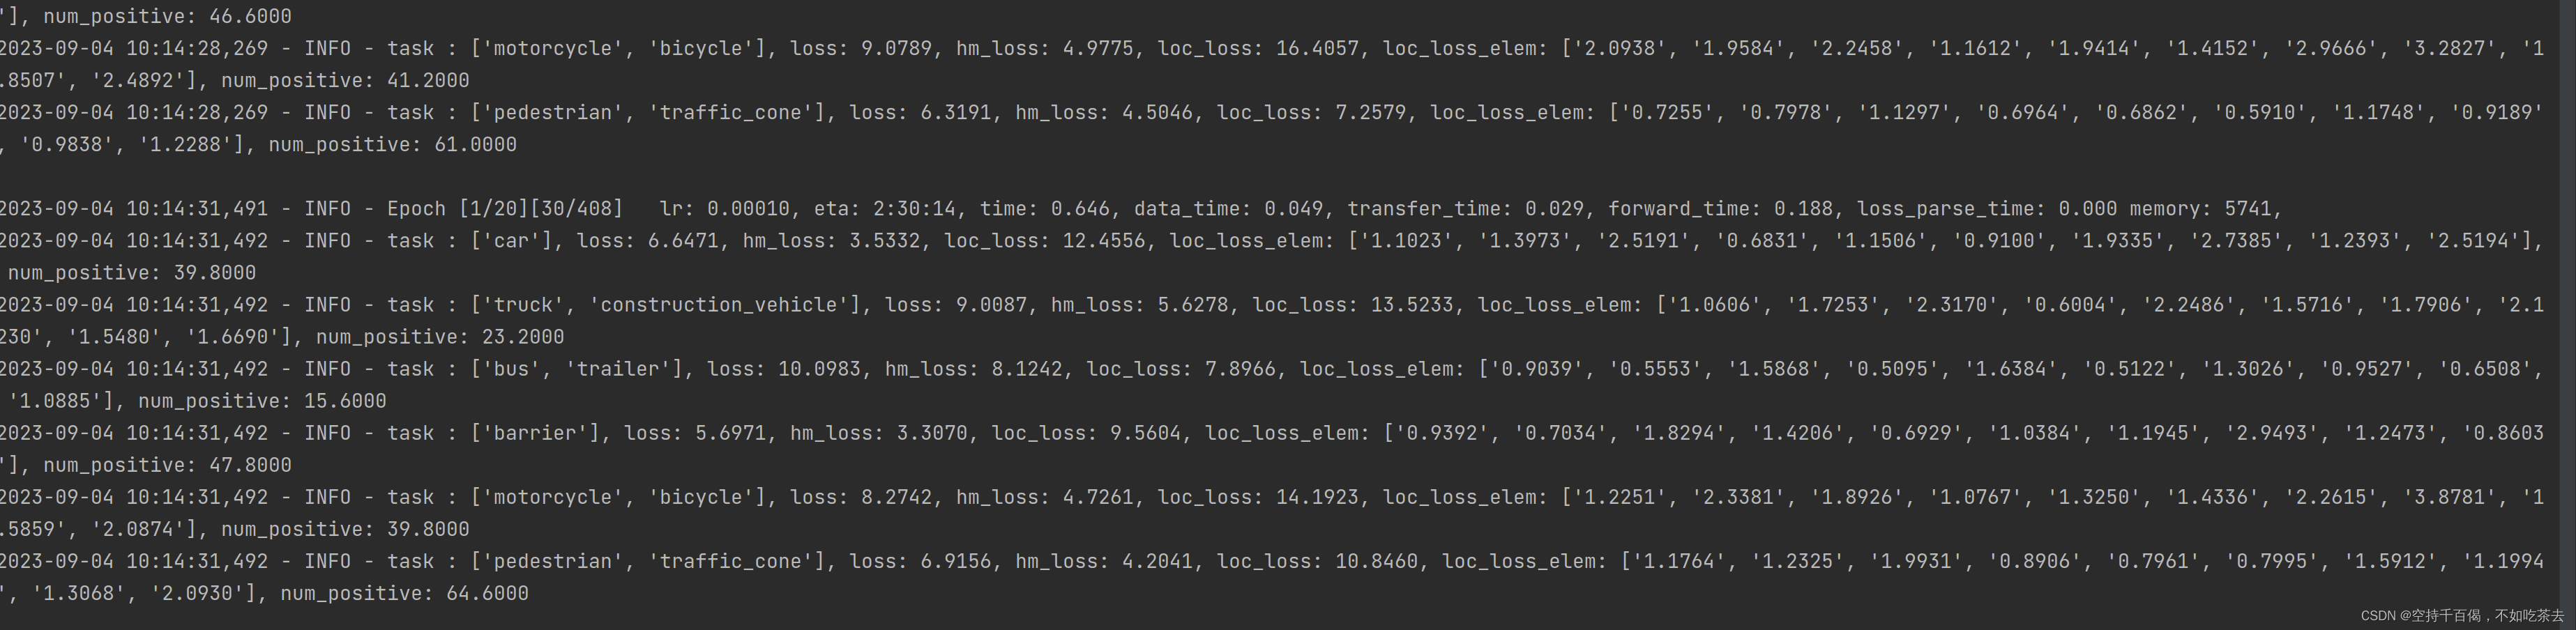
(2)testing
对于4个gpu的分布式测试,
python -m torch.distributed.launch --nproc_per_node=4 ./tools/dist_test.py CONFIG_PATH --work_dir work_dirs/CONFIG_NAME --checkpoint work_dirs/CONFIG_NAME/latest.pth 对于使用单个gpu进行测试并查看推断时间,
python ./tools/dist_test.py CONFIG_PATH --work_dir work_dirs/CONFIG_NAME --checkpoint work_dirs/CONFIG_NAME/latest.pth --speed_test (3)tracking
您可以在/configs/nusc/README.md中找到检测文件。下载检测文件后,您可以简单地运行:
# val set
python tools/nusc_tracking/pub_test.py --work_dir WORK_DIR_PATH  --checkpoint DETECTION_PATH

# test set
python tools/nusc_tracking/pub_test.py --work_dir WORK_DIR_PATH  --checkpoint DETECTION_PATH  --version v1.0-test  --root data/nuScenes/v1.0-test