要实现调用电脑摄像头,我们就需要使用webcam库。下面这个网站中含有多个开源代码,我们可以在其中找到所需要的库 https://github.com/sarxos/webcam-capture。下载完成,打开以后,我们需要将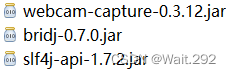 这三个.jar文件添加在我们所用的编程软件的第三方库即可。
因为我使用的是eclipse,https://blog.csdn.net/weixin_41923961/article/details/85198590该网站中介绍了eclipse如何添加第三方库的方法。
首先需要构建一个窗体存放画面。
public class shiping1 extends JFrame {
public void initUI(){
this.setSize(600,600);
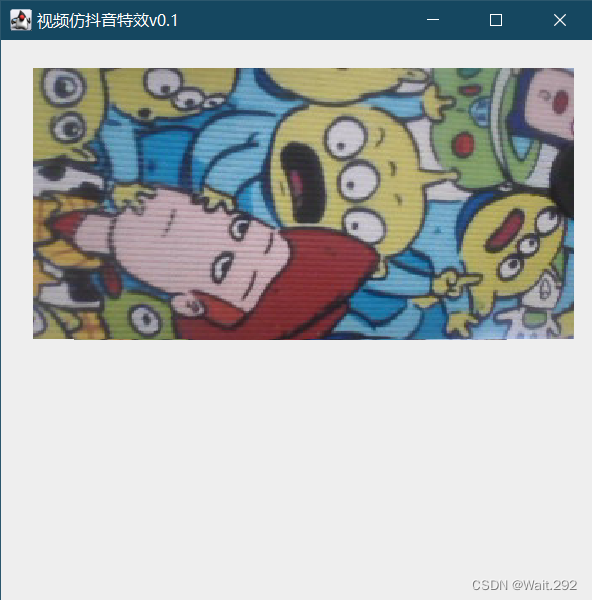
this.setTitle("视频仿抖音特效v0.1");
this.setDefaultCloseOperation(3);
this.setVisible(true);
Graphics g = this.getGraphics();
当我们成功将webcam库导入后,就可以获取电脑的摄像头了。
Webcam webcam = Webcam.getDefault();
webcam.open();
BufferedImage bi = webcam.getImage();
此时,显示了获取到摄像头那一刻所拍摄的画面,该画面内容并不会随着人物的动作发生变化。我们只需要利用while循环,不停的获取摄像头画面的像素点,就可以实现摄像功能。
while(true) {
//不停的取得摄像头上的图片
BufferedImage bi = webcam.getImage();
for(int i =0;i<bi.getWidth();i++) {
for(int j = 0;j<bi.getHeight();j++) {
int v= bi.getRGB(i, j);
Color c = new Color(v);
g.setColor(c);
g.fillOval(i+60, j+70, 2, 2);
}
}}
还有一种方法是将摄像头上的图画,一帧一帧的画到界面上
for(int i =0;i<1000;i+=5) {
g.drawImage(bi,30,50,400,200,null);
}
这样就实现了如何用Java编程调用电脑摄像头。完整源代码如下:
package shiping;

import java.awt.Color;
import java.awt.Graphics;
import java.awt.image.BufferedImage;
import javax.swing.JFrame;
import com.github.sarxos.webcam.Webcam;

@SuppressWarnings("serial")
public class shiping1 extends JFrame {
	public void initUI(){
		this.setSize(450,450);
		this.setTitle("视频仿抖音特效v0.1");
		this.setDefaultCloseOperation(3);
		this.setVisible(true);
		Graphics g = this.getGraphics();

		//需要导入 第三方库
		//打开了摄像头
		Webcam webcam = Webcam.getDefault();
		webcam.open();
		while(true) {
			//不停的取得摄像头上的图片
			BufferedImage bi = webcam.getImage();
			for(int i =0;i<bi.getWidth();i++) {
				for(int j = 0;j<bi.getHeight();j++) {
					int v= bi.getRGB(i, j);
					Color c = new Color(v);
					g.setColor(c);
					g.fillOval(i+60, j+70, 2, 2);
				}
			}
			//将摄像头上的图片,画到界面上
			for(int i =0;i<1000;i+=5) {
			g.drawImage(bi,30,50,400,200,null);
			}
		}
	}

public static void main(String args[]) {
		shiping1 di=new shiping1();
		di.initUI();
	}
}