实验室有块TX2,挺贵的一个开发板,长这个样子:
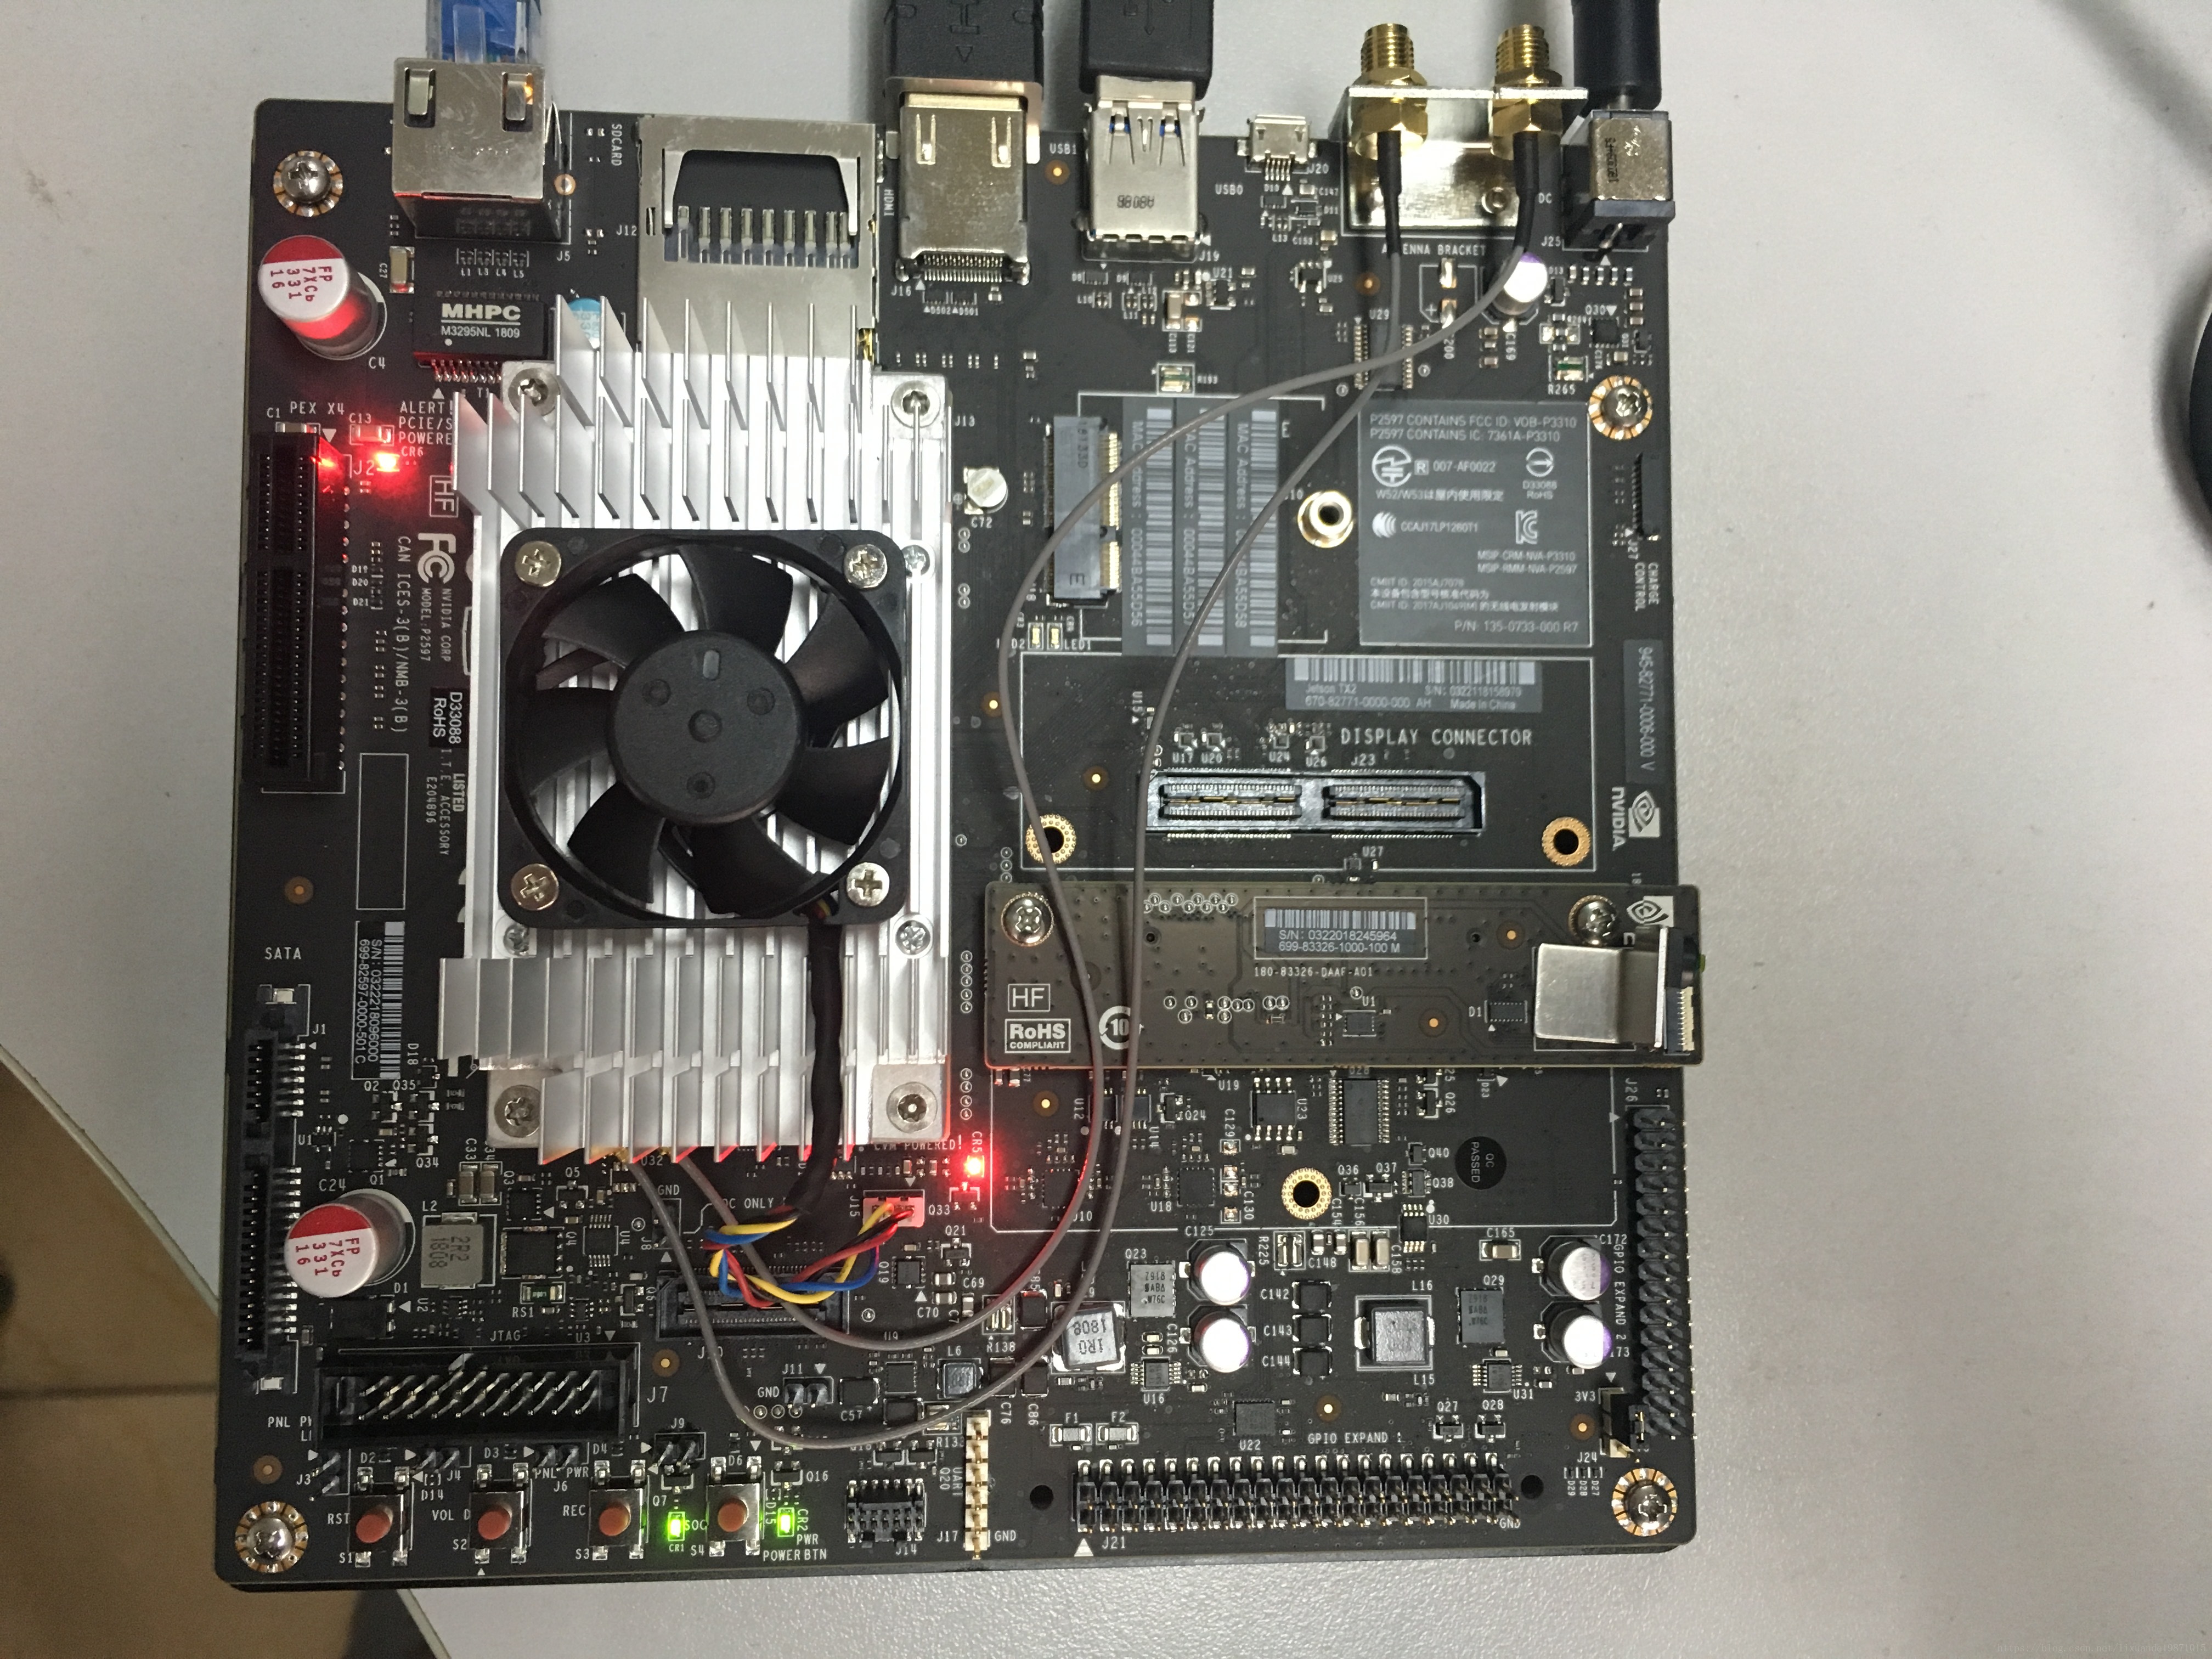
第一次拿到的小伙伴,右上角那个是电源,下面一排按钮,最右侧是power键,上电以后要按一下power键才能启动系统。
系统启动后,里面是有sshd的,可以远程连上操作,默认的ssh参数如下:
username: nvidia
password: nvidia
port:22
其实里面还是一个裸系统,需要安装NVIDIA相关的驱动等,资源文件已经放好了在
/home/nvidia/NVIDIA-INSTALLER
资源名字:
Tegra186_Linux_R28.1.0_aarch64.tbz2
现在最新版本应该都28.2了吧。
跟资源同级的目录里面有个install.sh
sudo ./installer.sh
一定sudo运行,sudo密码
nvidia
不sudo会报错。
正常情况是这样:
nvidia@tegra-ubuntu:~/NVIDIA-INSTALLER$ sudo ./installer.sh
[sudo] password for nvidia:
Extracting the BSP…
/home/nvidia/NVIDIA-INSTALLER
Installing NVIDIA binaries
Using rootfs directory of: /
Extracting the NVIDIA user space components to /
Extracting the BSP test tools to /
Extracting the NVIDIA gst test applications to /
Extracting the configuration files for the supplied root filesystem to /
Creating a symbolic link nvgstplayer pointing to nvgstplayer-1.0
Creating a symbolic link nvgstcapture pointing to nvgstcapture-1.0
Extracting Weston to /
Adding symlink libcuda.so –> libcuda.so.1.1 in target rootfs
Adding symlink libGL.so –> libGL.so.1 in target rootfs
Adding symlink libnvbuf_utils.so –> libnvbuf_utils.so.1.0.0 in target >rootfs
Adding symlink libcuda.so –> tegra/libcuda.so in target rootfs
Adding symlink libEGL.so –> libEGL.so.1 in target rootfs
Adding symlink //usr/lib/aarch64-linux-gnu/libdrm_nvdc.so –> >//usr/lib/aarch64-linux-gnu/tegra/libdrm.so.2
Adding symlink nvidia_icd.json –> /etc/vulkan/icd.d/nvidia_icd.json >in target rootfs
Adding symlinks for systemd nv.service and nvfb.service
Disabling NetworkManager-wait-online.service
Disable the ondemand service by changing the runlevels to ‘K’
Extracting the firmwares and kernel modules to /
Extracting the kernel headers to //usr/src
Adding symlink //lib/modules/4.4.38-tegra/build –> >/usr/src/linux-headers-4.4.38-tegra
Installing Image into /boot in target rootfs
Installing the board *.dtb files into /boot in target rootfs
Success!
/home/nvidia/NVIDIA-INSTALLER
Removing installation files…
Configuring the desktop…
SUCCESS!
Please REBOOT the system.
然后reboot就可以了。