1.首先在idea中创建一个maven项目,创建成功后在pom.xml中添加SpringBoot相关的依赖
<!--引入SpringBoot相关的依赖-->
    <parent>
        <groupId> org.springframework.boot </groupId>
        <artifactId> spring-boot-starter-parent </artifactId>
        <version> 1.5.9.RELEASE </version>
    </parent>
    <dependencies>
        <dependency>
            <groupId> org.springframework.boot </groupId>
            <artifactId> spring-boot-starter-web </artifactId>
        </dependency>
    </dependencies>
2.创建一个主程序类用于运行SpringBoot应用程序
/**
 * 使用@SpringBootApplication注解来标注这个主程序类是SpringBoot应用
 */
@SpringBootApplication
public class SpringBootMainApplication {

    public static void main(String[] args) {
        //启动SpringBoot应用程序
        SpringApplication.run(SpringBootMainApplication.class,args);
    }
}
3.创建controller或service
@Controller
public class HelloController {

    @ResponseBody
    @RequestMapping("/hello")
    public String hello(){
        return "hello world!";
    }
}
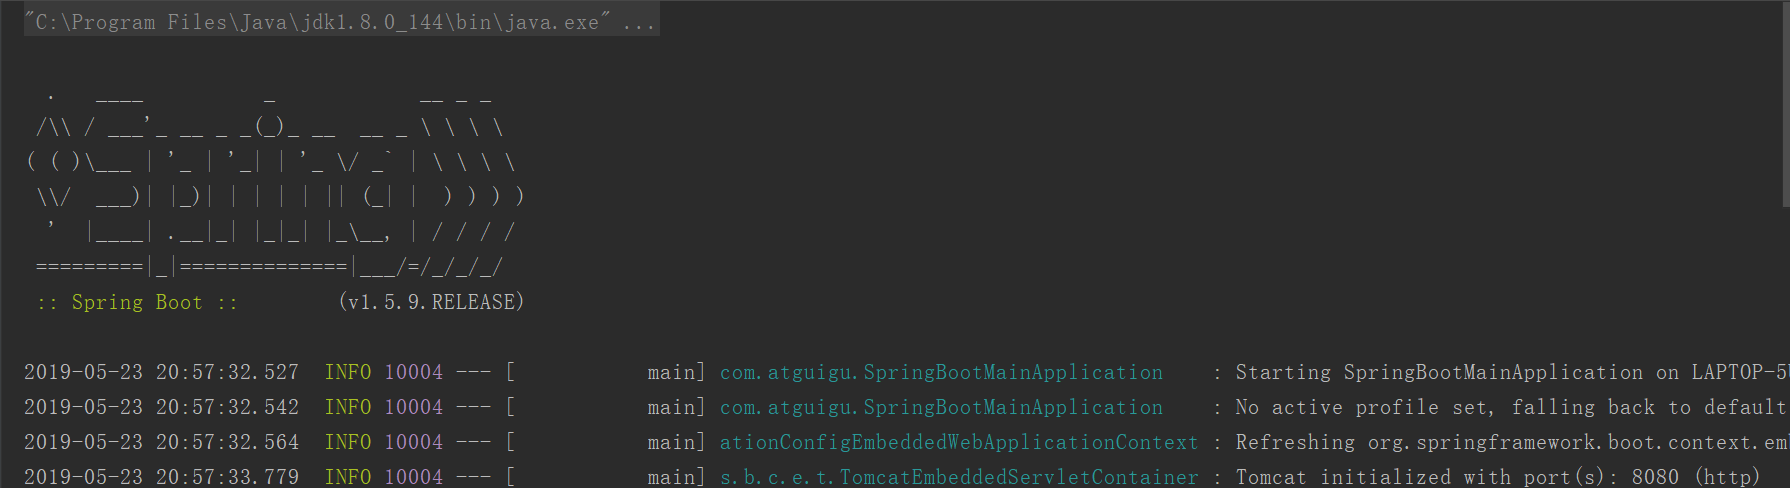
4.接下来在主程序中运行
5.打开浏览器进行测试访问

得到这个结果表示第一个SpringBoot应用程序已经测试成功。
5.部署,创建可执行jar
在pom.xml中添加如下插件
    <!--用于创建可执行jar-->
    <build>
        <plugins>
            <plugin>
                <groupId> org.springframework.boot </groupId>
                <artifactId> spring-boot-maven-plugin </artifactId>
            </plugin>
        </plugins>
    </build>
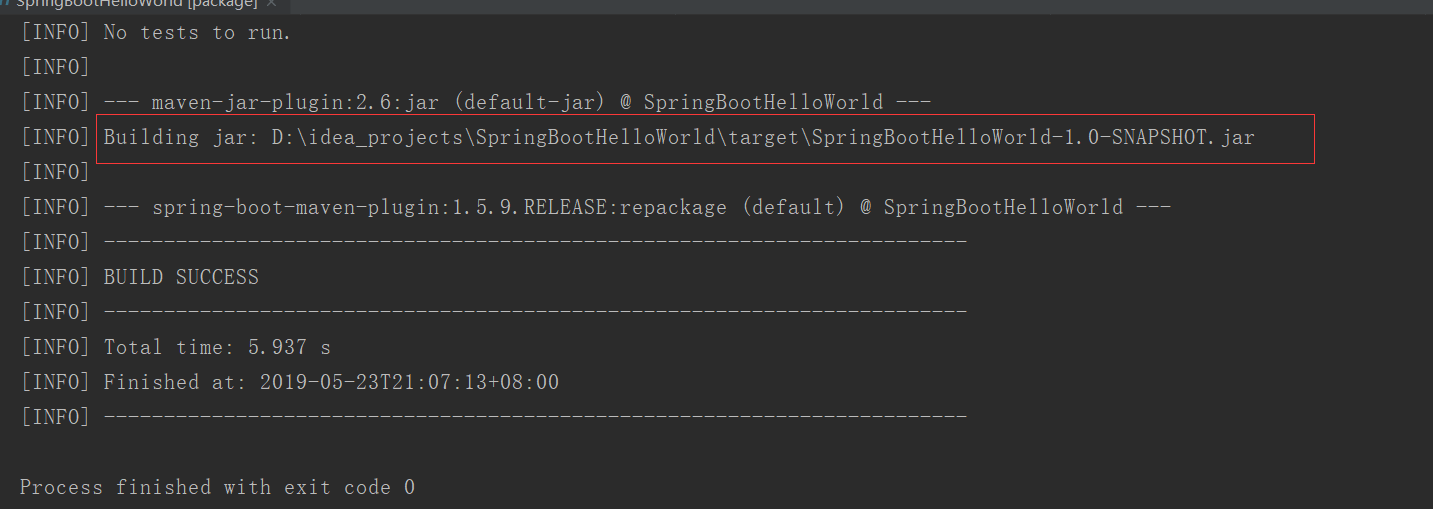
接着使用Maven中的package命令进行打包
扫描二维码关注公众号,回复:
6267698 查看本文章

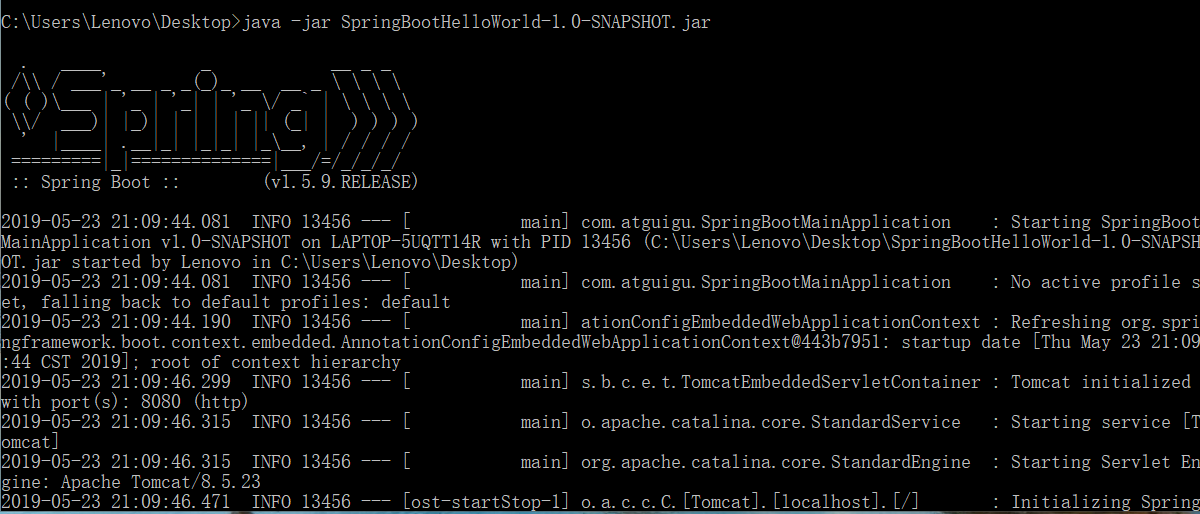
根据package打包生成的路径找到对应的jar包,然后使用java -jar命令运行
打开浏览器进行测试
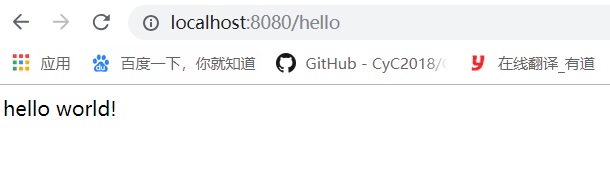
这表明部署成功