任务
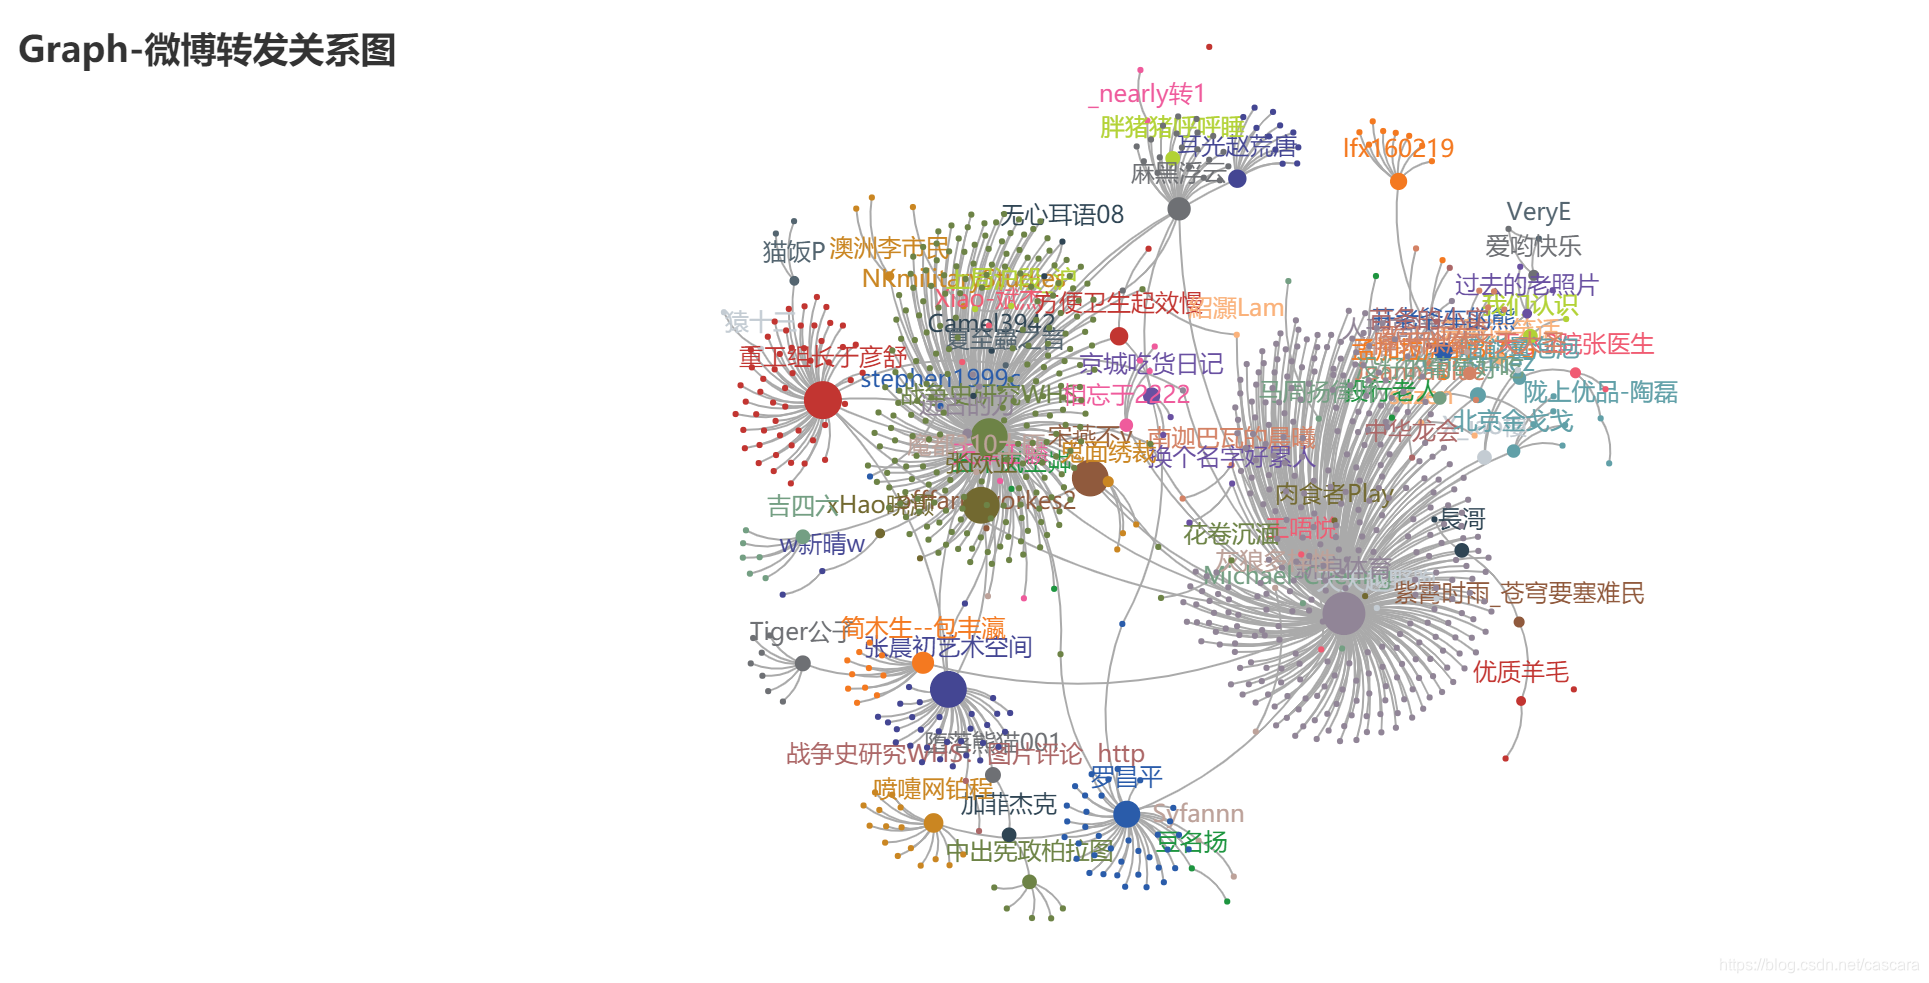
延续之前的爬虫任务,最初同学提出的设想是生成如下图所示:

来龙去脉
但彼时对爬虫还很陌生,对于如何构造这样的数据关系,利用何种包把数据展示出来都一无所知,因此先搁置了。
继分析完微博文本生成词云图后,想到将地区在地图上显示出统计图像应该是刚需,必定有现成的库可用。在广泛浏览相关信息后,决定选取pyecharts集成库。
但在下载安装后,发现网上现有的实例都无法使用,发现例子的版本普遍都是0.5,已经是老一代的。当然不甘于重装旧有的版本,追逐新潮。来到pyecharts的GitHub网站,
此前一直懵懂使用着GitHub,现在下决心掌握基本的使用。幸运看到了廖雪峰的Git教程,一两天的观摩与尝试基本了解,不再迷茫。
将项目clone到本地,成功运行出示例的地图后,在挖掘这个矿藏满满的宝库时,发现gallery中的关系图好像很贴切,在运行本地的Graph示例时,意外惊喜,正巧有我需要的图例:
真是“有心栽花花不开,无心插柳柳成荫”、“踏破铁鞋无觅处,得来全不费工夫”!(近日意识到自己语文能力骤降,需要常温习之)
于是,快马加鞭,开启逆向工程完成此项目。
过程
绘图代码
绘制图像的代码如下:
import json
import os

from pyecharts.commons.utils import JsCode
from pyecharts import options as opts
from pyecharts.charts import Graph, Page
from pyecharts.faker import Collector
#可以在Jupyter Lab中渲染展示图片
from pyecharts.globals import CurrentConfig,NotebookType
CurrentConfig.NOTEBOOK_TYPE = NotebookType.JUPYTER_LAB

def graph_weibo() -> Graph:
    with open(os.path.join("fixtures", "weibo.json"), "r", encoding="utf-8") as f:
        j = json.load(f)
        nodes, links, categories, cont, mid, userl = j

    c = (
        Graph()
        .add(
            "",
            nodes,
            links,
            categories,
            repulsion=50,
            linestyle_opts=opts.LineStyleOpts(curve=0.2),
            label_opts=opts.LabelOpts(is_show=False),#True),#
        )
        .set_global_opts(
            legend_opts=opts.LegendOpts(is_show=False),#True),#
            title_opts=opts.TitleOpts(title="Graph-微博转发关系图"),
        )
    )
    return c
分别运行
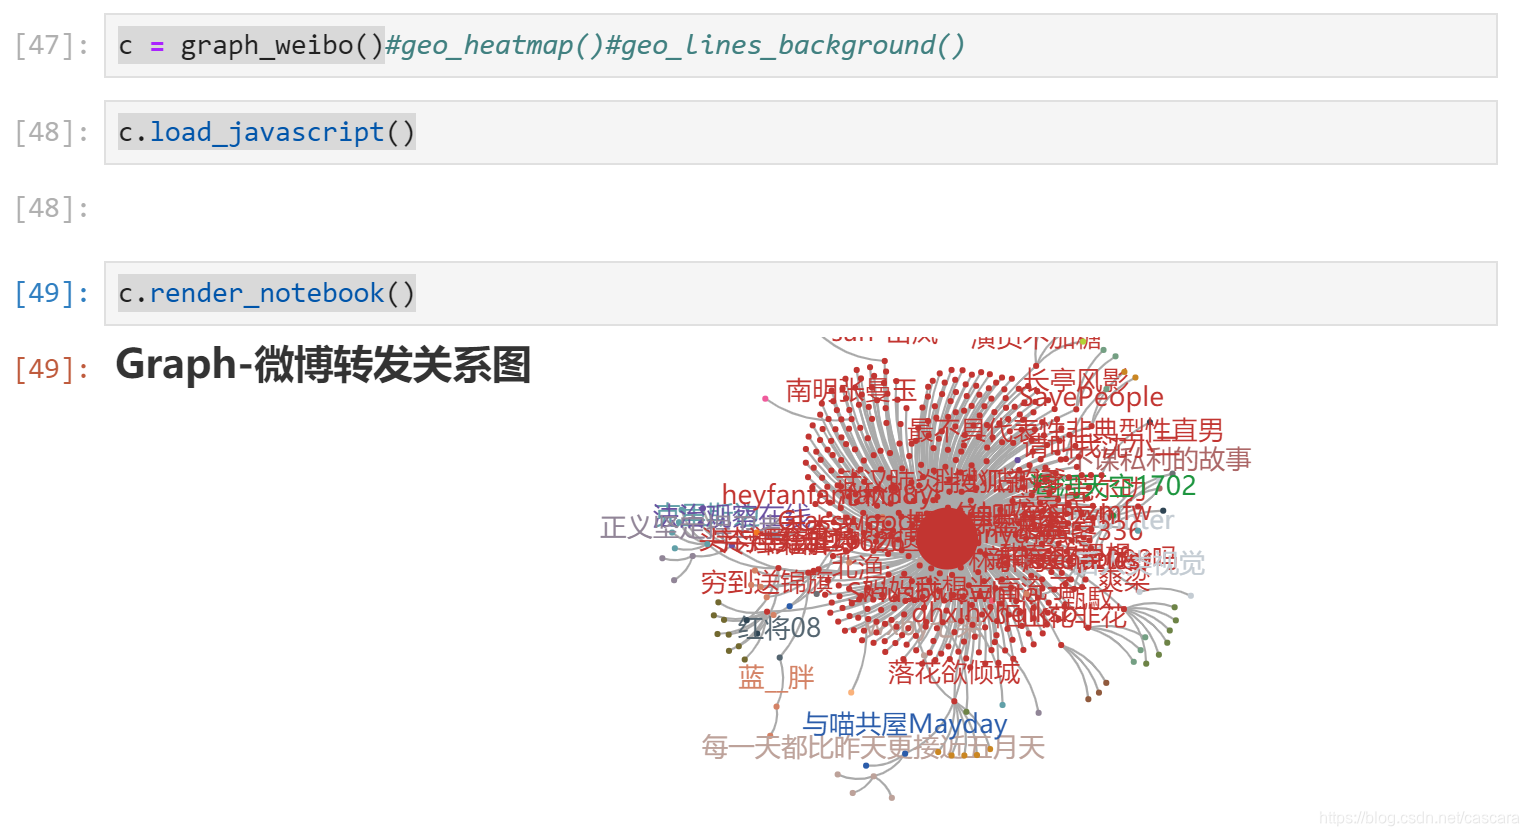
c = graph_weibo()
c.load_javascript()
c.render_notebook()
出现传播图:
绘图参数分析
绘图所需的参数通过读取json文件传递:
		with open(os.path.join("fixtures", "weibo.json"), "r", encoding="utf-8") as f:
        j = json.load(f)
打开本地的weibo.json文件观察,如赋值的提示:
nodes, links, categories, cont, mid, userl = j
json文件由含六个元素的列表构成,分别包括了结点,联系,类别,微博文本,微博mid与博主昵称。
结点参数格式
每个结点由包括如下信息的字典组成
		{
            "name": "Camel3942",            //转发博主昵称
            "symbolSize": 5,        		//图中标志大小
            "draggable": "False",        	//是否可拖动
            "value": 1,        				//被再次转发次数
            "category": "Camel3942",        //被再次转发后,属于以本博主昵称命名的类,否则属于转发来源博主的类
            "label": {	        //此博主被再次转发后,含有此标签,否则不含
                "normal": {
                    "show": "True"
                }
            }
        },
        ……
对比一个没有被二次转发的博主结点格式:
		{
            "name": "超昂闪存",
            "symbolSize": 5,
            "draggable": "False",
            "value": 0,
            "category": "重工组长于彦舒"
        },
        ……
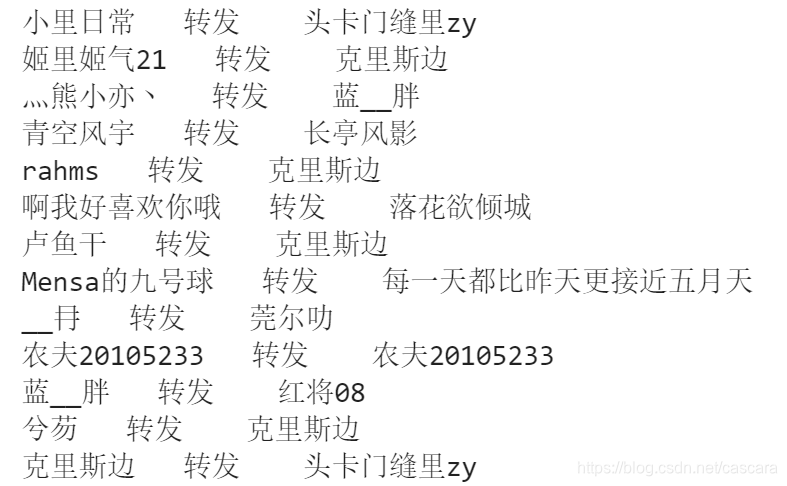
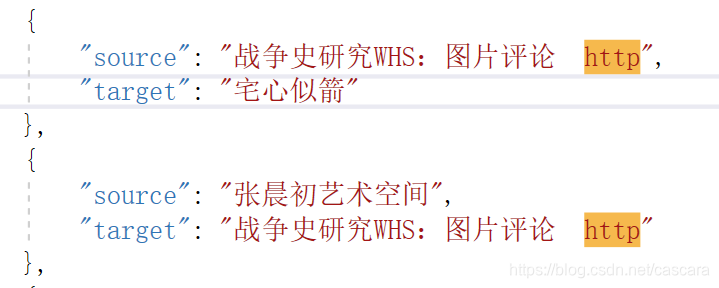
联系参数格式
此信息比较简明,一条转发微博的来源source以及该微博博主target。
具体来讲,如果此微博博主直接转发原文微博,则source为原文微博博主,如果二次转发其他人转发的该微博,则source为其他人。
        {
            "source": "新浪体育",
            "target": "Beijingold4"
        },
        {
            "source": "麻黑浮云",
            "target": "X一块红布"
        },
        ……
类别参数格式
更加简明,所有被二次转发过的博主昵称:
		{
            "name": "Camel3942"
        },
        {
            "name": "Christinez"
        },
        {
            "name": "JoannaBlue"
        },
        ……
分析,传入类别后能够将该类作为一个整体渲染效果,如下所示:
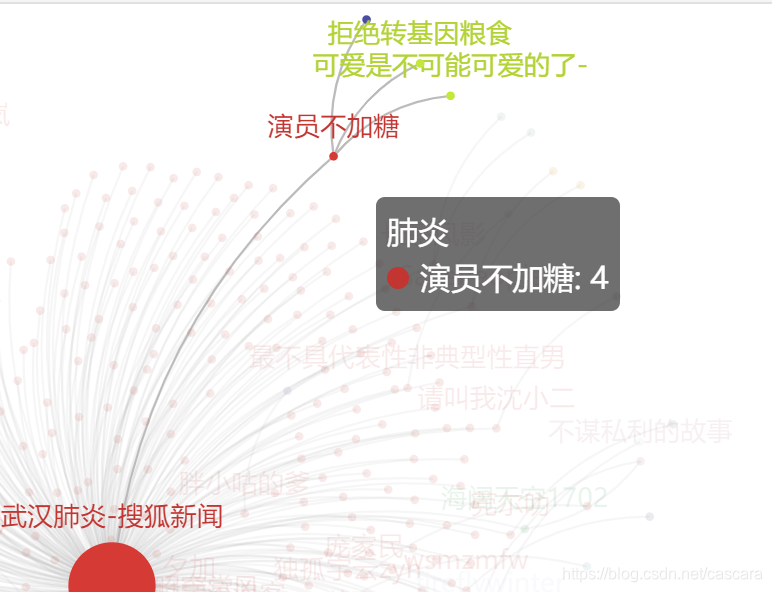
总览

获取转发关系
通过分析微博文本得知转发人信息的HTML文本基本结构如下:
// <a href=’/n/被转发博主昵称’>@被转发博主昵称:
例如一个含转发信息的微博正文
“//@宇字号汤包or汤圆:红十字会依然是当年的红十字会,郭美美事件一点都没有改变它”
的text内容为:
“//<a href=’/n/宇字号汤包or汤圆’>@宇字号汤包or汤圆:红十字会依然是当年的红十字会,郭美美事件一点都没有改变它”
利用之前对正则表达式的基础了解,书中涉及到python中的re模块具有功能。
最初的一个版本能够运行成功
但有一个出现问题,并未获得正确昵称:

这个问题在example的文件中也有体现,当时并未过分关心原因,只当笑话:
判断为字符匹配错误,将该用户文本调出。
根据编程报错的经验,猜测可能是中英文格式的字符原因,将文本中的 冒号: 替换至程序中的冒号:,果然报出了之前让我摸不着头脑的错误类型: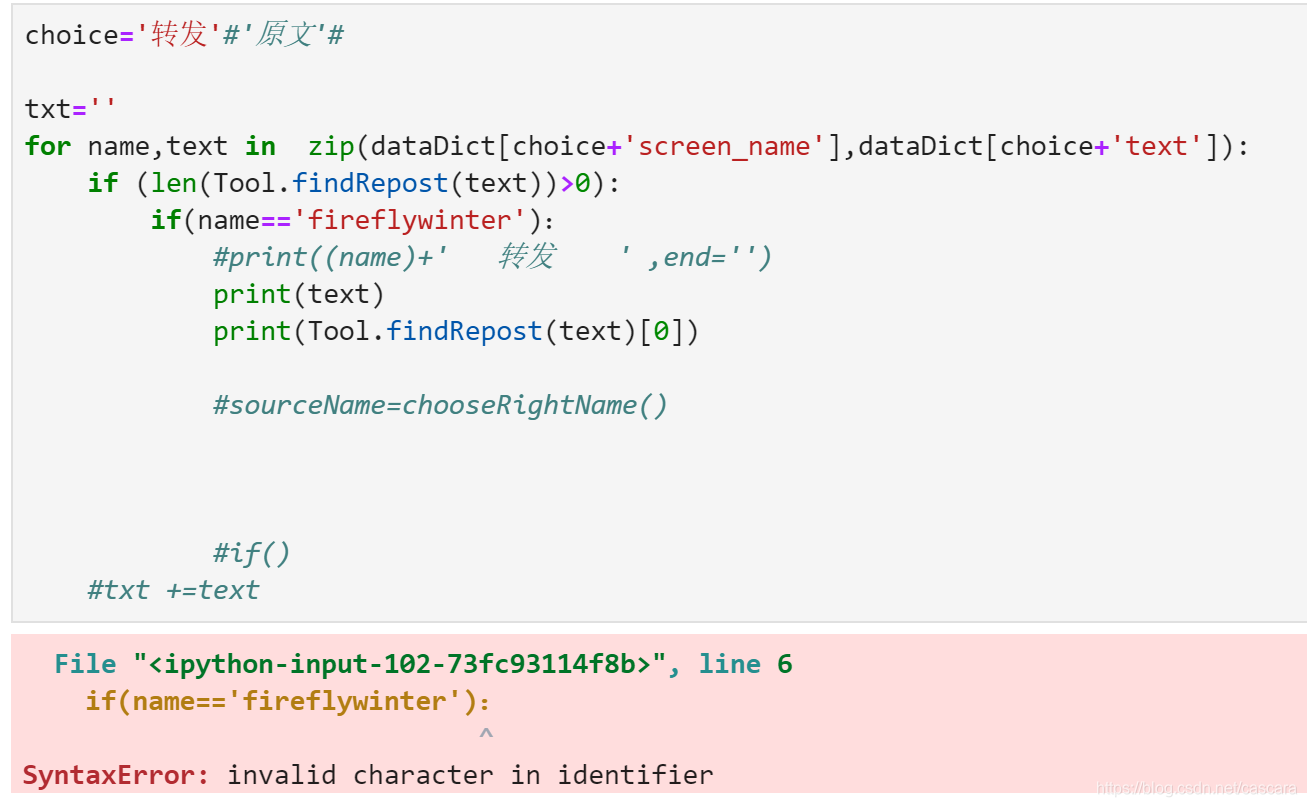
这个错误应该是微博内部的错误。我需要将这个错误解决。即在字符匹配处增加筛选条件。英文的冒号字符和中文的冒号字符都做筛选。
最终代码如下,获取文本中含有的转发来源博主昵称:
import re
#工具类
class Tool:
    repostEN=re.compile('//<a.*?>@(.*?)</a>:')#英文字符冒号
    repostCN=re.compile('//<a.*?>@(.*?)</a>:')#中文字符冒号
    @classmethod
    def findSource(cls,x):
        sourceName=''
        xEN=xCN=''

        xEN = re.findall(cls.repostEN,x)
        xCN = re.findall(cls.repostCN,x)


        #如果其中一者存在,另一者不存在,即返回该者
        if(len(xCN)==0 and len(xEN)>0):
            sourceName=xEN[0]
            #print(xEN[0])
        elif(len(xEN)==0 and len(xCN)>0):
            sourceName=xCN[0]
            #print(xCN[0])
        #若二者都存在,则返回第一位置字符串较小的
        elif(len(xEN)>0 and len(xCN)>0):
            sourceName=xCN[0]  if(len(xEN[0])>len(xCN[0])) else xEN[0]

        return sourceName
构造数据结构
沿用自制集成的爬取工具,通过修改配置就可以得到需要的数据。
提取关键的数据,并存储在字典中,设计为Categories类方便集成调用
choice='转发'#'原文'#
categories=Categories()

for name,text in  zip(dataDict[choice+'screen_name'],dataDict[choice+'text']):

    if categories.nameExist(name) is False:
        categories.add(name)


    sourceName=(Tool.findSource(text))
    if sourceName is not '':
        categories.addTarget(sourceName,name)

    else:
        categories.addTarget(tweeter,name)
由于统计每个结点的转发量为转发后所有结点总合,故需要在结束统计后进行全局运算,加入countAll(self,name)方法;
由于删博及爬取的时效性等多种原因,有的微博出现数据缺失情况,加入fillSource(self,tweeter)方法解决。
最终Categories类如下:
class Categories:

    def __init__(self):
        self.compose={}
    def add(self,name):
        self.compose[name]={}
        category=self.compose[name]
        category['value']=0 #记录被转次数
        category['target']={}
        category['source']={}
    def nameExist(self,name):
        if self.compose.get(name) is None:
            return False
        else:
            return True

    def addTarget(self,sourceName,targetName):
        if self.nameExist(sourceName) is False:
            self.add(sourceName)
        if self.nameExist(targetName) is False:
            self.add(targetName)

        ##防止循环调用
        if sourceName == targetName:
            #print(sourceName)
            return
        if self.compose[targetName]['source'].get(sourceName) is not None:
            #print(sourceName)
            self.compose[targetName]['source'].pop(sourceName)


        if self.compose[targetName]['source'].get(sourceName) is None:
            self.compose[targetName]['source'][sourceName]=1
        else:
            self.compose[targetName]['source'][sourceName]+=1


        if self.compose[sourceName]['target'].get(sourceName) is None:
            self.compose[sourceName]['target'][targetName]=1
        else:
            self.compose[sourceName]['target'][targetName]+=1
        self.compose[sourceName]['value']+=1

    def countAll(self,name):
        targets=self.compose[name]['target']
        if targets == {}:
            self.compose[name]['value']=0
        else:
            for targetName in targets:
                if self.compose[targetName]['target']=={}:
                    self.compose[targetName]['value']=0
                    #self.compose[name]['value']+=1
                else:
                    self.countAll(targetName)
                    self.compose[name]['value']+=self.compose[targetName]['value']
     #数据缺失补充 假定为转发原博主
    def fillSource(self,tweeter):
        for item in self.compose:
            source=self.compose[item].get('source')
            if  (len(source))!=1 and item !=tweeter:
                self.addTarget(tweeter,item)
集成json文件
此后便是根据获取的数据构建json文件
nodes=[]
links=[]
category=[]

for i in  categories.compose:
    value=categories.compose[i]['value']
    try:
        source=list(categories.compose[i]['source'])[0]
    except:
        source=tweeter

    node={  "name":i,
            "symbolSize": 5,
            "draggable": "False",
            "value": value,
            "category": source
         }

    if value > 0:
        if i==tweeter:
            node["category"]=i
        #change node
        if source !=tweeter:
            #print(i)
            node["category"]=i
        symbolSize=value//10
        if symbolSize>5:
            node['symbolSize']=symbolSize
        node['label']={
                "normal": {
                    "show": "True"
                }
            }
        #add link
        targets=categories.compose[i]['target']
        if targets != {}:
            for target in targets:
                links.append({'source':i,'target':target})


        #归入category
        category.append({'name':i})
    nodes.append(node)

content='wuhan'
mid='4444444444444'
tweeter=tweeter

jsonData=[nodes,links,category,content,mid,tweeter]
写入文件:
import json

testFile=addrFile(tweeter,'.json')
with open(testFile,'w',encoding='utf-8') as file_obj:
    json.dump(jsonData,file_obj)
file_obj.close()
至此,以该文件替换文章开头处的文件地址即可得到新的数据图像。
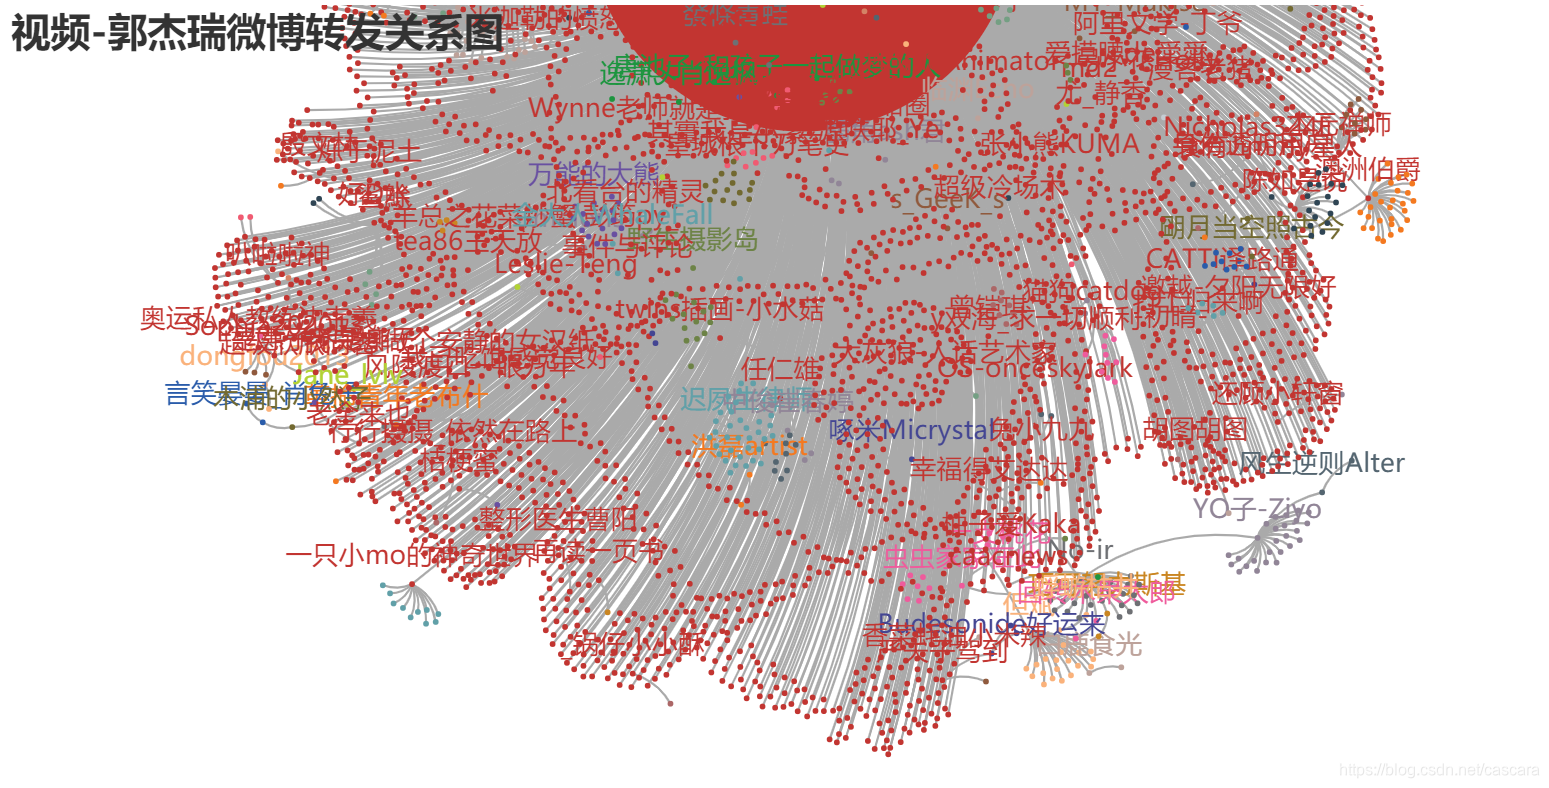
当然,调整图像结点的大小还需要进一步修正以获取美观图像。
代码地址
将可运行的完整jupyter notebook文件上传至我的GitHub测试项目中,方便有需要者自取。
