这篇文章讲的是mac下的chromedriver和selenium安装。
各位同学在上手学习pyecharts时会有将网页上的图片渲染到本地的需求,如以下官方代码:
from pyecharts.charts import Bar
from pyecharts import options as opts
from pyecharts.render import make_snapshot
from snapshot_selenium import snapshot

bar = (
    Bar()
    .add_xaxis(["衬衫", "羊毛衫", "雪纺衫", "裤子", "高跟鞋", "袜子"])
    .add_yaxis("商家A", [5, 20, 36, 10, 75, 90])
)
make_snapshot(snapshot, bar.render(), "bar.png")
直接执行会报以下错误:
selenium.common.exceptions.WebDriverException: Message: 'chromedriver' executable needs to be in PATH. Please see https://sites.google.com/a/chromium.org/chromedriver/home提示需要安装selenium和chromedriver,安装selenium很简单,直接pip install即可。
然后安装chromedriver会有一些问题,比如说用homebrew安装会出现以下提示:

按照提示输入:
brew tap homebrew/cask

brew cask install chromedriver
同样的,也可以自己手动下载chromedriver然后放到 /usr/local/bin下
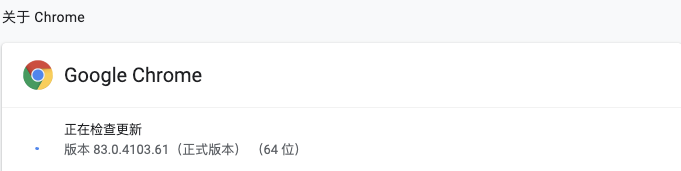
首先查看自己chrome浏览器的版本:
然后去http://npm.taobao.org/mirrors/chromedriver/
或者http://chromedriver.storage.googleapis.com/index.html
找到和自己chrome匹配的chromedriver。
然后将压缩包解压,解压出来的chromedriver移动到/usr/local/bin目录下即可。
最后就可以将html上的图片渲染到本地啦。